The CJ3A Page CJ3B.info

Author Topic: Hawk's CJ3A 13655  (Read 219580 times)

0 Members and 1 Guest are viewing this topic.

Offline athawk11

  • SMF Administrator
  • Flatfender Master
  • *****
  • Posts: 2818
  • Karma: +0/-1
  • 1949 CJ3A
    • View Profile
Re: Hawk's 1949 CJ3A
« Reply #165 on: May 10, 2014, 07:12:18 PM »
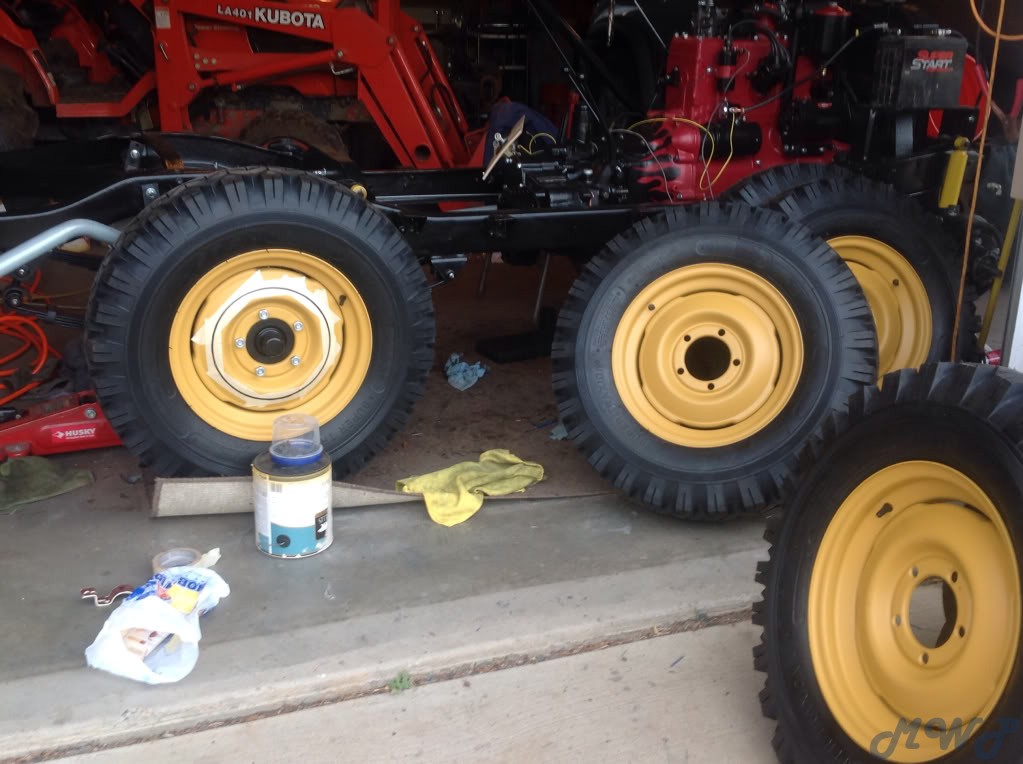
My wife picked a color for the wheels.� It's a very nice golden color.� It's urethane paint.� I added a flattening agent to give it a satin finish.� We are a low sheen kind of family.� Turned out nice.�

Just need some pin striping and the rubber mounted...


« Last Edit: September 13, 2017, 10:17:15 PM by athawk11 »
2-1949 CJ3As
1-1946 CJ2A

Offline 1955CJ-5

  • Flatfender Master
  • *****
  • Posts: 2360
  • Karma: +0/-1
  • It wasn't always green....
    • View Profile
Re: Hawk's 1949 CJ3A
« Reply #166 on: May 10, 2014, 08:46:31 PM »
Will the jeep be the same color, or has that not yet been decided?

1955 CJ-5, A friend for 58 years....1951 CJ-3A, a new addition. 1929 Model A Ford Closed Cab Pickup...

Offline athawk11

  • SMF Administrator
  • Flatfender Master
  • *****
  • Posts: 2818
  • Karma: +0/-1
  • 1949 CJ3A
    • View Profile
Re: Hawk's 1949 CJ3A
« Reply #167 on: May 11, 2014, 12:09:36 AM »
Quote
Will the jeep be the same color, or has that not yet been decided?

The jeep color is going to be a very pale yellow.  Almost a cream.  Should be a nice contrast to the wheel color.

Tim
2-1949 CJ3As
1-1946 CJ2A

Offline zooke581

  • Willys Guru
  • ****
  • Posts: 224
  • Karma: +0/-0
  • Still Plays With Jeeps
    • View Profile
Re: Hawk's 1949 CJ3A
« Reply #168 on: May 11, 2014, 08:36:29 AM »
Very nice job.  I'll send mine over.  OD please.  ;) 8-)

Offline Kirkski

  • Flatfender Master
  • *****
  • Posts: 526
  • Karma: +0/-0
  • Still Plays With Jeeps
    • View Profile
Re: Hawk's 1949 CJ3A
« Reply #169 on: May 11, 2014, 09:56:41 AM »
 I really like your color choice! As well I really enjoy your build as it moves along. Being fairly new to the site and 3A ownership its wonderful to have masters like you to emulate. Keep the pics coming I love every second!
'52 CJ-3A

Offline athawk11

  • SMF Administrator
  • Flatfender Master
  • *****
  • Posts: 2818
  • Karma: +0/-1
  • 1949 CJ3A
    • View Profile
Re: Hawk's 1949 CJ3A
« Reply #170 on: May 15, 2014, 12:13:14 AM »
Thanks Kirkski.� I really appreciate your kind words.� I'm no master.� Just another guy trying to work my way through another Willys rescue.


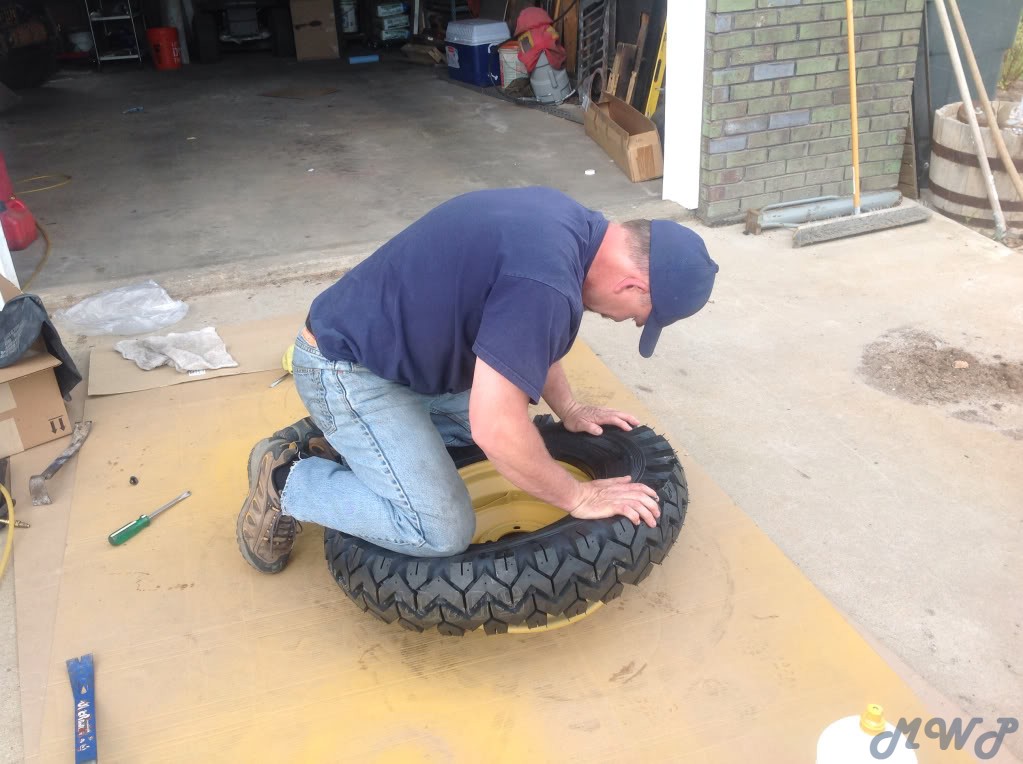
I decided to try my hand at mounting the rubber.� I watched a couple youtube videos, and determined this was well within my skill set.�

Tools of the trade...
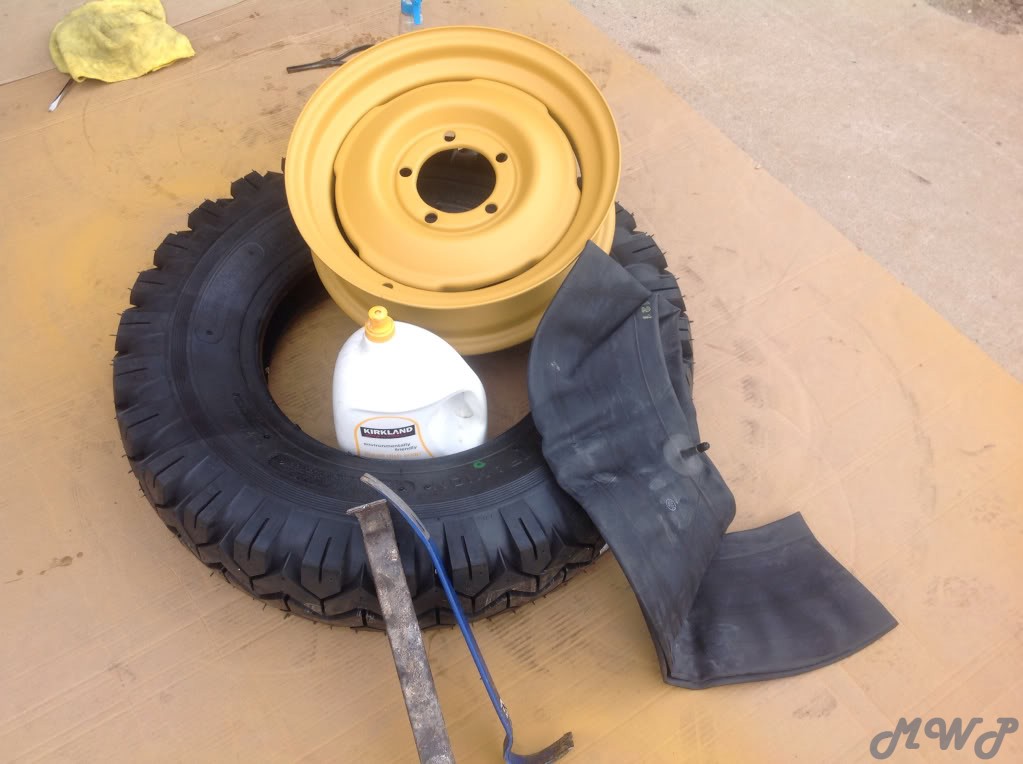


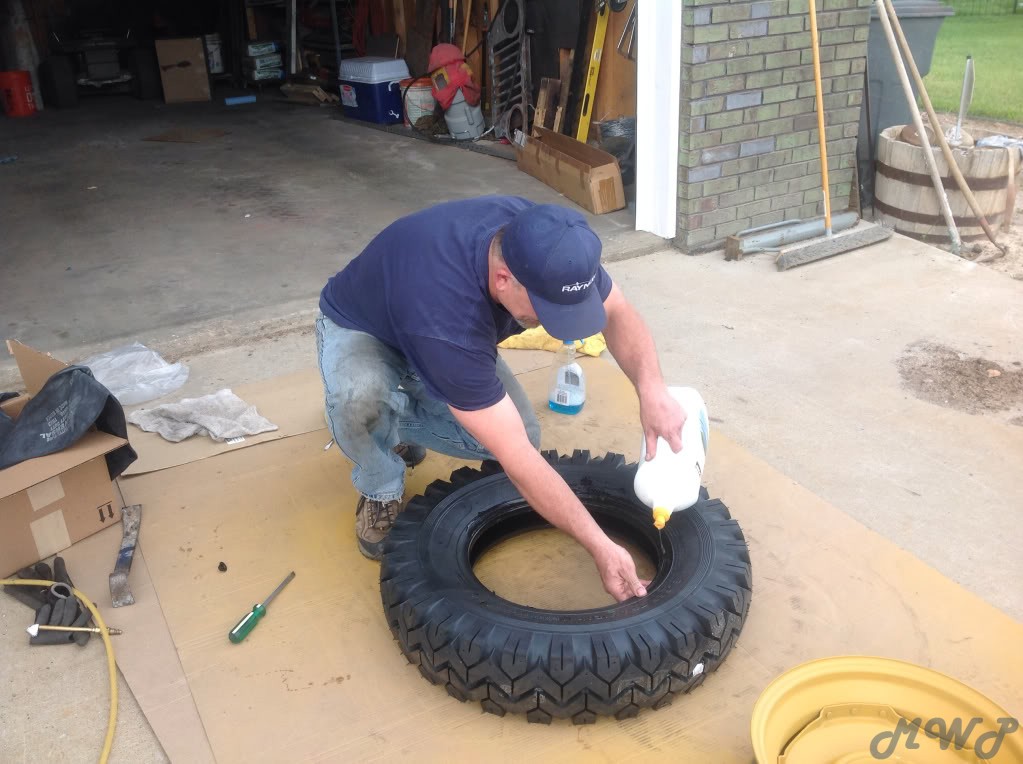
I soaped up the wheel and the rubber.�


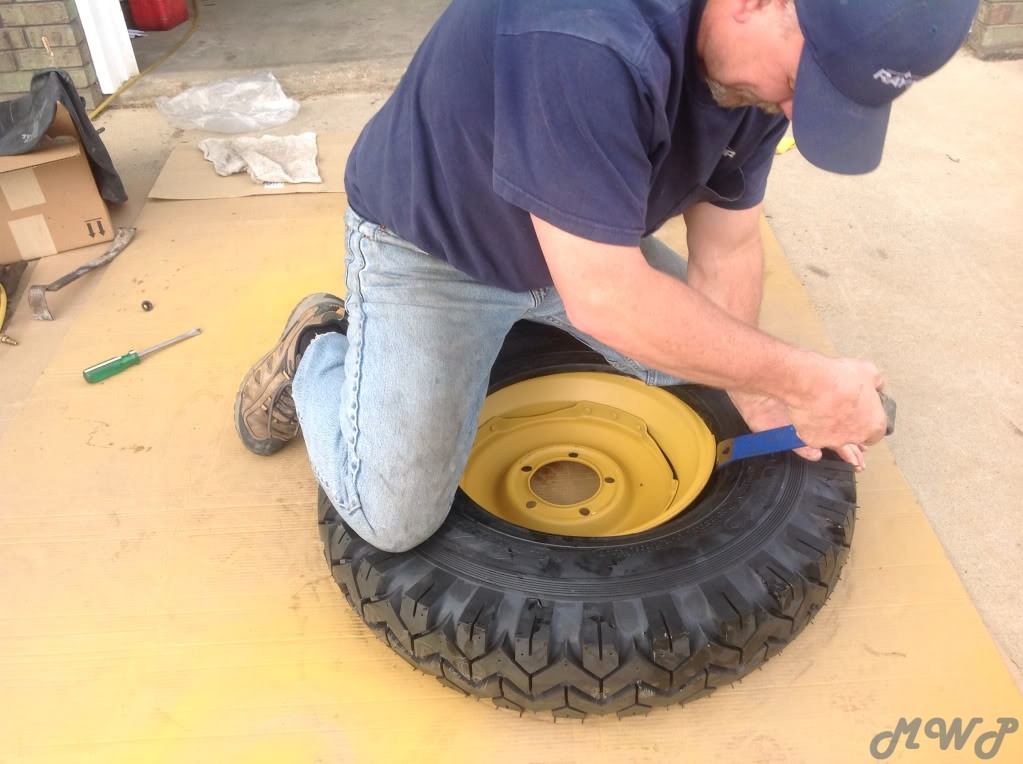
I pressed the rim into the tire, then carefully used a couple Wonder bars to guide the first bead over the edge of the rim.


Next, I fed the tube into the tire.� I aligned the valve with the hole in the rim.

I inserted the protective valve stem bushing into the hole then pushed/pulled the tube valve into position.
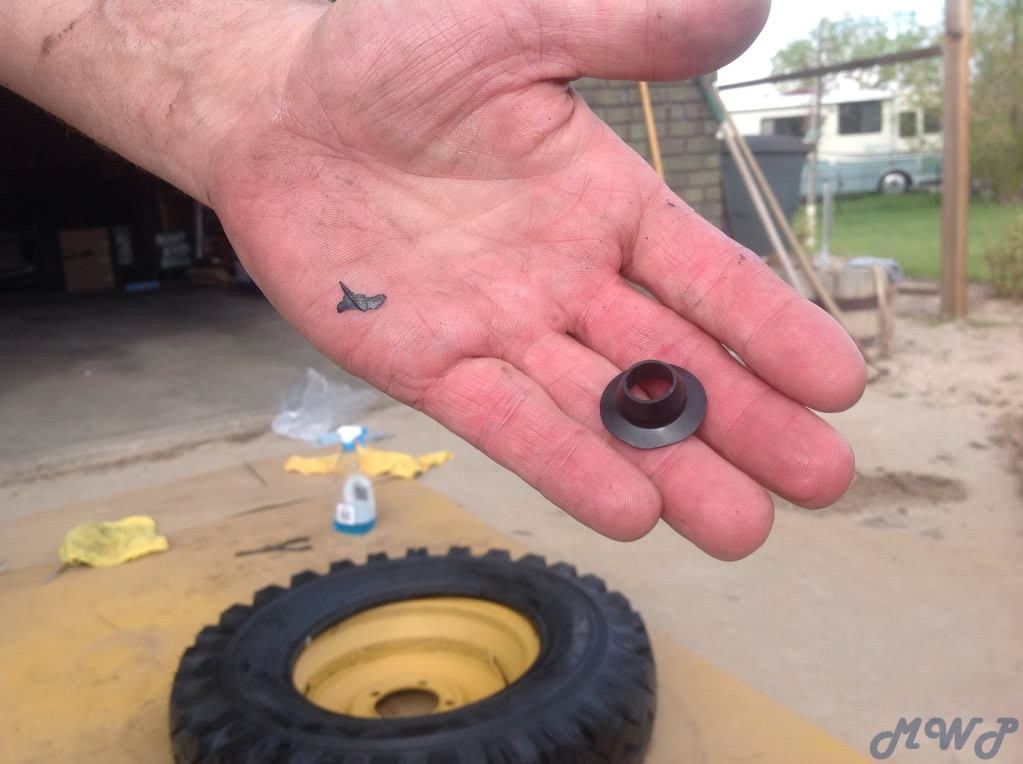


I then soaped up the rim and tire before working the final bead into the rim.� I used the Wonder Bars and my body weight.�
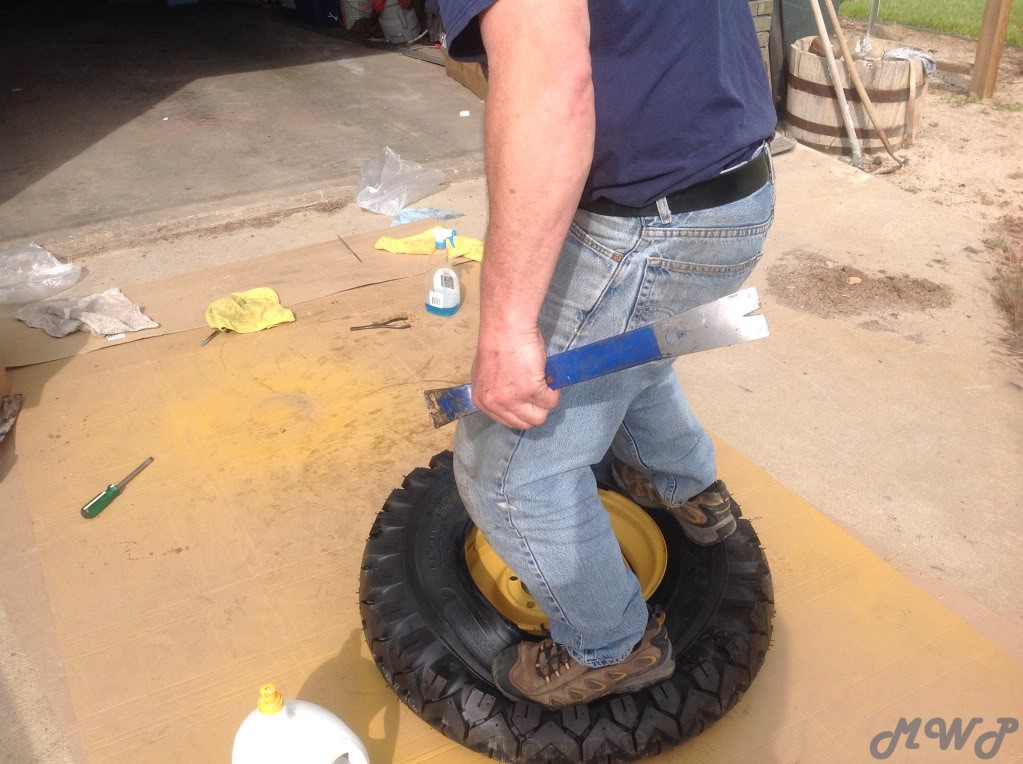
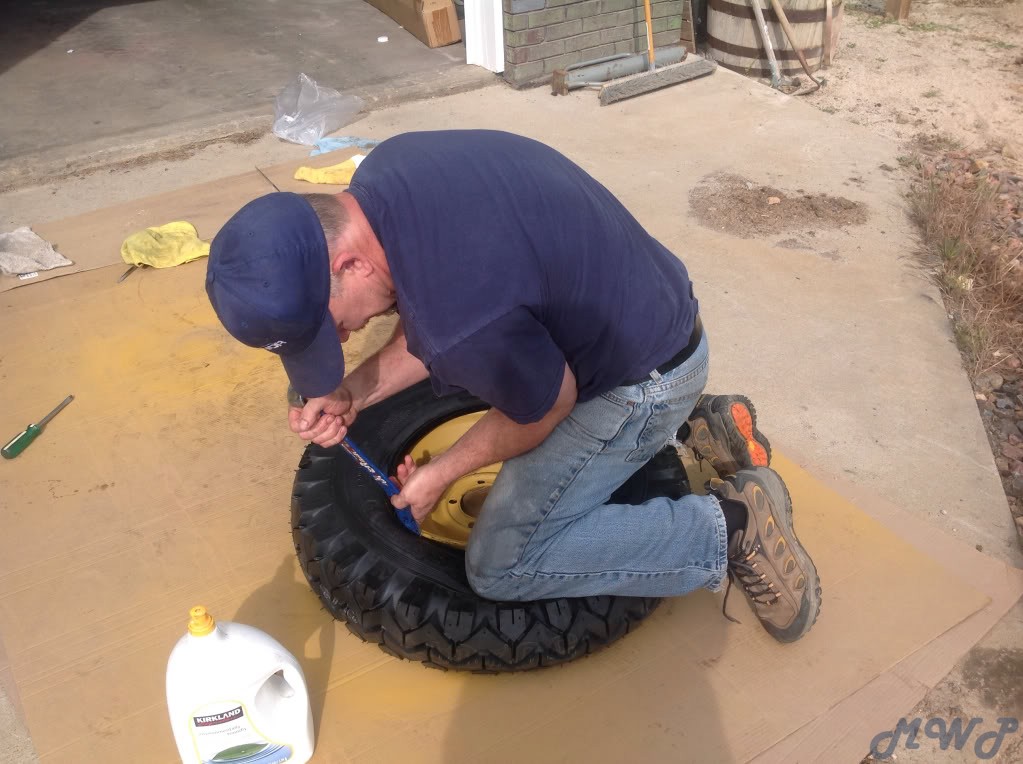


I filled the tire with air until the beads seated, then let the air out.� I don't know that I needed to do this, but I figured it might let the tube settle in better...just in case it got twisted inside the rim.� I then refilled the tire.


Done.
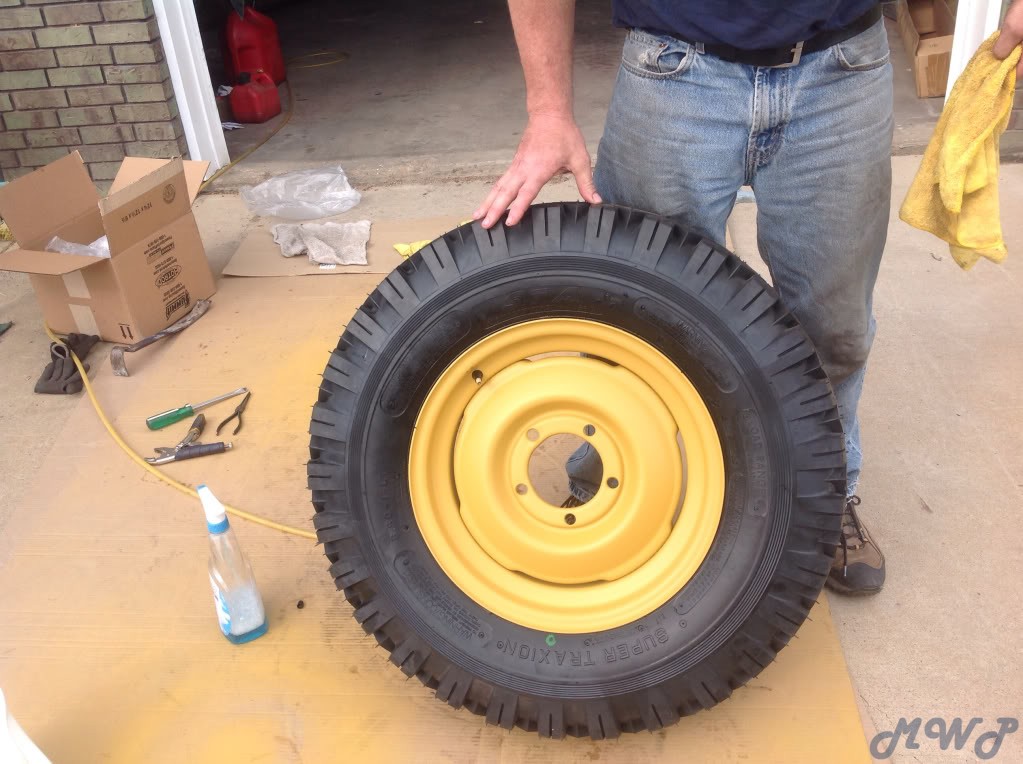


I saved about $100.00 doing this myself.� I will still take them in to get balanced.

Total time for 5 tire mounts...about 1.5 hours.�


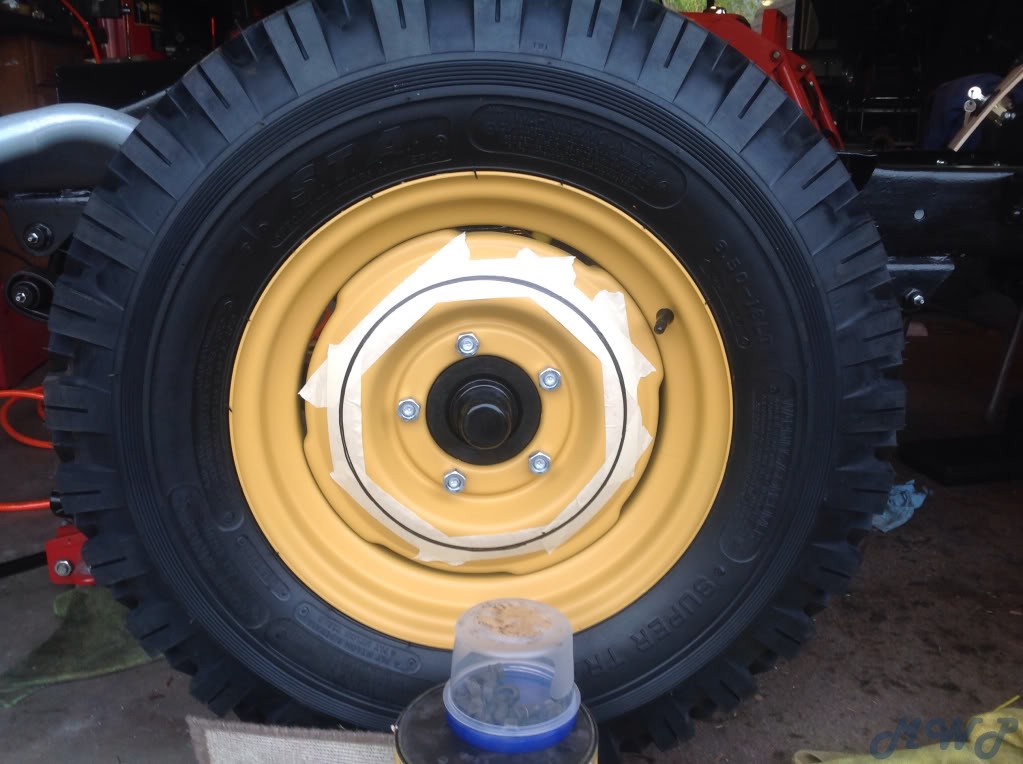
I did an initial "mock up" for the pin stripe.� I'm following the lead set by Ryan on this task.� I mounted the wheel on the Willys.� I taped off the wheel for my initial test. I used a oiled based paint marker by Sharpie.� I spun the wheel while holding the marker to the rim.� The marker was held steady on a temporary platform.� I think this is going to work just fine.


This has been a fun and productive day.� Thanks for looking.

Tim


« Last Edit: October 16, 2017, 01:31:05 PM by athawk11 »
2-1949 CJ3As
1-1946 CJ2A

Offline bretto

  • Willys Guru
  • ****
  • Posts: 486
  • Karma: +0/-0
  • OD 3A cousin
    • View Profile
Re: Hawk's 1949 CJ3A
« Reply #171 on: May 15, 2014, 06:35:41 AM »
It's great to do task on your own!  Nice.  Did those valve stem guards come with the tubes?  When I mounted my NDCC's I used tire talc from Napa, it helps lube the tubes into position.  Also, Harbor Freight has a decent tire iron on the cheap if anyone else should do this.
Did you happen to notice any air getting trapped between the tires and the tubes when you filled them up?  After many months of my tires being mounted, I got a slight phsssh, if I were to wiggle the stems.  Eventually that stopped.  I figured there was just small air pockets that had got trapped that eventually worked out of the rim valve hole.  At 1st I had thought I had maybe pinched and punctured the tubes, but this happened on all 5.  I didn't think I could of screwed up all 5.  My spare, which has never been on the ground still does it barely.  To this day and many miles later I have not had to add any air so I guess I'm alright :)
Looks great!
Brett
Brett Orem, UT� [size=14]PHOTO DIARY OF MY BUILD[/size][/URL]

Offline athawk11

  • SMF Administrator
  • Flatfender Master
  • *****
  • Posts: 2818
  • Karma: +0/-1
  • 1949 CJ3A
    • View Profile
Re: Hawk's 1949 CJ3A
« Reply #172 on: May 15, 2014, 08:57:29 AM »
Hey Brett,
The valve stem protectors were purchased separately.� Big O Tires mounted the wheels for my OD Willys.� The tire guy suggested them.� I figured they were a decent idea.

Yes, there was an air escape around the valve stem that led me to believe I had punctured my first tube.� As I filled the first tire, I could wiggle the valve and air would gush out.� I thought I pinched the tube also.� I was bumbed out.� When it happened on the second tube, I figured pretty quickly that it was the air being displaced from the tire as the tube filled the space.� No way I could have popped both tubes.� Once the bead was set, I let the majority of the air out, then wiggled the valve to let that displaced air out.� I then filled it back up.� Seemed to work fine.

By the way, I was inspired by you doing your own tire mounting. � Thanks!

Tim
2-1949 CJ3As
1-1946 CJ2A

Offline bretto

  • Willys Guru
  • ****
  • Posts: 486
  • Karma: +0/-0
  • OD 3A cousin
    • View Profile
Re: Hawk's 1949 CJ3A
« Reply #173 on: May 15, 2014, 10:09:25 AM »
Ya, I had done the same, let the air out bounced them around a bit to seat the tubes and refilled.  Like you, I also had researched and watched a few vids on the matter.  In the past I had mounted my own radials but never messed with tubes.  Figured it wasn't much different.  Is really wasn't that difficult, right?  I have also removed tires and I think that is more difficult of the 2 jobs.
Brett
Brett Orem, UT� [size=14]PHOTO DIARY OF MY BUILD[/size][/URL]

Offline macrisel

  • Flatfender Master
  • *****
  • Posts: 639
  • Karma: +0/-0
  • Always in the middle of a project
    • View Profile
Re: Hawk's 1949 CJ3A
« Reply #174 on: May 15, 2014, 12:40:35 PM »
One big thing that makes this job easier is the fact using new tires, new tubes and clean, painted rims.  If you ever have to breakdown a 5+ year old tire to replace the tube and then wrestle that thing back on a rusty rim only to find you have MORE leaks after you "fix" it...............paying a tire shop $10-20 to do it on their machine sounds good. 

With that being said, you have to find a good local tire shop that is experienced with tubes.  Your basic kid at Sears tire shop will probably have no idea how to handle tubes and WILL scratch (maybe bend/ruin) your rims.  A lot of time tractor/implement dealerships are the place to go for this.

Great job on the write up and photos!

Offline athawk11

  • SMF Administrator
  • Flatfender Master
  • *****
  • Posts: 2818
  • Karma: +0/-1
  • 1949 CJ3A
    • View Profile
Re: Hawk's 1949 CJ3A
« Reply #175 on: May 15, 2014, 11:28:30 PM »
Mac,  that has been one of my challenges...finding a tire shop that will do it.  On the green Willys, I found one guy at a Big O that was willing to give it a try.  He did fine, but he no longer works there.

Figured I would give it a go, and learn something new.

Tim
2-1949 CJ3As
1-1946 CJ2A

Offline athawk11

  • SMF Administrator
  • Flatfender Master
  • *****
  • Posts: 2818
  • Karma: +0/-1
  • 1949 CJ3A
    • View Profile
Re: Hawk's 1949 CJ3A
« Reply #176 on: May 16, 2014, 07:20:09 PM »
Time to add pin striping to the wheels.

This is my rig�


This is the oil paint pen�


To stripe the wheels, I mounted each to the rear right side of the Willys.� I set my rig into position, then slowly spun the wheel.� They turned out nice.� They do have that �hand painted� look.� The rig took me about 30 minutes to build.� For set up and painting, each wheel took about 5 minutes.


Mounted the wheels to the Willys.� We have a rolling chassis�


« Last Edit: October 16, 2017, 02:20:19 PM by athawk11 »
2-1949 CJ3As
1-1946 CJ2A

Offline 1955CJ-5

  • Flatfender Master
  • *****
  • Posts: 2360
  • Karma: +0/-1
  • It wasn't always green....
    • View Profile
Re: Hawk's 1949 CJ3A
« Reply #177 on: May 16, 2014, 08:40:57 PM »
Nice work on the pinstripes! but we have come to expect that of you....

I think the spare looks good there...everything looks to be ready for a drive around the block.....
1955 CJ-5, A friend for 58 years....1951 CJ-3A, a new addition. 1929 Model A Ford Closed Cab Pickup...

Offline Ryan_M

  • Flatfender Master
  • *****
  • Posts: 1704
  • Karma: +0/-0
    • View Profile
Re: Hawk's 1949 CJ3A
« Reply #178 on: May 16, 2014, 09:57:48 PM »
Thanks for the tire tutorial. Never tried it but certainly seemed like something that could be done.

Great job on the pinstripes too. I like the idea of masking off the rim for a trial run. Were you able to get a clean solid stripe with only one full rotation of the wheel or did it take a couple times around? If multiple turns, did your rig stay solid enough to retrace the same stripe or did it veer off and double the width of the stripe at lines?

Regardless, your end result looks about as perfect as you can get.

Current:
'49 CJ3A
'51 CJ3A
'42 Willys MB-T
'47 Bantam T3-C
Previous:
'46 2A
'51 3A
'52 3A
'52 M38
'54 3B
East Coast Wi

Offline athawk11

  • SMF Administrator
  • Flatfender Master
  • *****
  • Posts: 2818
  • Karma: +0/-1
  • 1949 CJ3A
    • View Profile
Re: Hawk's 1949 CJ3A
« Reply #179 on: May 17, 2014, 12:52:42 PM »
Thank you Randy.� It was a fun project.�

I am close to a spin around the neighborhood.� I am just figuring how to mock up a decent seat, so I came in to review your rolling chassis video.

Ryan,
Again, you were my inspiration on the pin striping.� I didn't have a fancy way to hold the pen, so I made the little stand.� The pen has a chiseled tip that was approximately 3/16" wide.� I spun the wheels twice, but seemed to get decent coverage on the first spin with most of my wheels.� A couple wheels had a slight wobble, so I went around a couple times adding a bit of pressure at the pen tip.� Not all wheels turned out perfect, but they will be passable for most Willys enthusiasts. ;)�

Well, back out to the garage!!

Tim�
2-1949 CJ3As
1-1946 CJ2A