As I progress through the disk brake install, I'll try to give some feedback and reasoning to parts and methods I used.
Parts list:
Brackets and spacers - from Brennan Metcalf
Calipers - BECK/ARNLEY 0770705S / 0770706S (you'll need rights and lefts)
rotors - DURAGO BR3222
pads - CENTRIC 30104180
studs - RAYBESTOS 0528B
hoses - CENTRIC 15066055
Caliper bolts - M12-1.25x30mm and washers (I might swap these out for flange bolts later on)
Calipers, rotors, pads are off a 1995 Suzuki Sidekick 2 door (four door uses different parts)
Hoses are off a 1995 Chevy S10 Front 2wd
studs - no idea, just search the PN
There are a few options out there for studs, the reason I chose the ones I did because they have a shorter knurled section than the factory studs (factory studs have to go through the hub AND the drum).
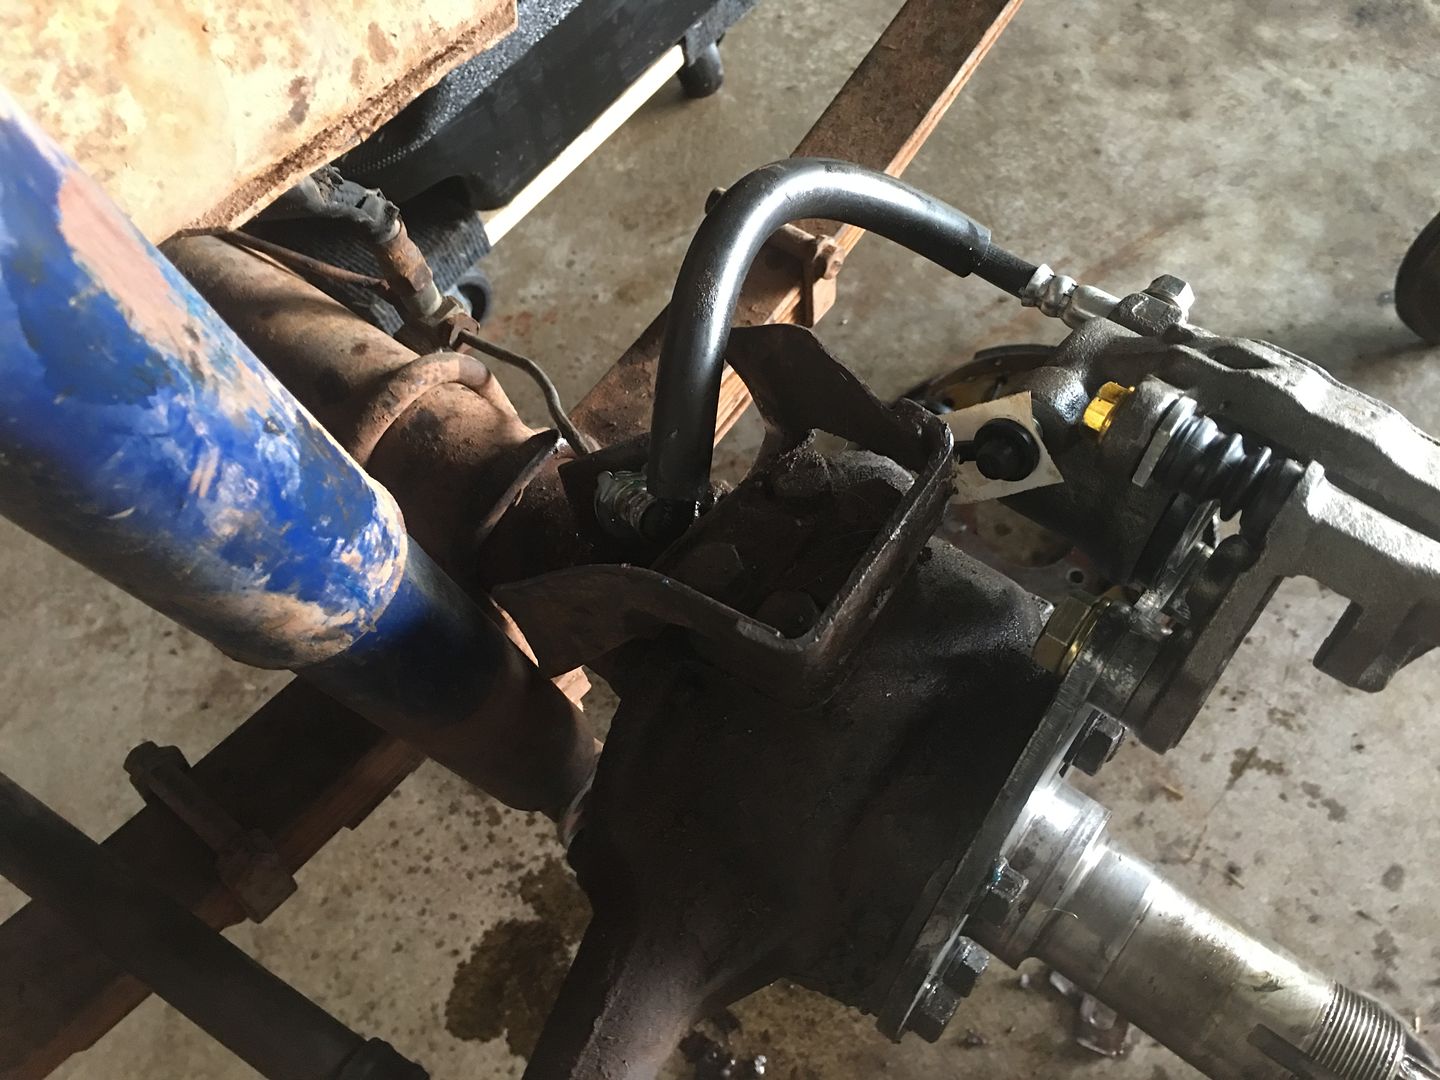
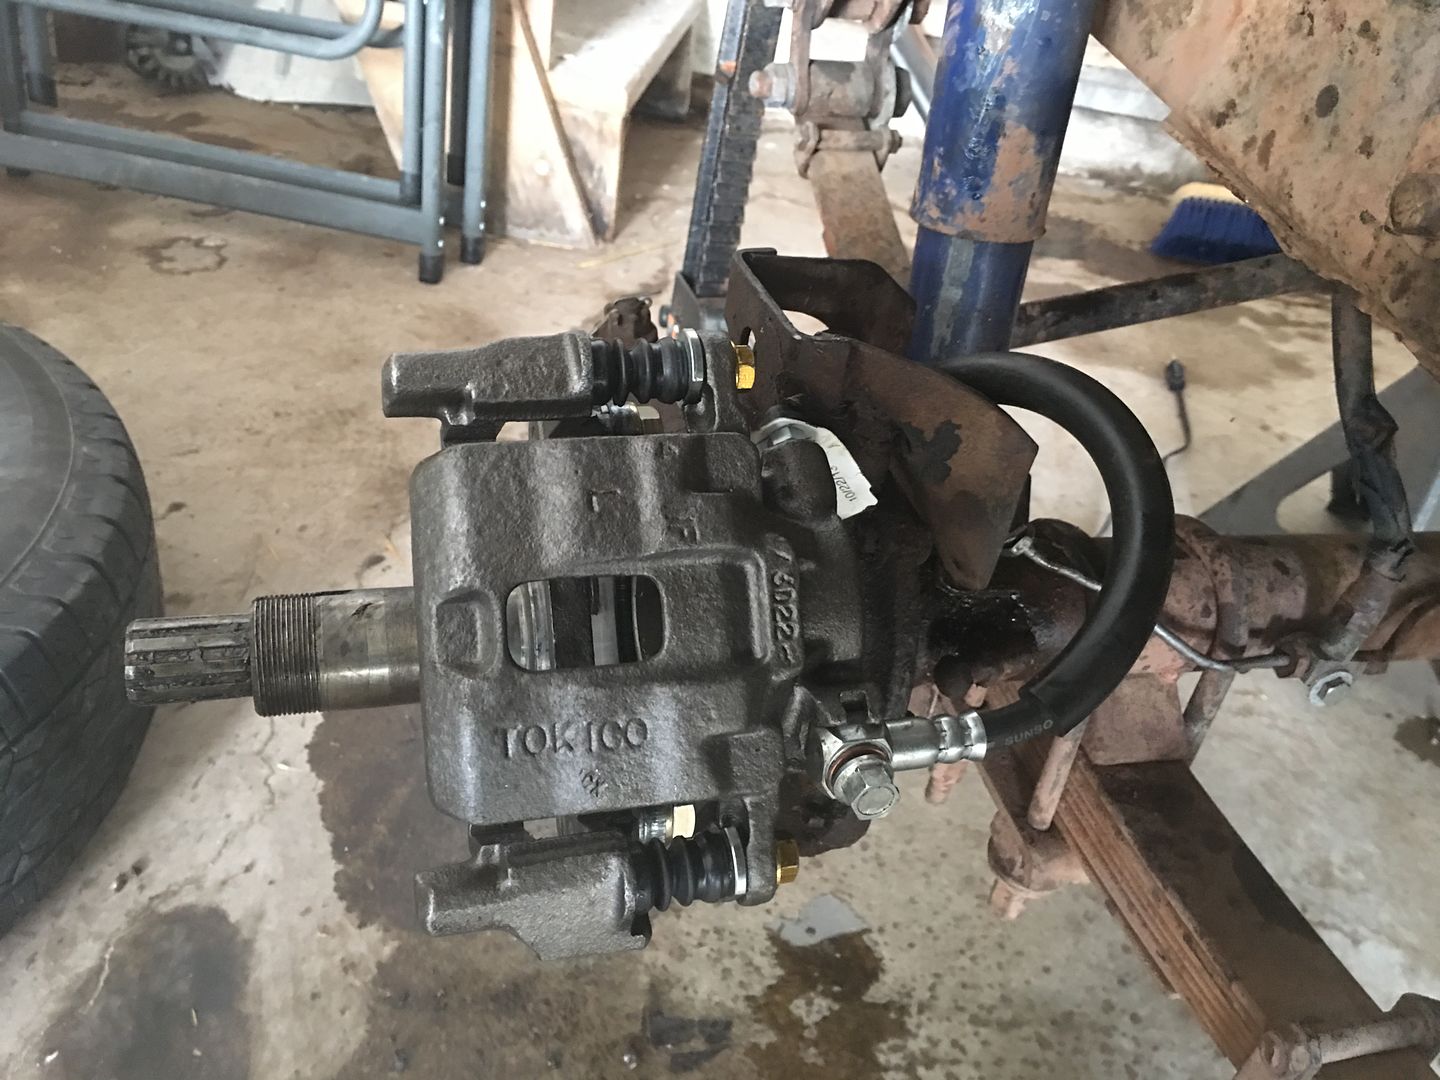
Likewise for the brake hoses. There are a few options and lengths out there, some people even seem to opt for having customer hoses made. I prefer to use off the shelf parts for ease of replacement. The banjo end of the hose will bolt directly to the caliper (the calipers I bought came with a 10mm banjo bolt, copper washers, brackets, and clips to retain the pads). I did use the same S10 brake hose on all four corners.
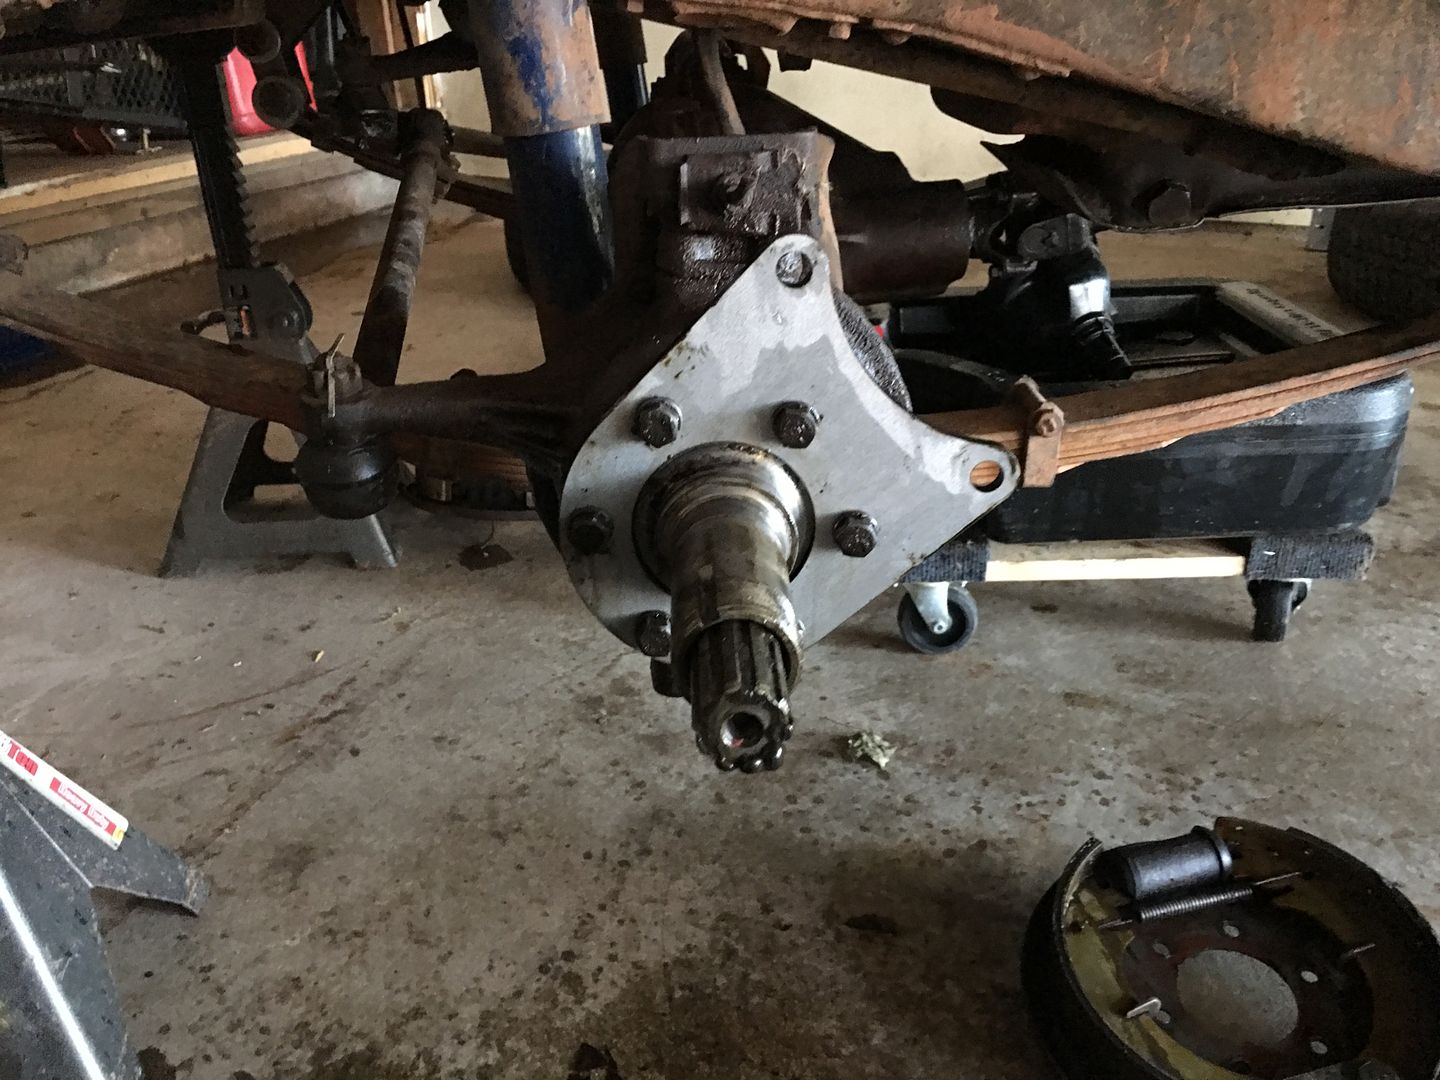
The bracket installation is pretty straight forward. I clocked mine as show for ease of routing the brake hoses, but more on that later. The spindle bolts between the bracket and the knuckle. The bolts in my knuckle were long enough to get more than a few turns of engagement. If you're don't get at least three threads of engagement, get longer bolts.
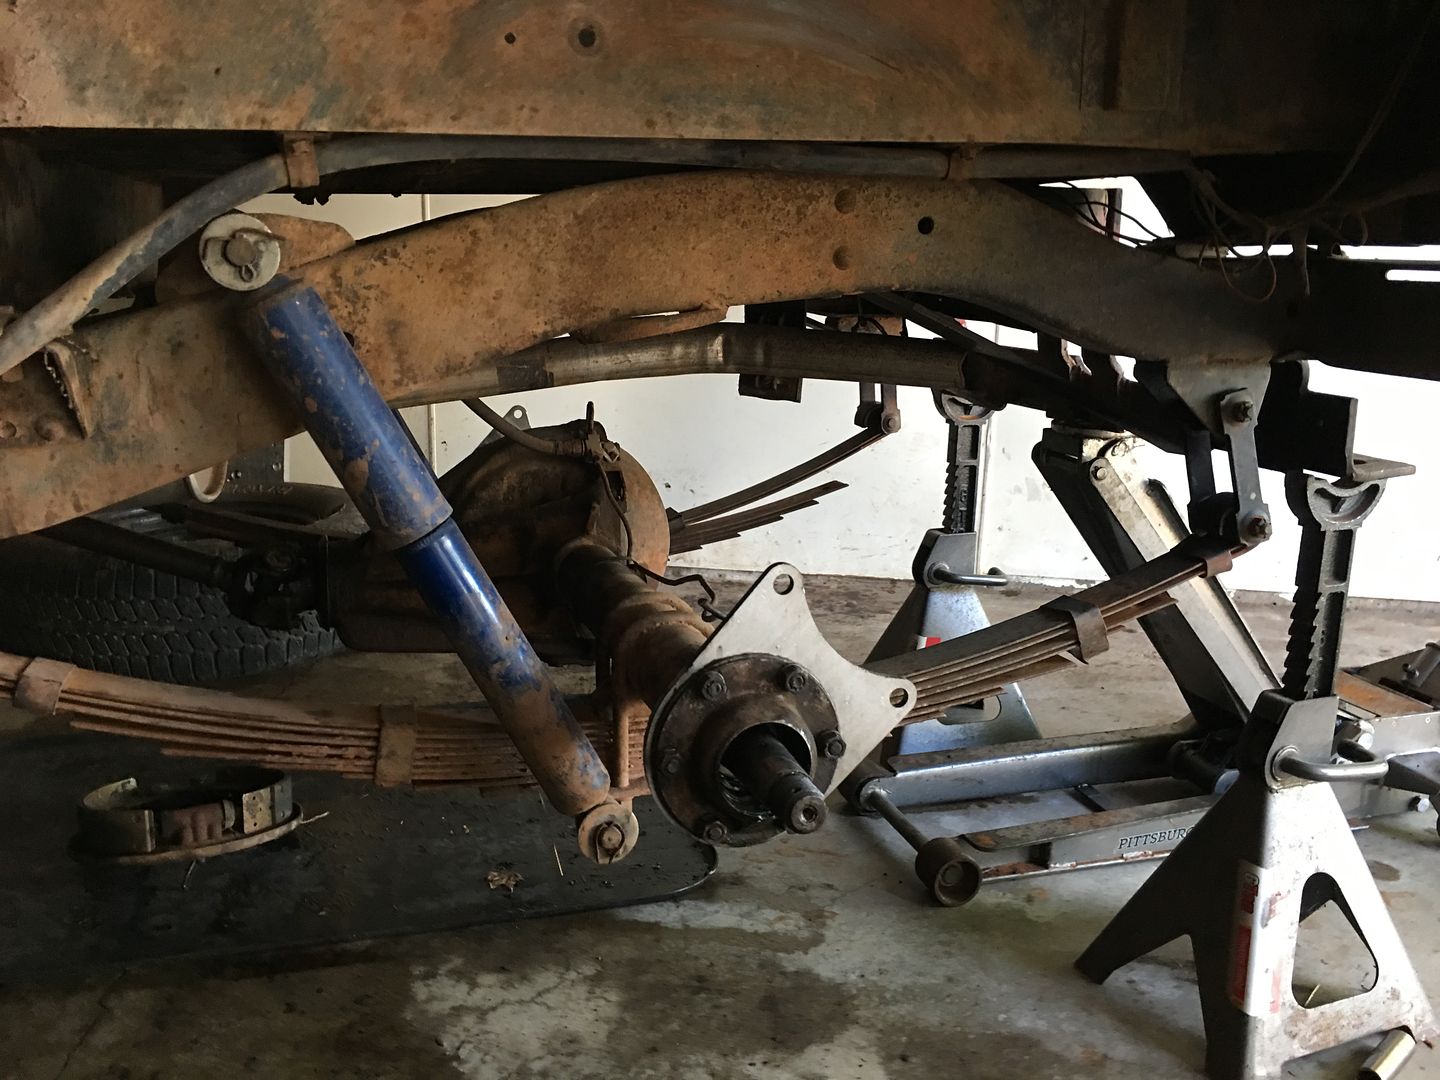
The rear brackets mount much the same way. I also chose to clock mine toward the rear because the hard brake lines on my rear axle were on the back side of the axle. With these, you need to position the shims, bearing retainer, then the bracket, then outer oil seal last. If you don't do it in this order, you will have alignment issues.
I didn't take any pictures of pressing the studs out of the drums and rotors. The fronts were fairly easy with a hydraulic press. The rears were a different story because of bring crimped/swaged. I ended up mounting the rears in my milling machine to cut the heads off the studs and pounding them out with a sledge hammer. Word to the wise, wear ear muffs as it gets loud banging on them.
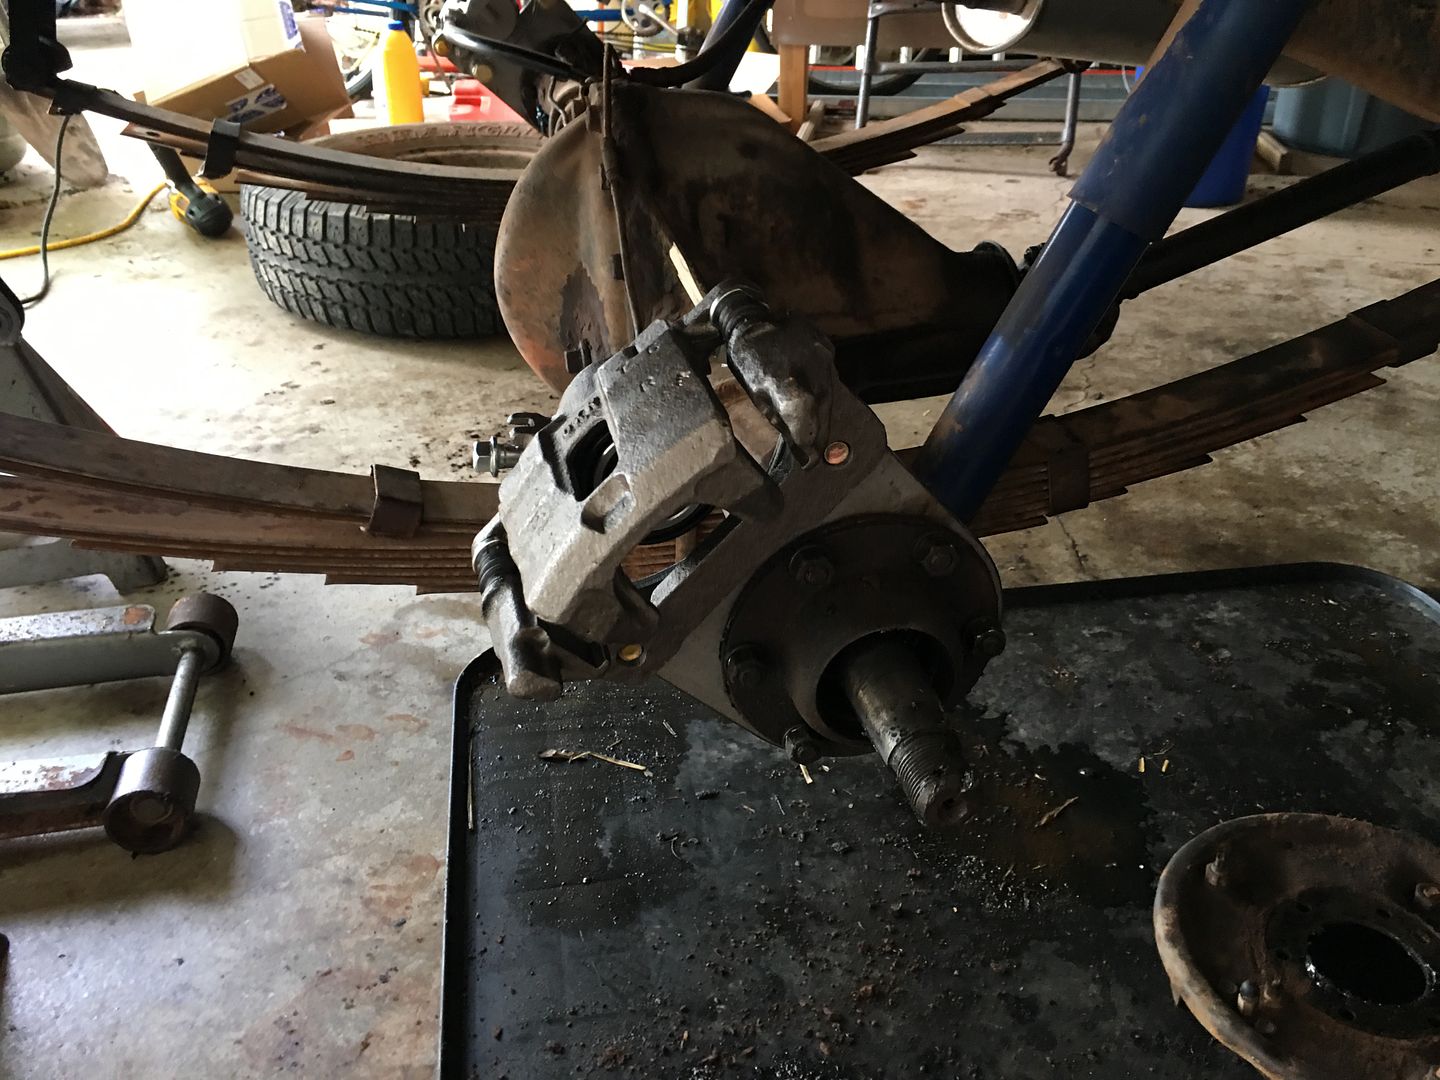
This is how the bracket and spacer get oriented. The caliper mount bracket goes outboard of all that. It's important to note that when installing and orienting the calipers, that the bleeder needs to be the highest point on the caliper, otherwise it will be darn near impossible to bleed.


With the brake hose installed, you can visualize how I intended to connect my hard lines. I'll make a little bracket that attaches to the axle between the u-bolts so it's out of the way.
Really the only modification that needs to be made to the re-used portion of the existing brake system is right here at the hard line on the rear axle. The hard line needs to be shortened and re-flared. That's it.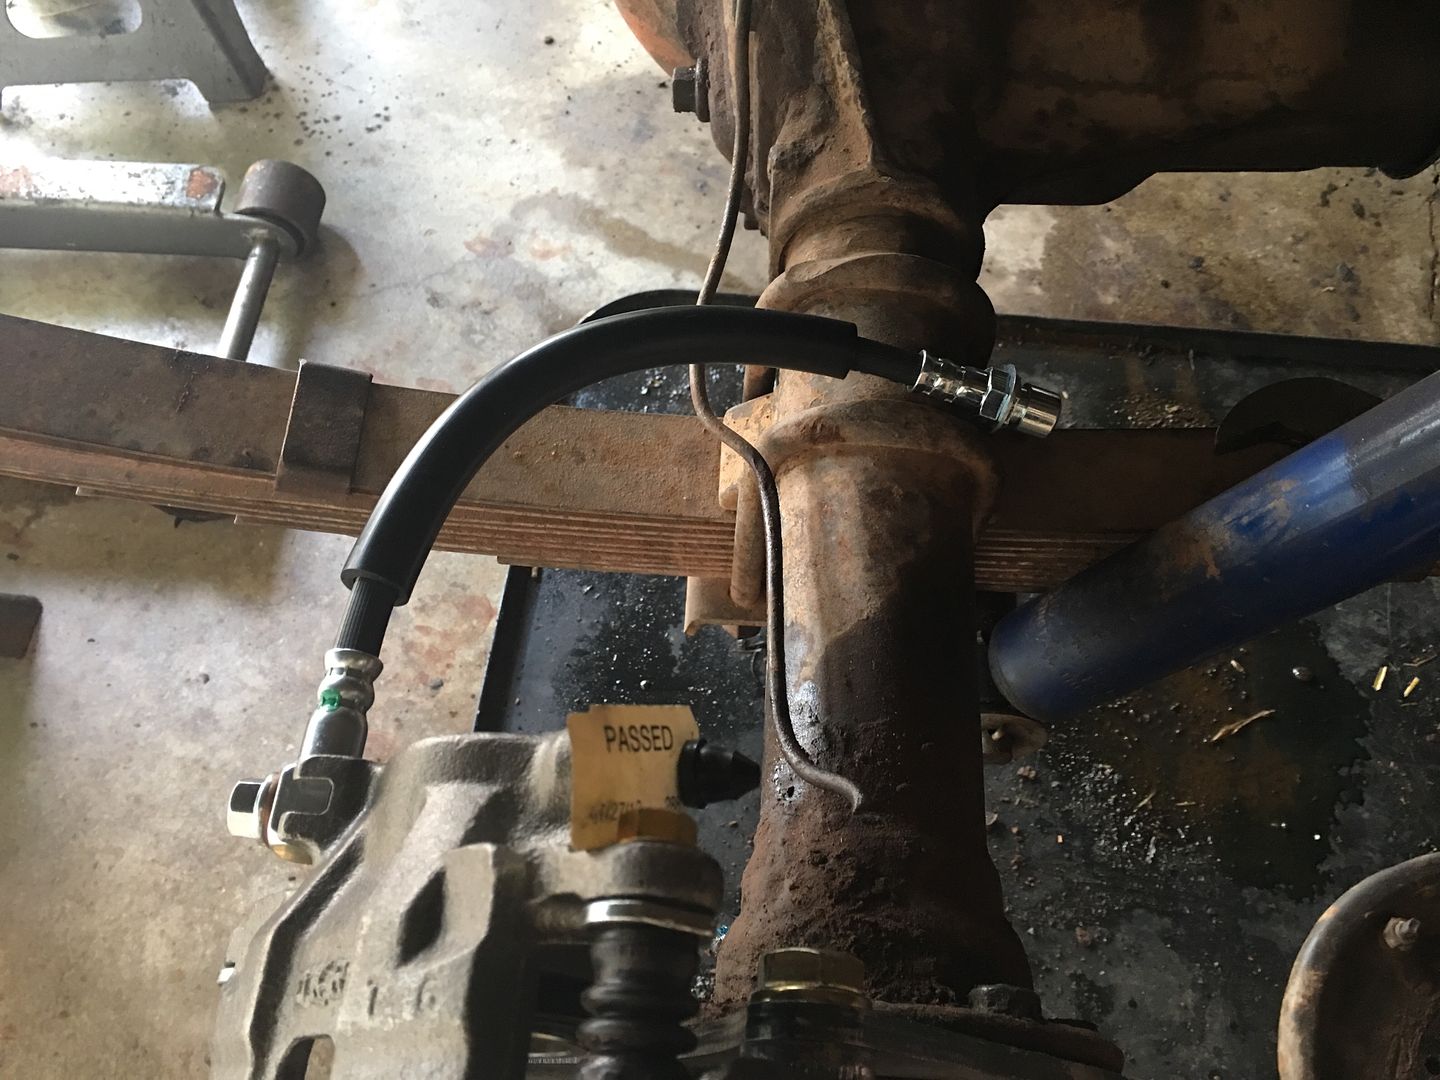
The fronts go together in a similar manner.
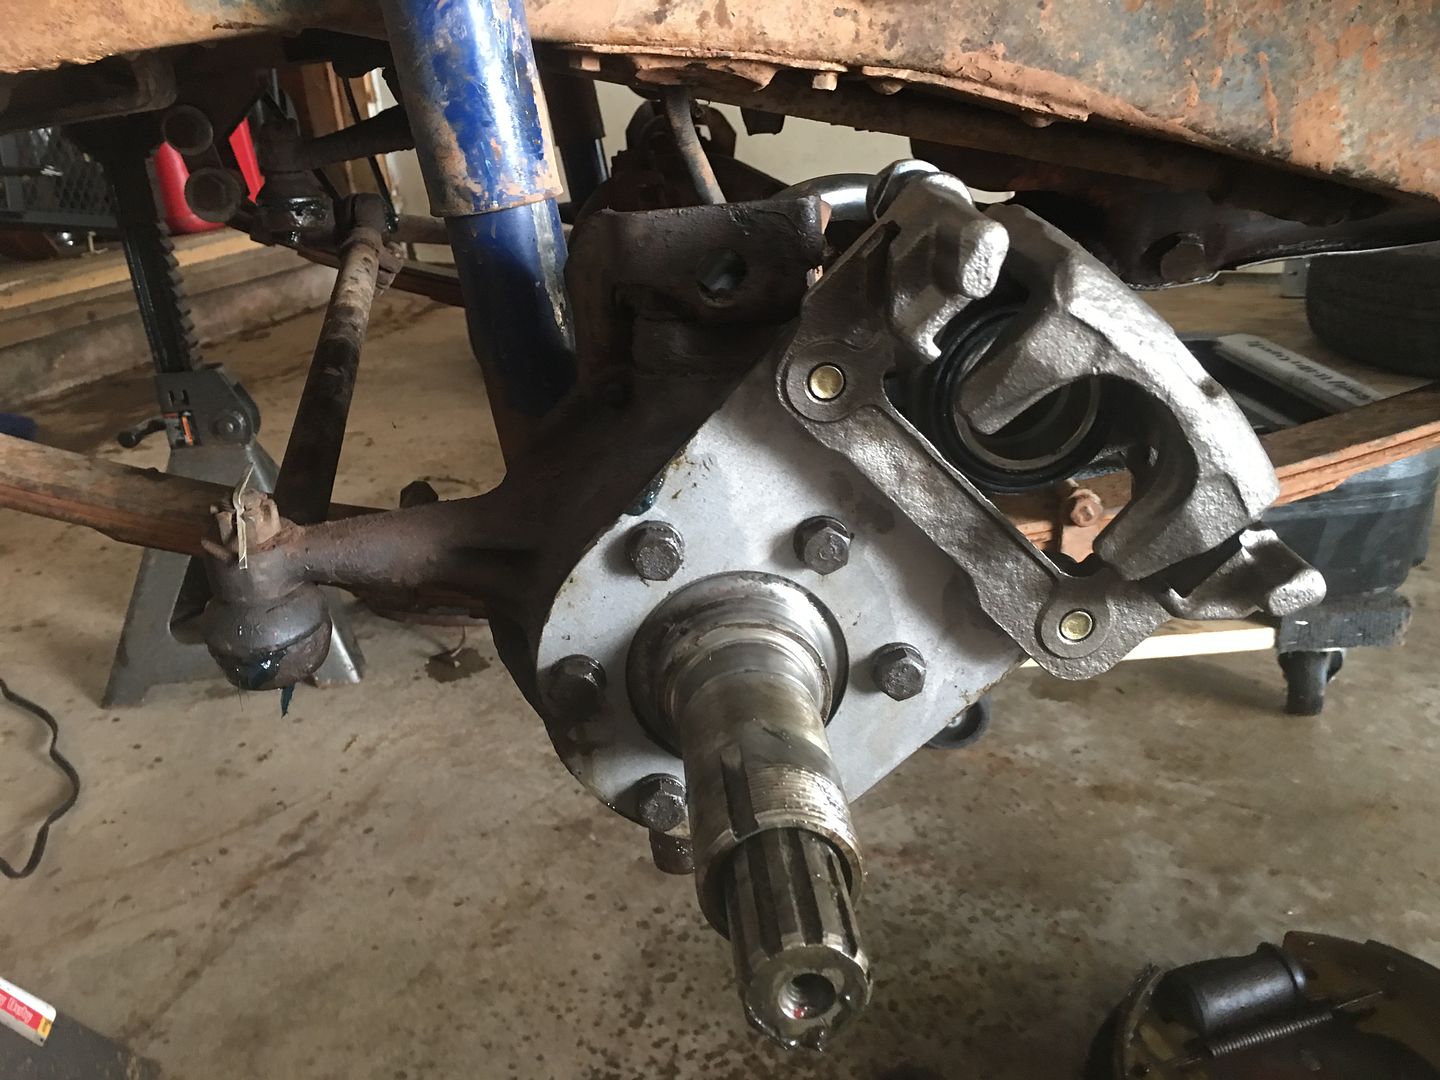
This shot highlights why I chose to use the S10 lines. It has plenty of length to use the existing bracket AND will mate to the factory hard line.
I did opt to order new lug nuts since I was replacing all the studs and mine were a horrible mix of right and left hand thread and different size hex's. One quick note on installing new studs. There are other stud recommendations out there, but the ones I referenced above seem to be the best because they have a shorter knurl on them. If you don't opt to use new studs with the shorter knurl, you will have to drill out the back side of the rotor line Gunslinger had to do in his thread -
http://www.cj3apage.com/cgi-bin/3Ayabb26/YaBB.pl?num=1523122427/2
The final step was putting it all together.


