The CJ3A Page CJ3B.info

Show Posts

This section allows you to view all posts made by this member. Note that you can only see posts made in areas you currently have access to.


Messages - bretto

Pages: [1] 2 3 ... 30
1
PAST EVENTS: / Re: Colorado Fall Colors Tour 2015
« on: August 14, 2015, 05:28:21 PM »
Long gone, they were at the end of their life anyway and.  I suppose I'm a dummy for not keeping and selling the wheels.

2
PAST EVENTS: / Re: Colorado Fall Colors Tour 2015
« on: August 12, 2015, 12:58:09 PM »
Cool Rick, I will try to call you tonight when I get home.

3
PAST EVENTS: / Re: Colorado Fall Colors Tour 2015
« on: August 09, 2015, 01:41:08 PM »
I slightly thought about flat towing option but don't want to tow on my NDCC's.  Maybe if I had another set of shoes then drop the prop shafts and go.

4
PAST EVENTS: / Re: Colorado Fall Colors Tour 2015
« on: August 09, 2015, 12:45:00 PM »
Quote
Quote
Hope it pans out for me getting work off.� I have been even eyeing a trailer here and there but don't know if that will happen.� Time is ticking down quickly.
I'm looking at borrowing a pals 28ft gooseneck.. Waddya think?? 2 jeeps, one trailer. 50/50 chance.
Whoazahs!� Now your talkin.� Tell him its necessary.  You got the set up to tow something like that?
With that I guess I better figure it out quick if I can get the time off.

5
PAST EVENTS: / Re: Colorado Fall Colors Tour 2015
« on: August 09, 2015, 08:58:02 AM »
Hope it pans out for me getting work off.  I have been even eyeing a trailer here and there but don't know if that will happen.  Time is ticking down quickly.

6
PAST EVENTS: / Re: Old Willys Forum Moab Rally 15-17 May 2015
« on: May 08, 2015, 09:18:34 PM »
I'm surprised there isn't an established formal flat fender event out here.  I'd like to go to this but I don't have a trailer to get down there.  Sad, it's only 3 ours away to.
Brett

7
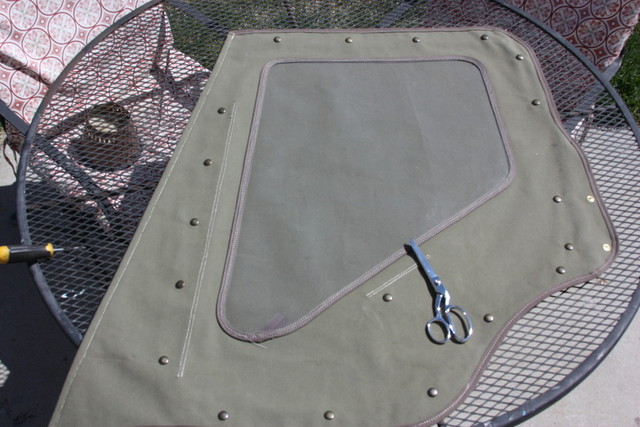
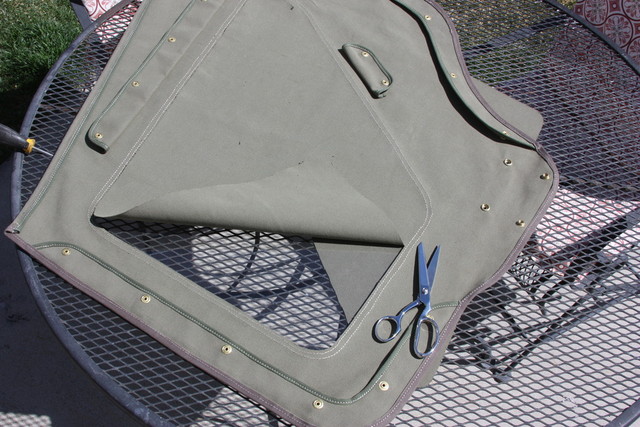
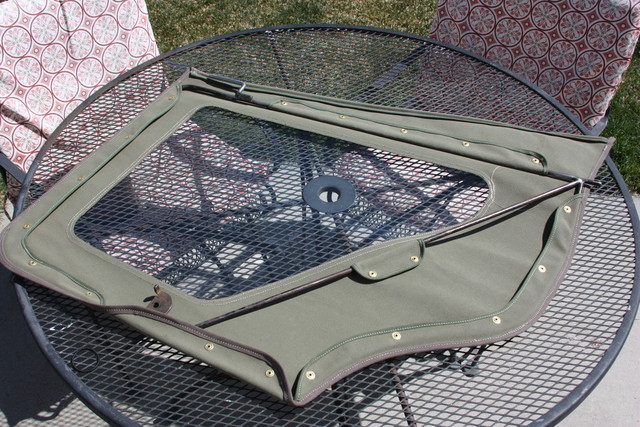
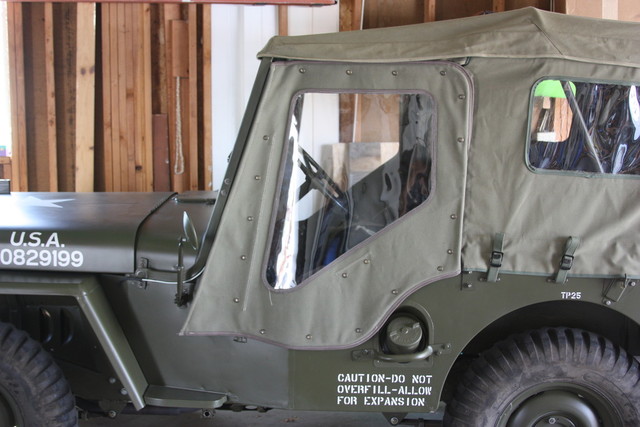
Doors project completed.
Although they look good, I have to admit, I am not a big fan of them as it really closes things up.  There are a lot of blind spots and driving with them on in today' traffic is an adventure.  No wind is nice but I was actually getting hot and wish I had a vent of sorts.  Its the season though to having them off, just had to try them out.

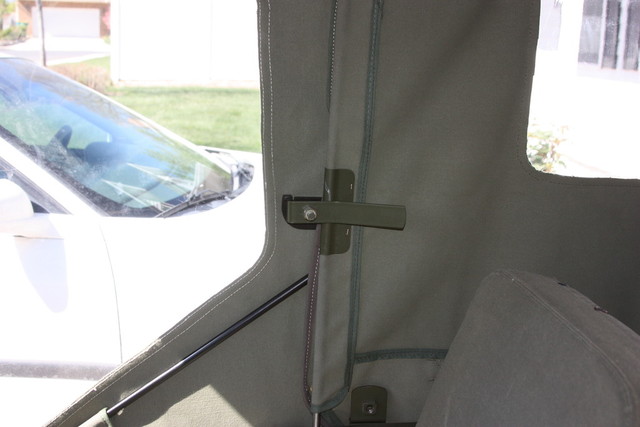
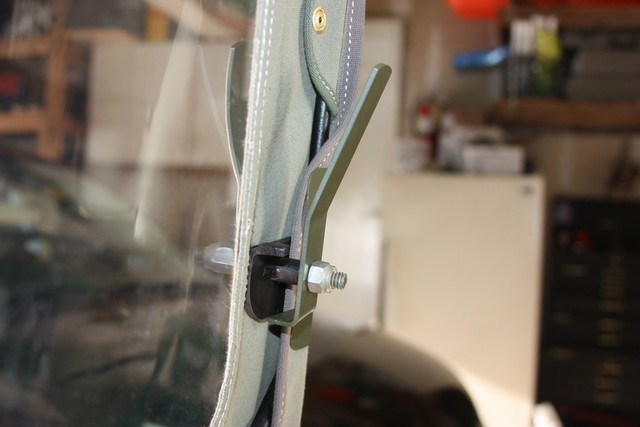
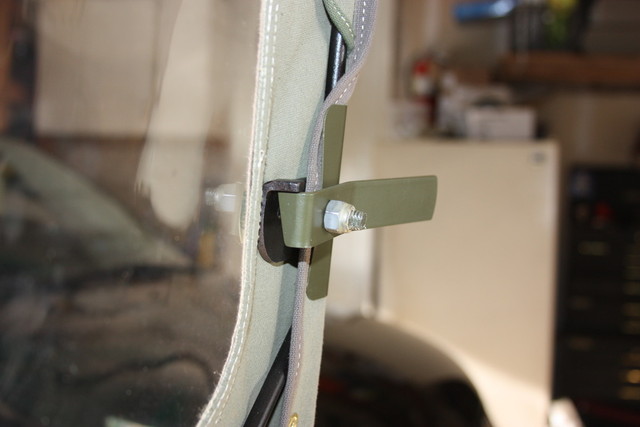
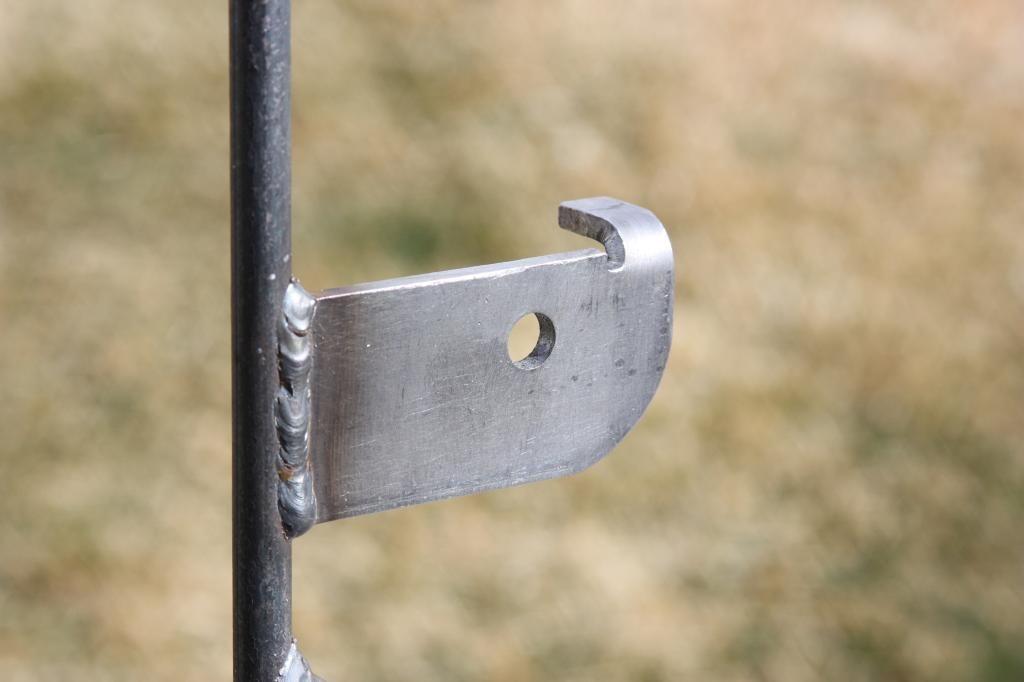
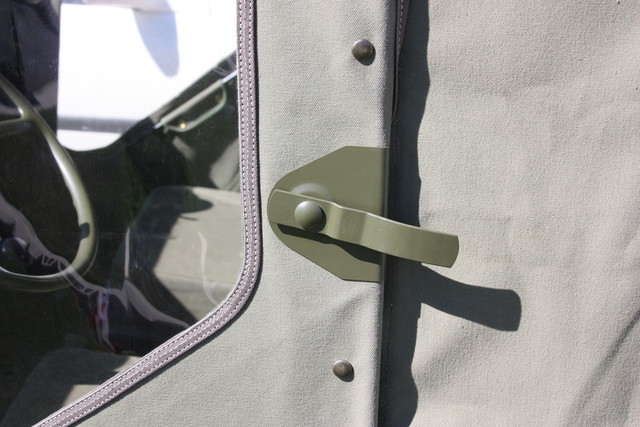
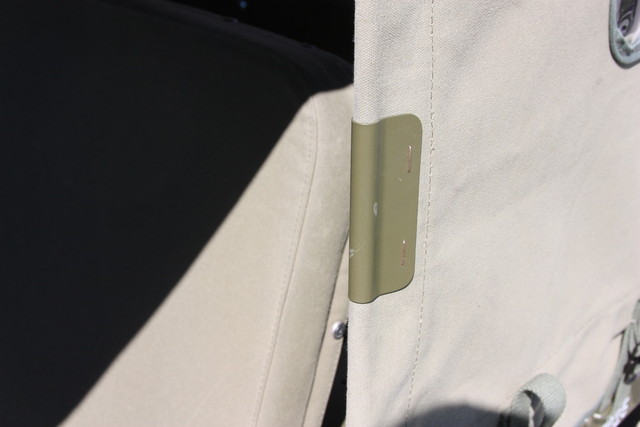
Here are some pics of the handles.  I ended up not using the handles I bought from MWM and used stock ones (on the exterior), made the interior ones and the striker plates.  I still don't know how the the stock set-up ever works.  Its seems everything is too thick for the stock distance between the handles.  By the time I had all the plates on and the fabric, there was no way that pin was going to reach between the handles.  I also welded about a 3/4" of tube to the door frame bracket as a bushing for the handle connection.  I then used carriage bolt for the connecting pin, that's the head you see on the exterior.  Then I have fiber washers between everything, its really smooth and firm.


8
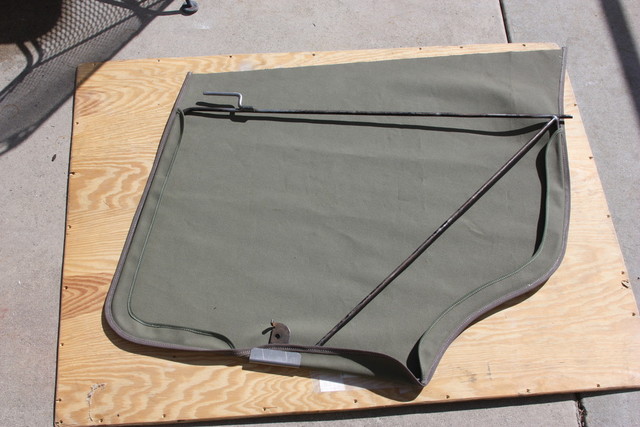
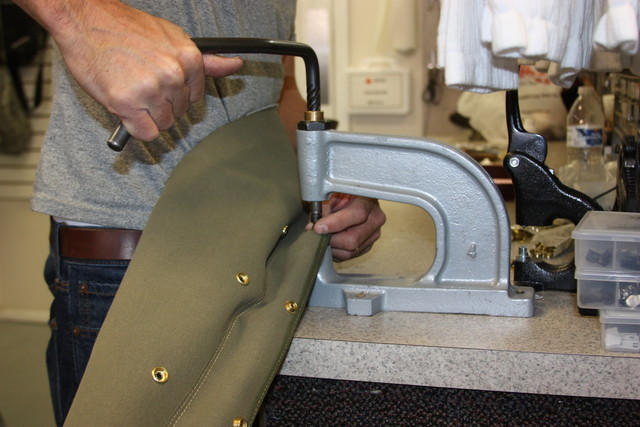
Here's the progress thus far.  Instead of using the pricey common sense fasteners, I opted to just use some snaps.  I now have to work on the handle detail. 
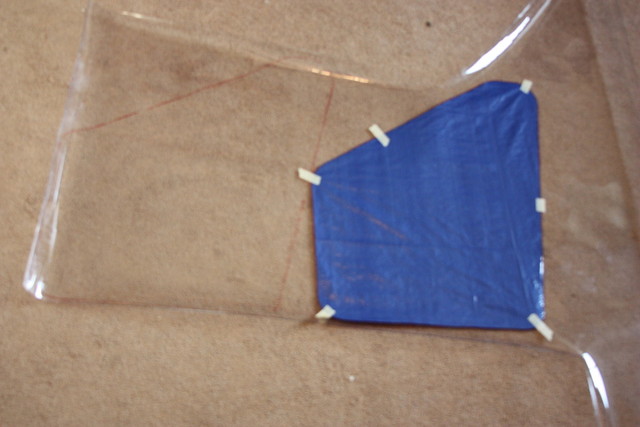
There is a great sense of accomplishment in doing stuff yourself but with that, let it be know that the price you pay for someone else making these door skins is a bargain.


[/b]

9
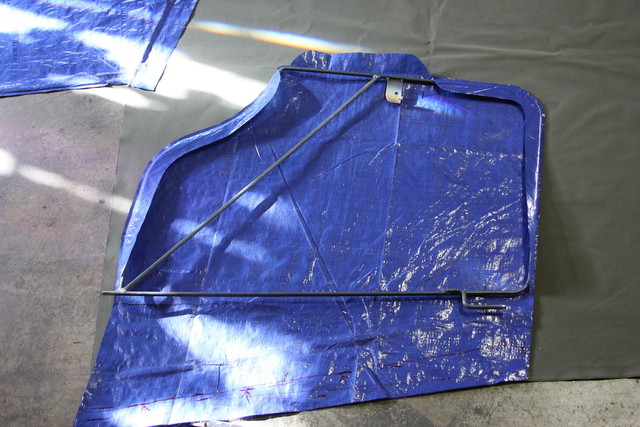
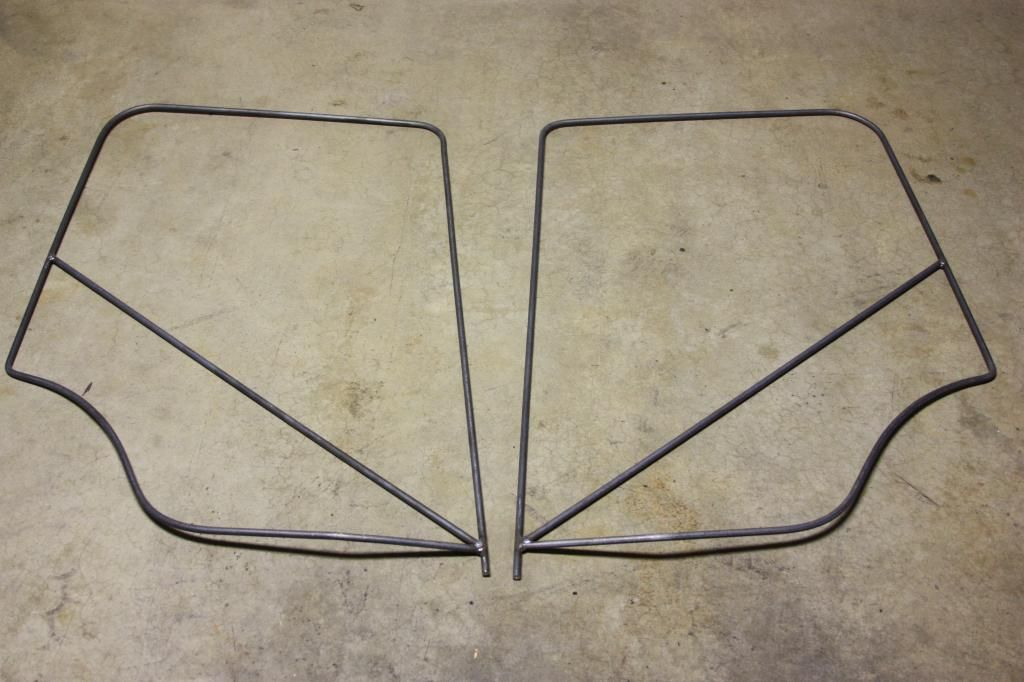
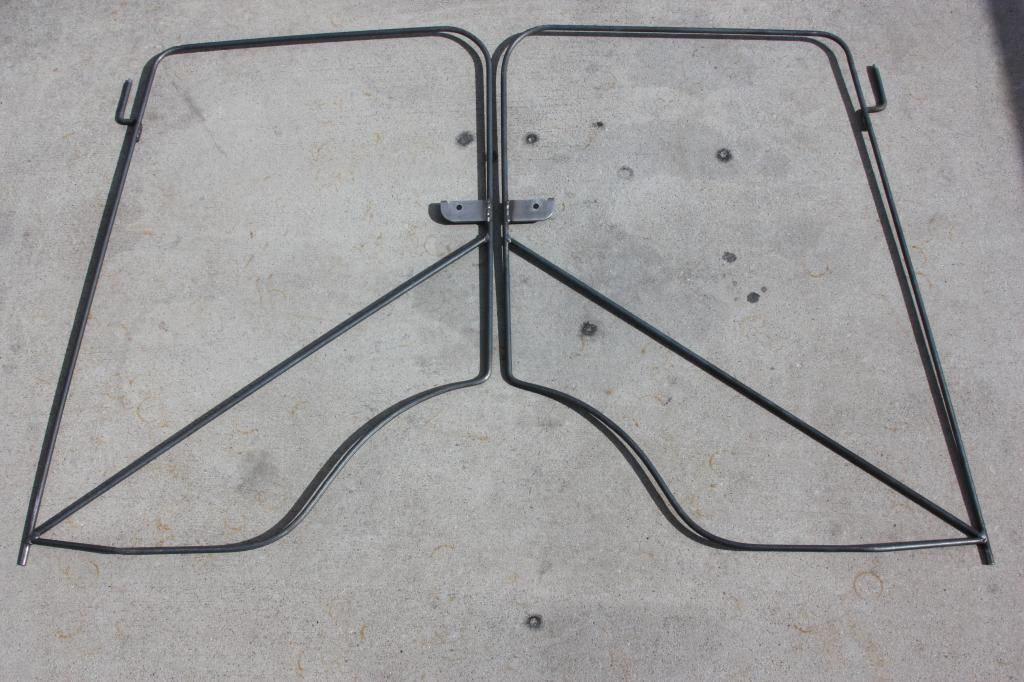
Bent me out another set of frames copied from the ones I got.

I kind of did this just to see how hard it may be and to use my bender.  It wasn't too bad.  The hardest part was actually making the bracket the handles attaches to.  I wish I had another CJ around to see how well these would fit.  From twisted window frames, bent mounts, crooked tubs....etc, I'm sure, across the board, there would have to be some tweaking done from one Jeep to the next.  It's really not that hard to bend to fit though.

I think I could bust out a few more someone was interested.  One would have to supply their own handles and escutcheons.  I got mine from Midwest Military.  I don't have the means to make those plates.  I would be able muddle thru making handles but don't really want to.


10
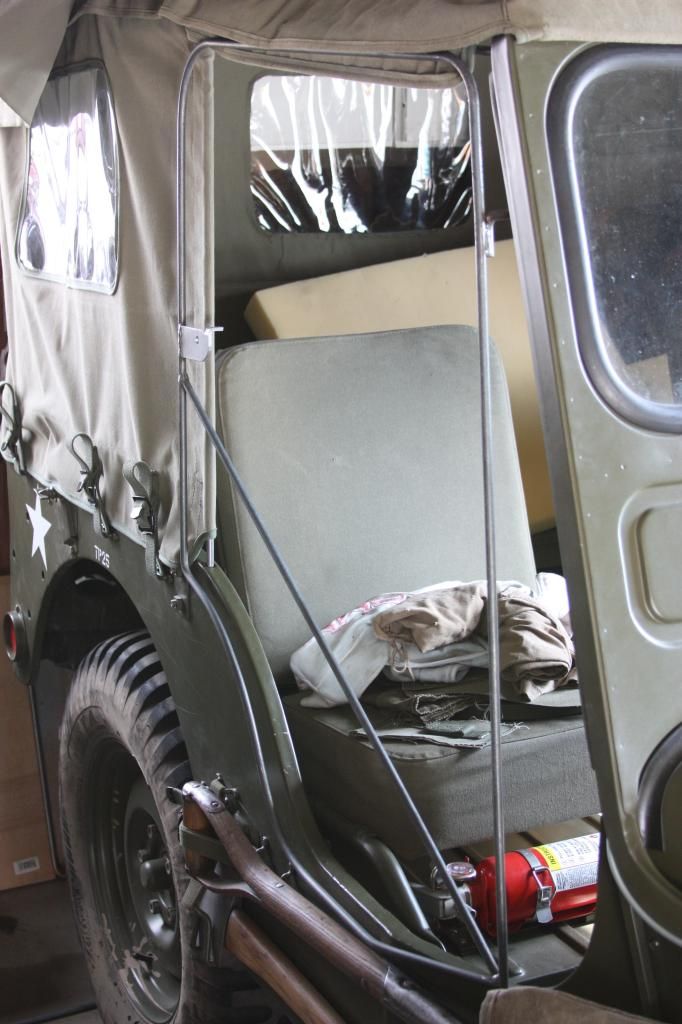
Sometimes my ambition gets ahead of me.  "This will only take a few hours".  Started at 8am just got done at 6pm.  Had to tweak the heck out of the frames this way and that before I got them just right.  I don't really see how anyone or company can make certain parts (door frames).  Too many factors to be lucky enough to just have them fit right in.  I think they fit pretty good now.  I was able to use my new bender for the 1st time in making new upper hinge pins.  This is as good as its going to get in my garage.

Ready for canvas......I think.


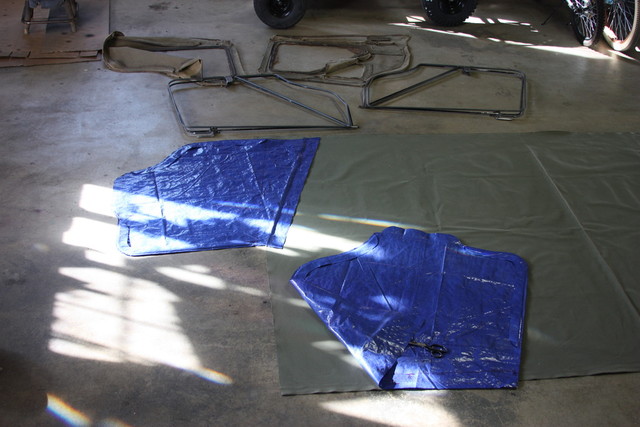
Parts waiting to be installed.

11
I have got hinges on.  They don't have the cool 4 spot weld dimples but they are solid.  Thanks for all your help.  Now on with the door project.........


12
From all that have contributed, it looks like there was a little tolerance in the hinge positions.
I got measurements from 10 5/16" to 10 1/2".  Think I will just attach them at 10.5 and call it good.
Had to pay $15 a piece  :o  Not like me to buy something so pricey.  Just haven't had time to work on it.  Working on my son's gokart it eating shop time ;D
Brett

13
YEP!

14
OK guys, got my hinge brackets and set them up this way and that way and I think I'm pretty sure where I'm going to place them.
Can I be a pesky fly and ask if I can get someone to measure from the bottom leading edge point of the bracket to the top of the cross bar of the windshield.  Trying to measure from the center and get it at 10.5 is hard as its hard to eyeball.  If I get a ruler in there, I can get a solid measurement from the that bar to the bottom leading point of the bracket.  A tape is a bit more difficult it seems.  It still still be close to 10.5 "

Thanks,
Brett

15
Randy, I posted this during and after your post.  You are the #2 saying those edges line up.  I'm just going to worry about the up and down measurement.  I'm confident that will get that mount where it should be.  There is no dimples.  In fact when I did my restore a while back, the previous owner just hacked it and the section of rope channel behind it out, leaving a gap.  I filled it with a piece of metal.  Its all smooth and no evidence of anything was ever there.

Pages: [1] 2 3 ... 30