The CJ3A Page CJ3B.info

Show Posts

This section allows you to view all posts made by this member. Note that you can only see posts made in areas you currently have access to.


Messages - oldtime

Pages: [1] 2 3 ... 27
1
Your CJ-3B Project / Re: 1953 RESCUE and RECOVERY
« on: April 03, 2024, 10:08:37 AM »
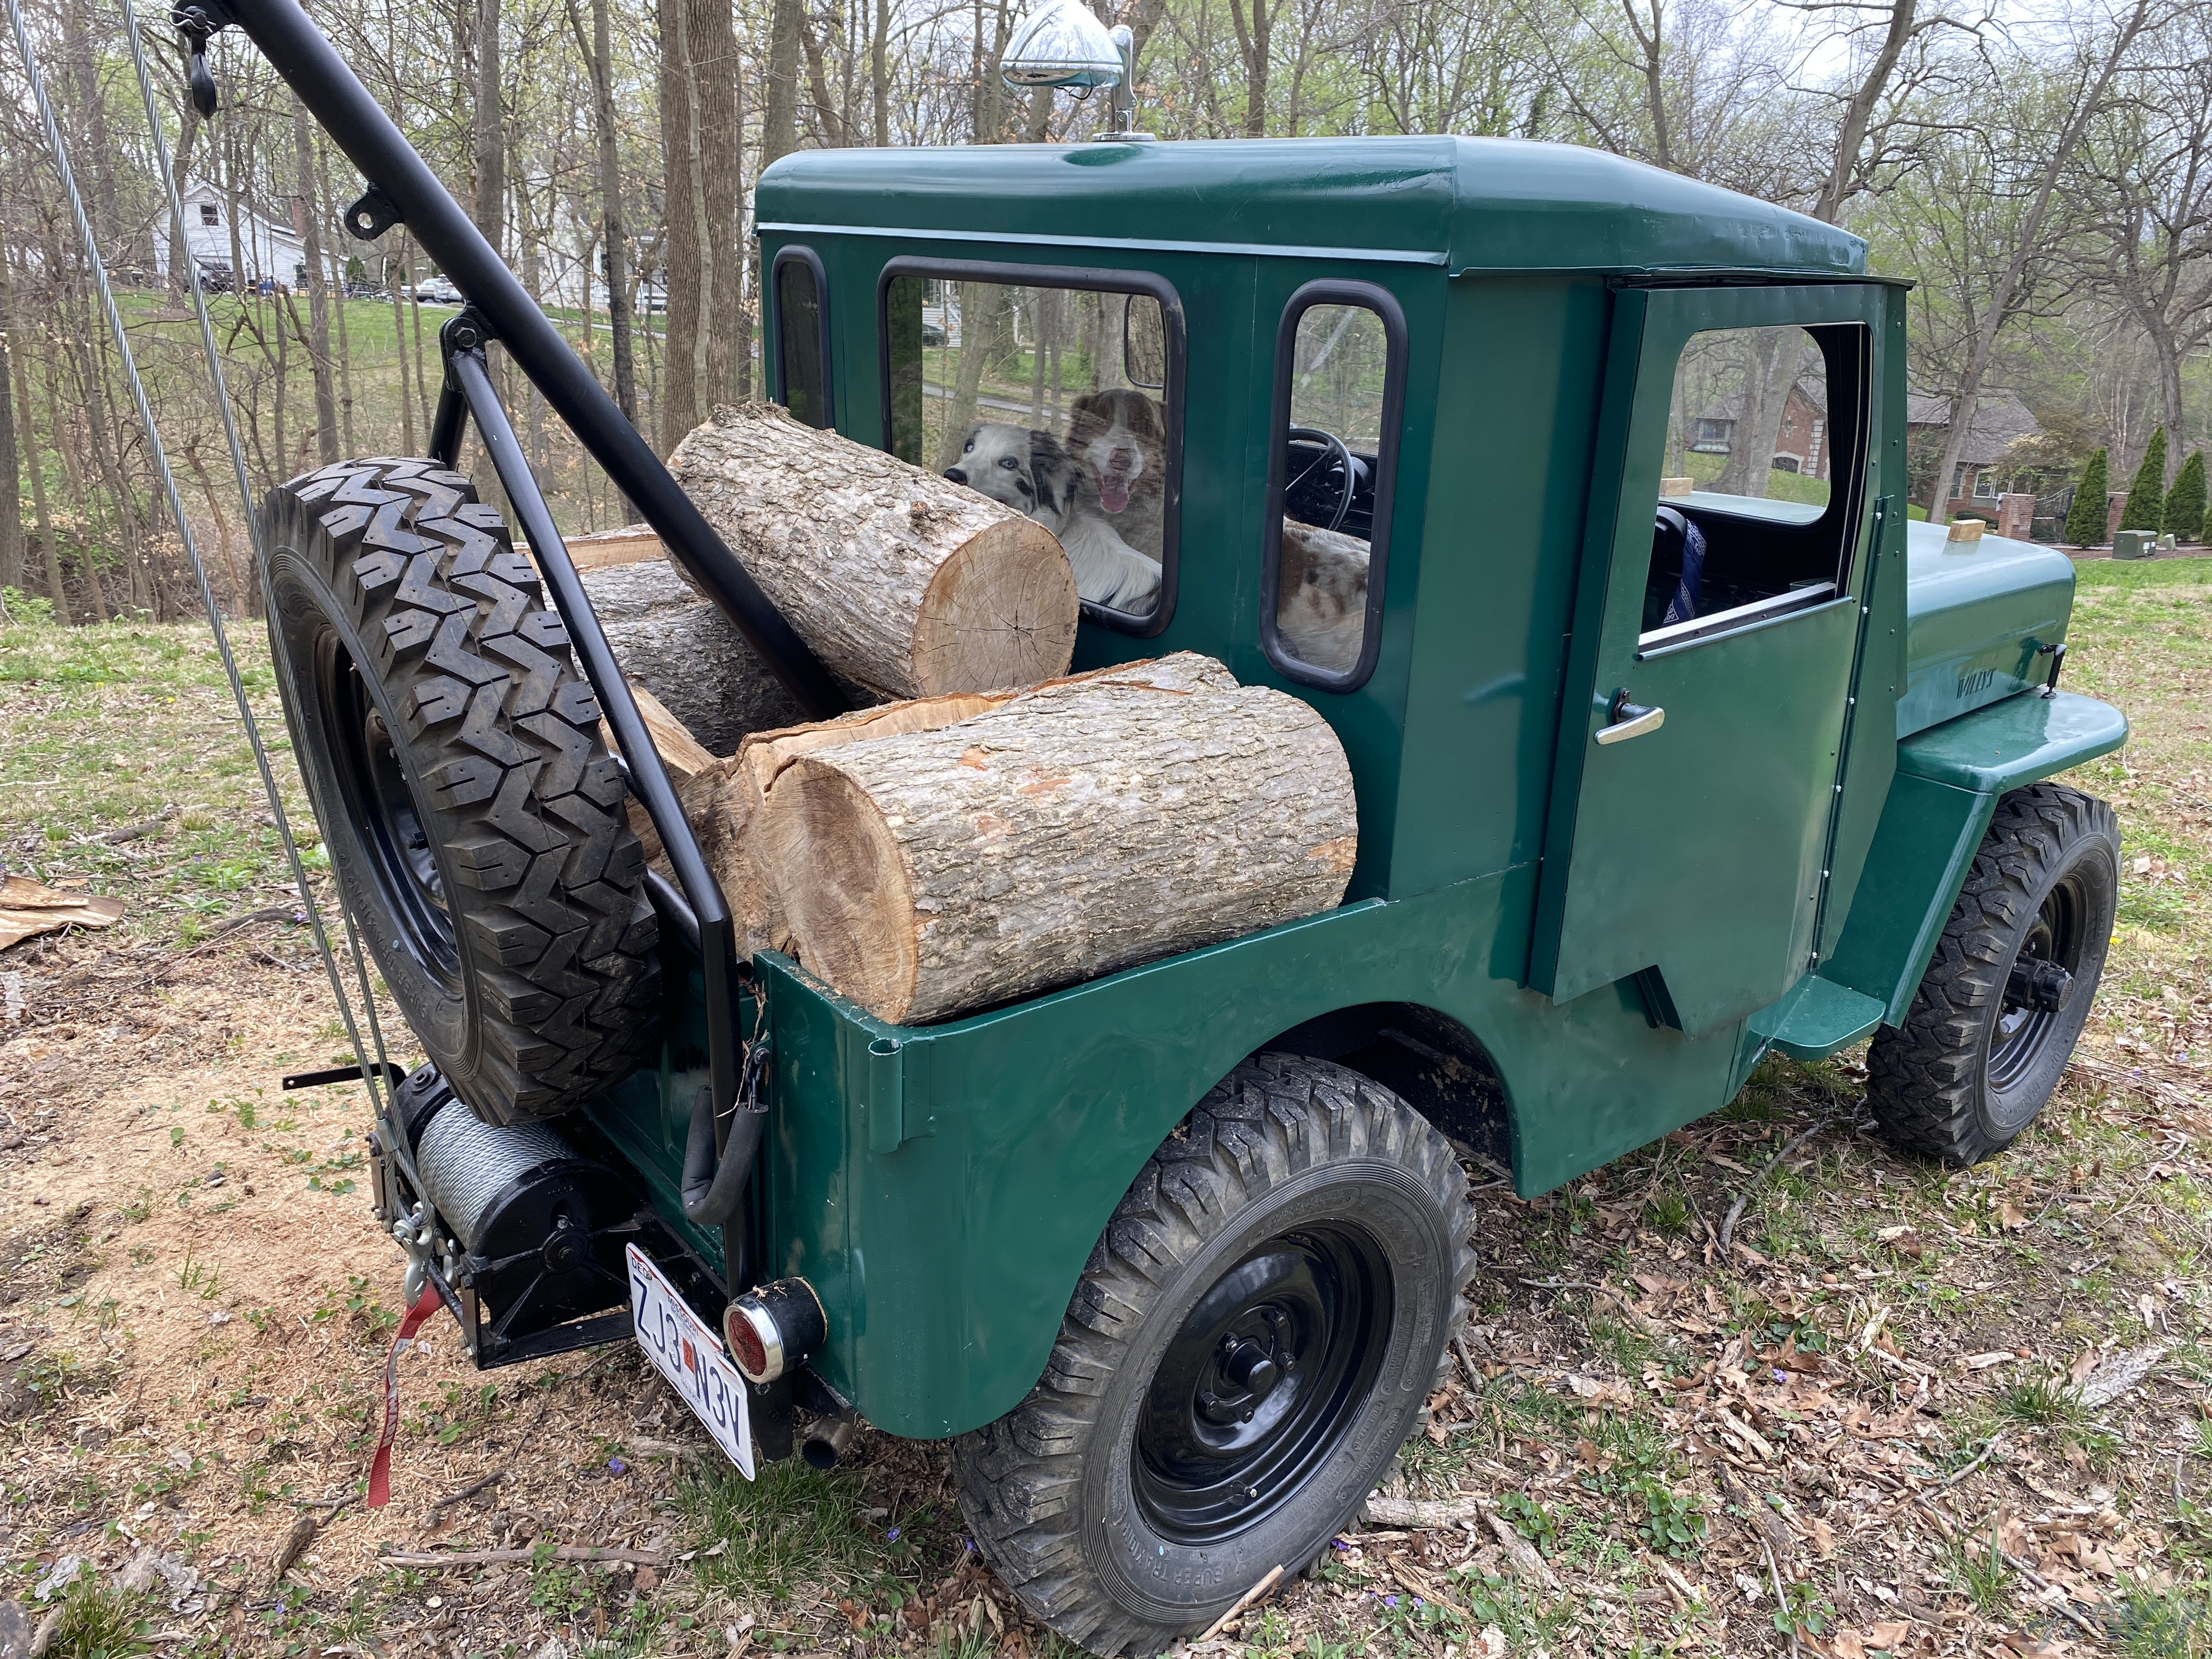
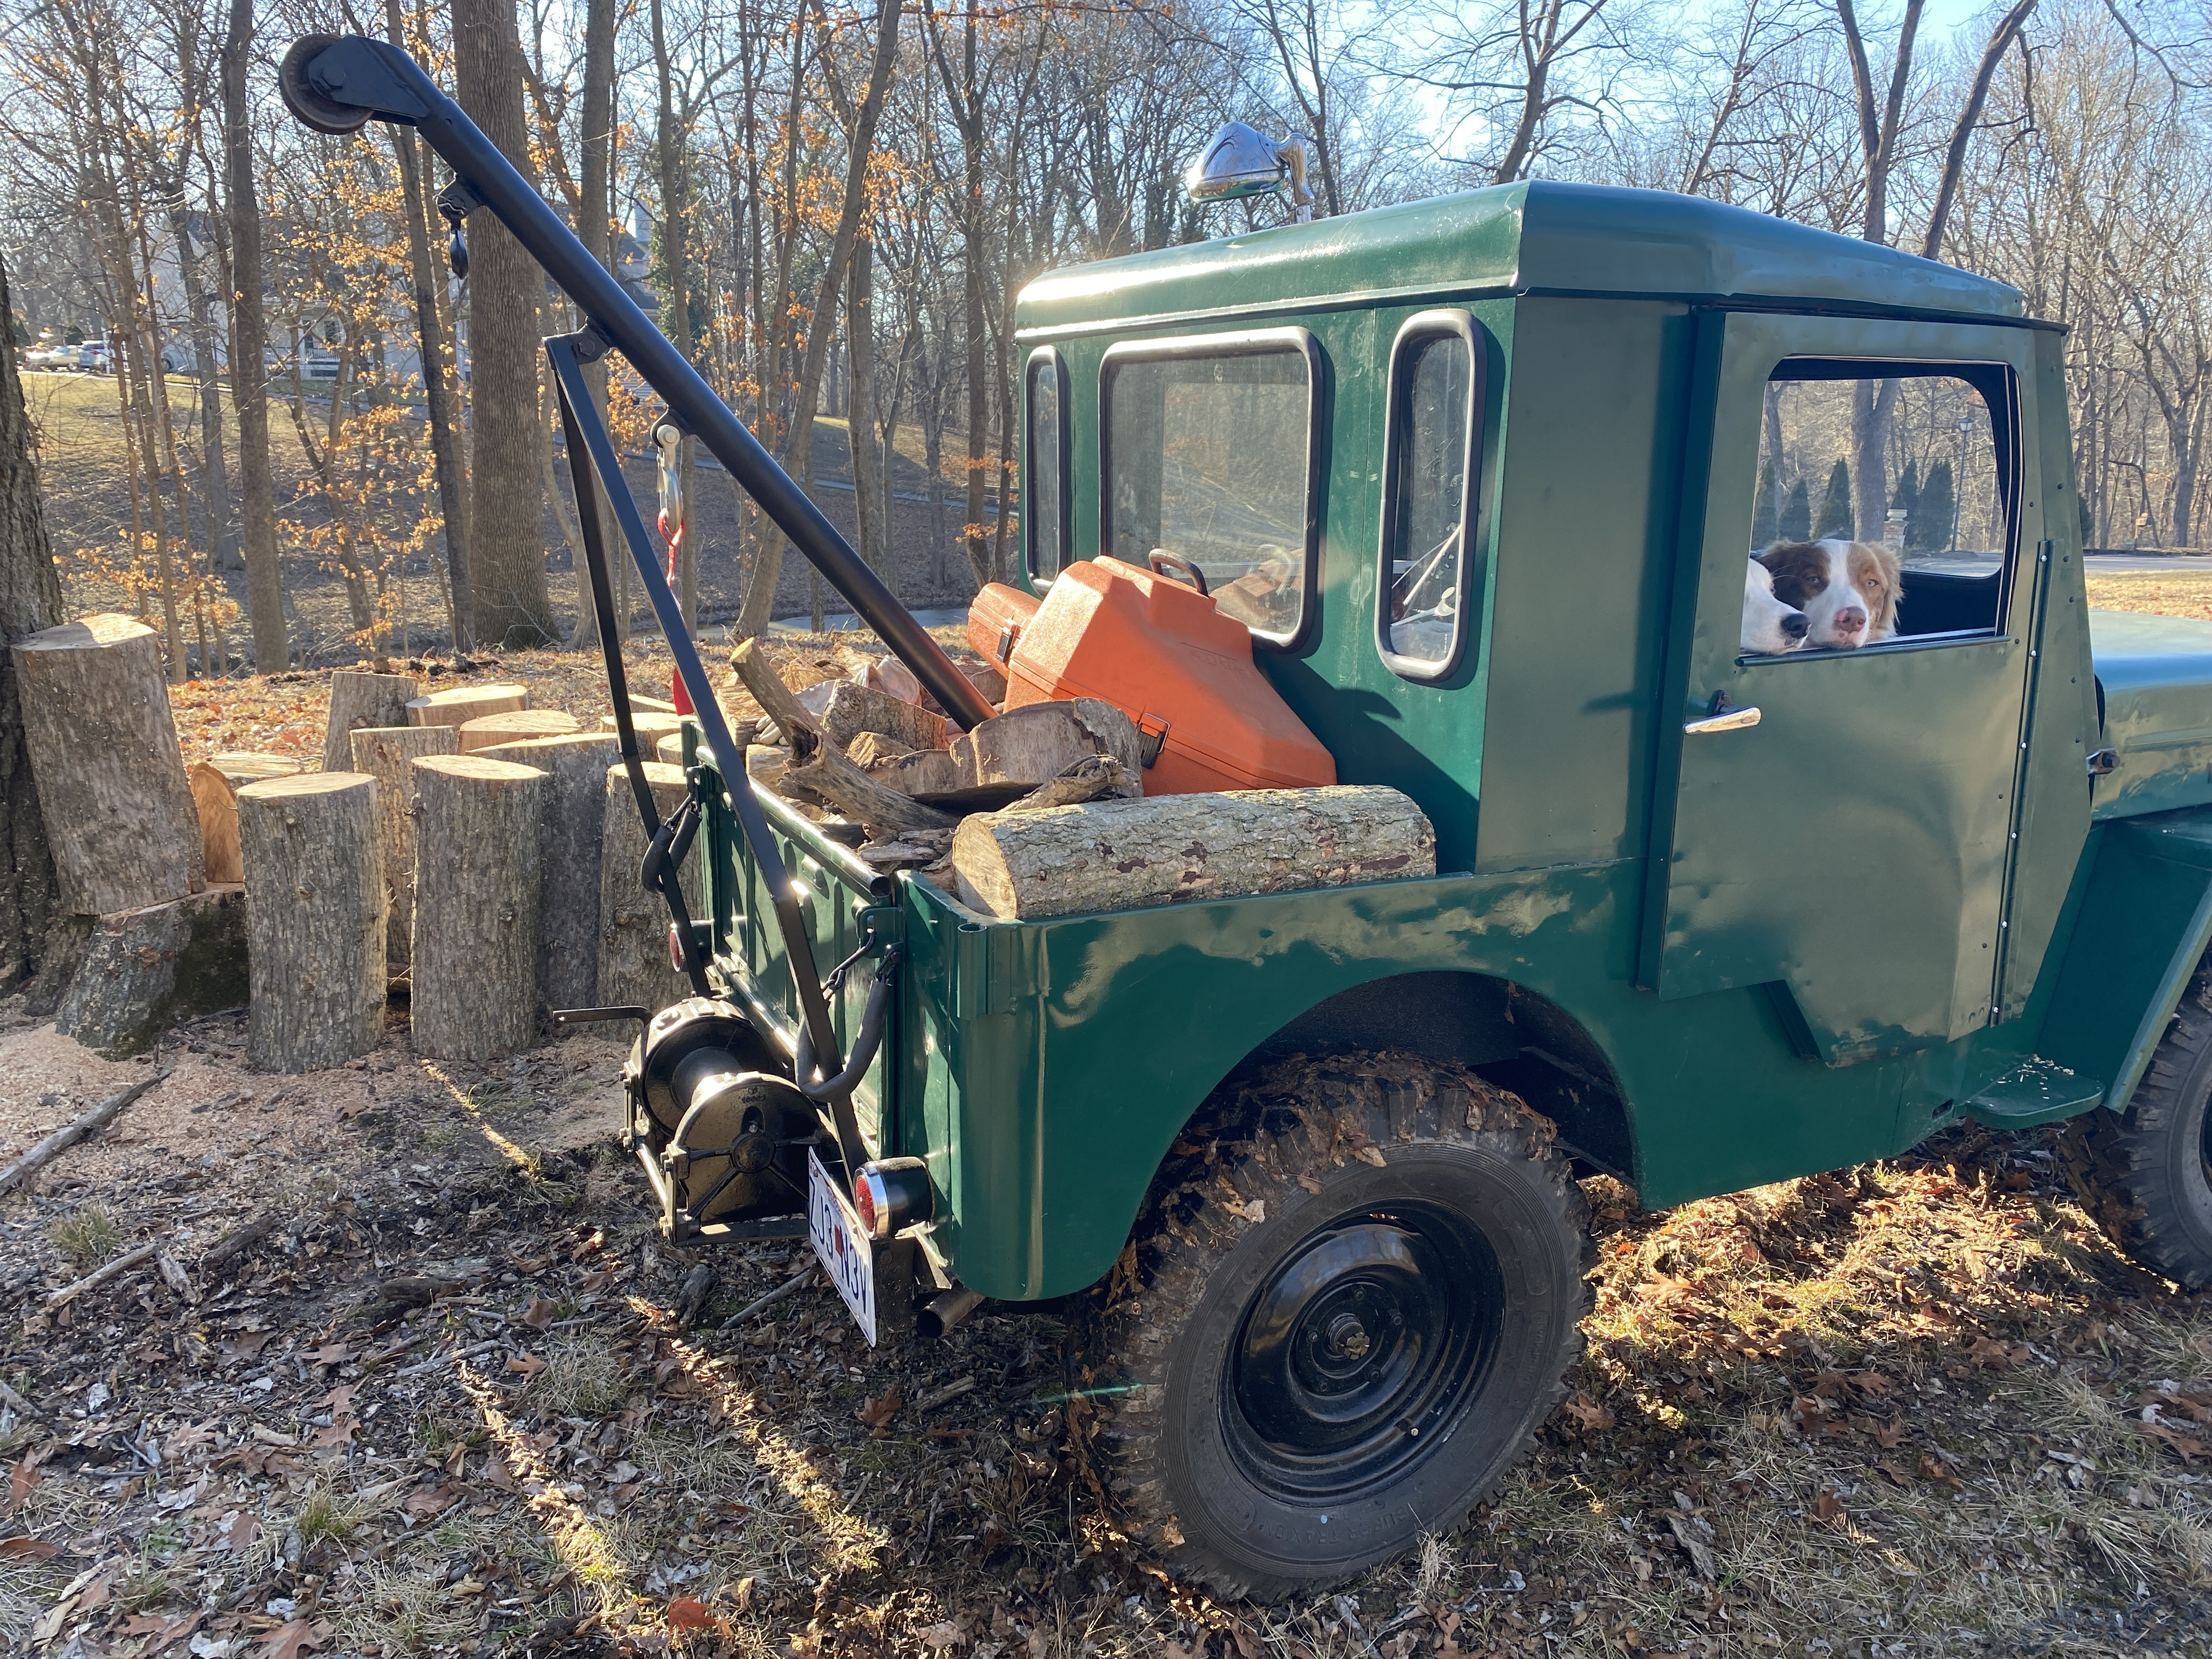
Cold snap today so yesterday I hauled out my last mini load of firewood for the season.
Not much room room for logs with that boom taking up the middle of the bed.

2
Your CJ-3B Project / Re: 1953 RESCUE and RECOVERY
« on: March 26, 2024, 02:08:38 PM »
 Willys Group Index 17 Transmission

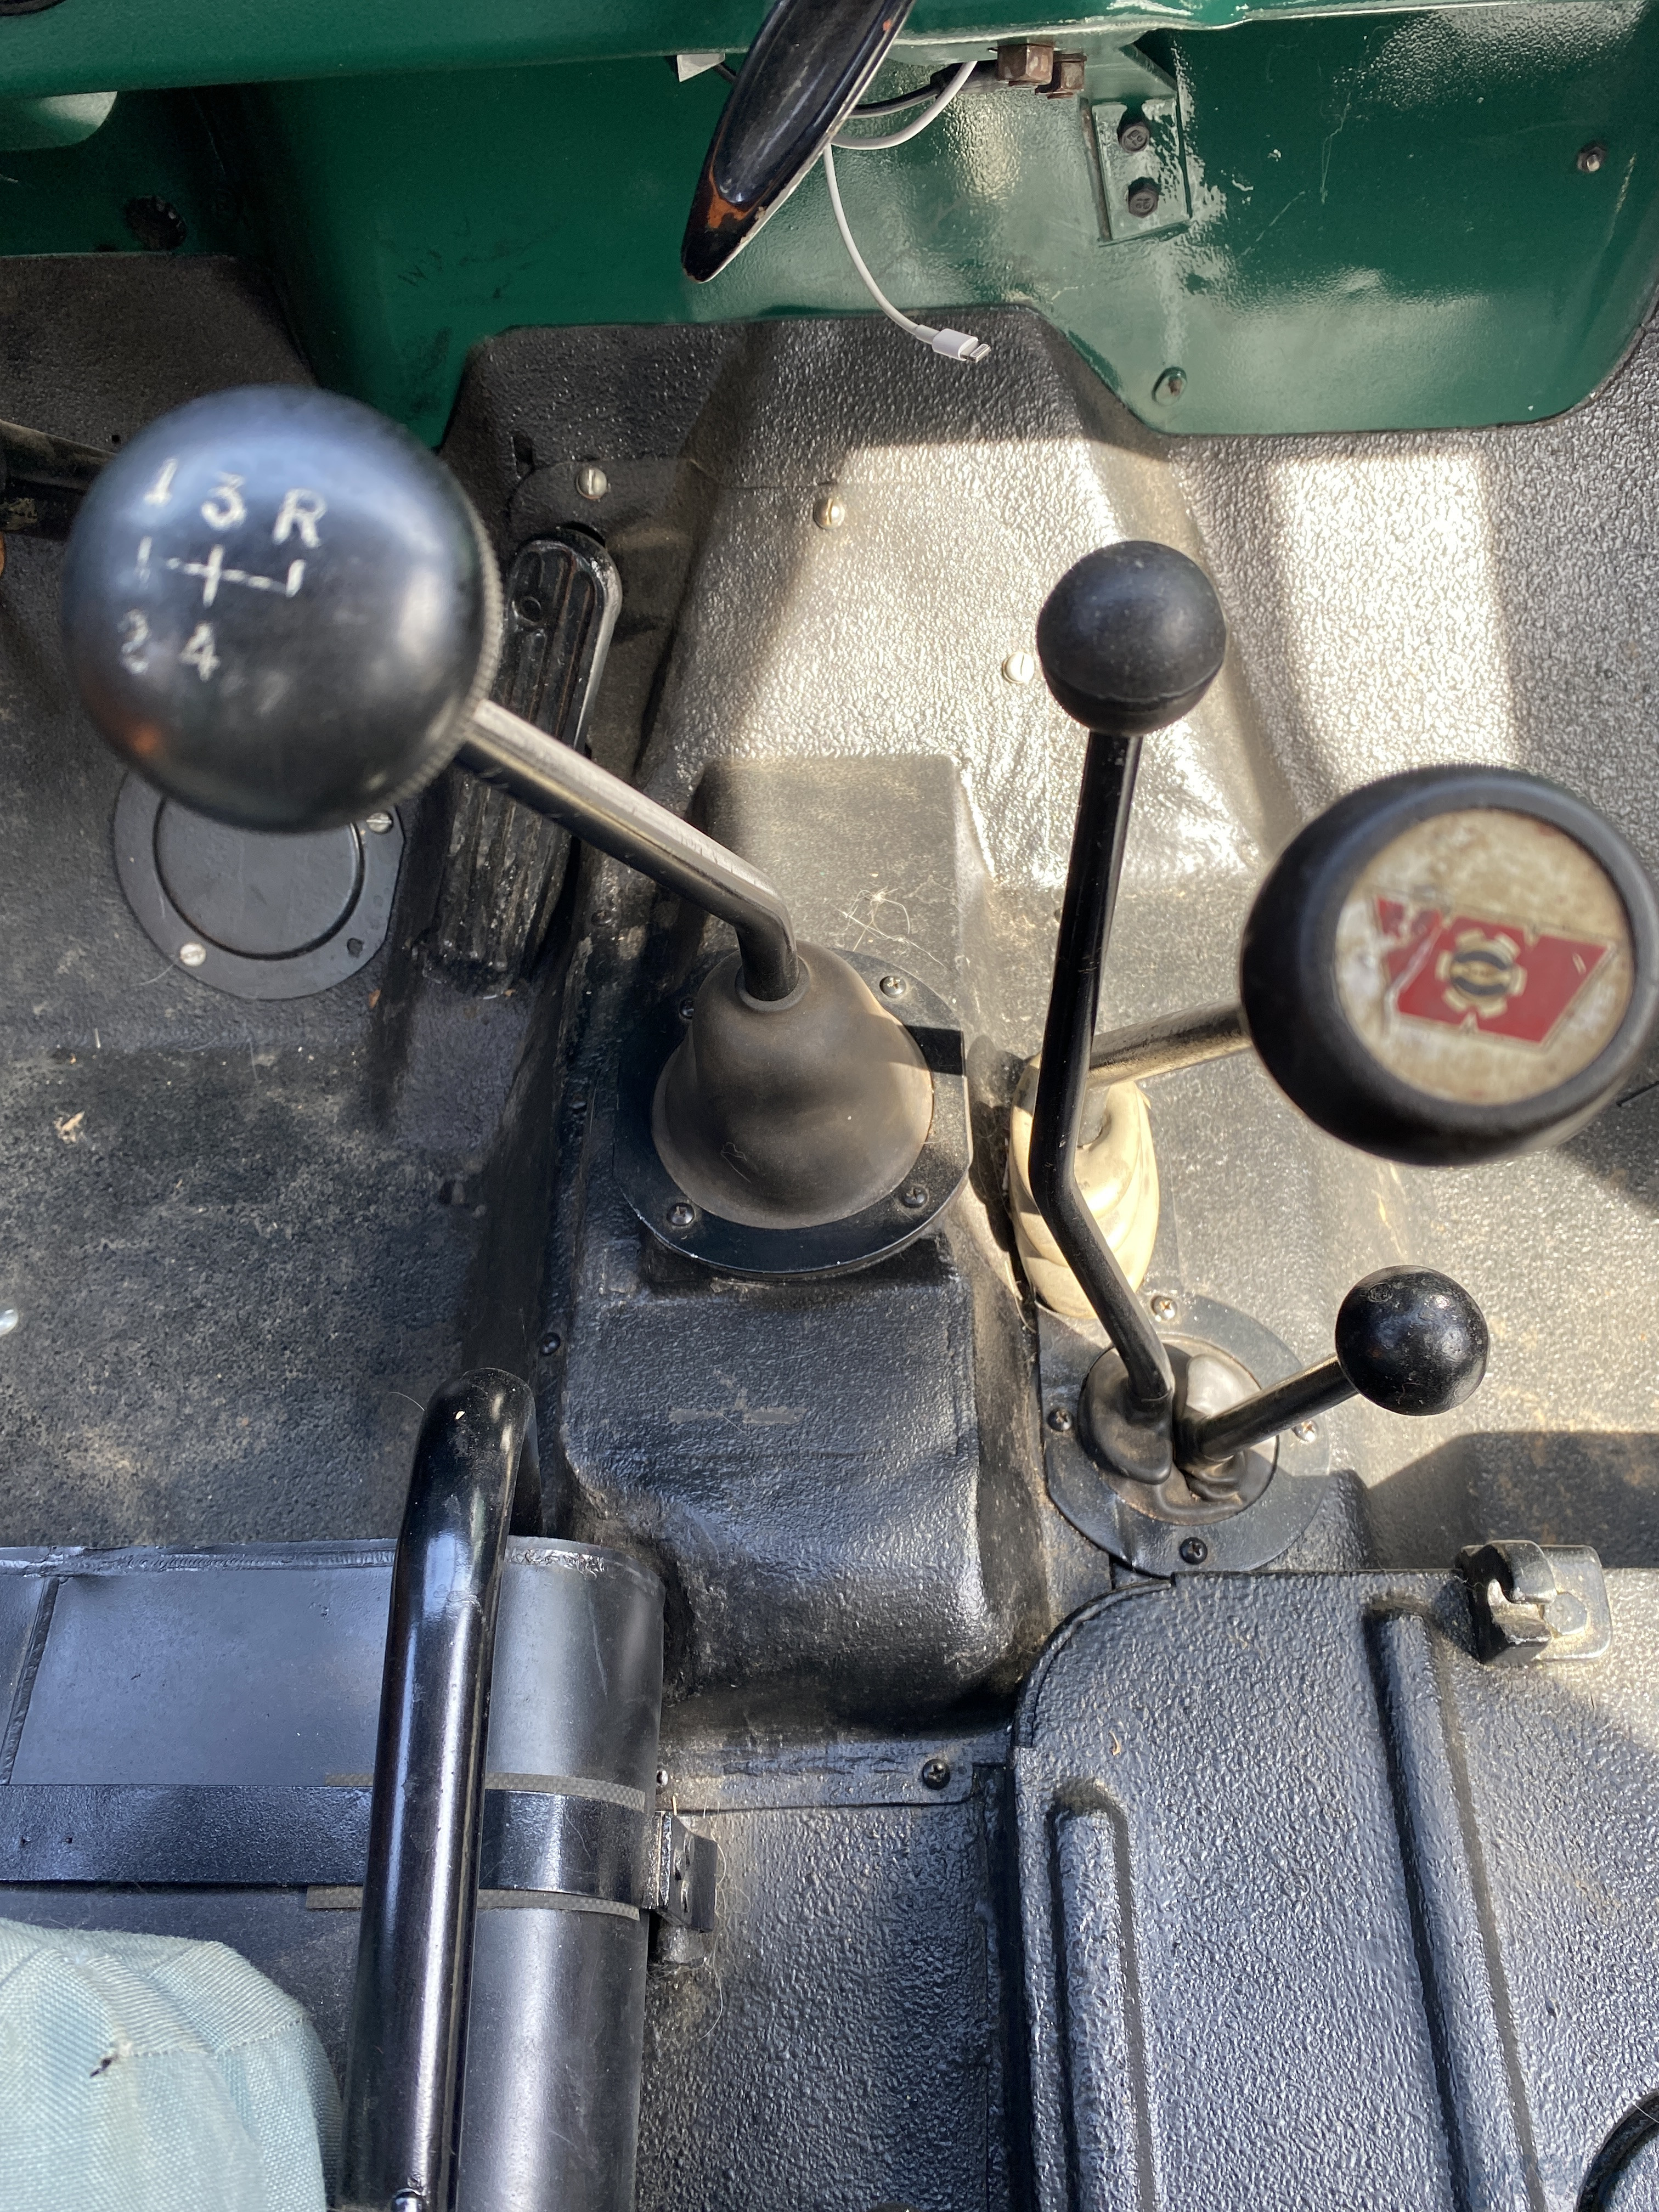
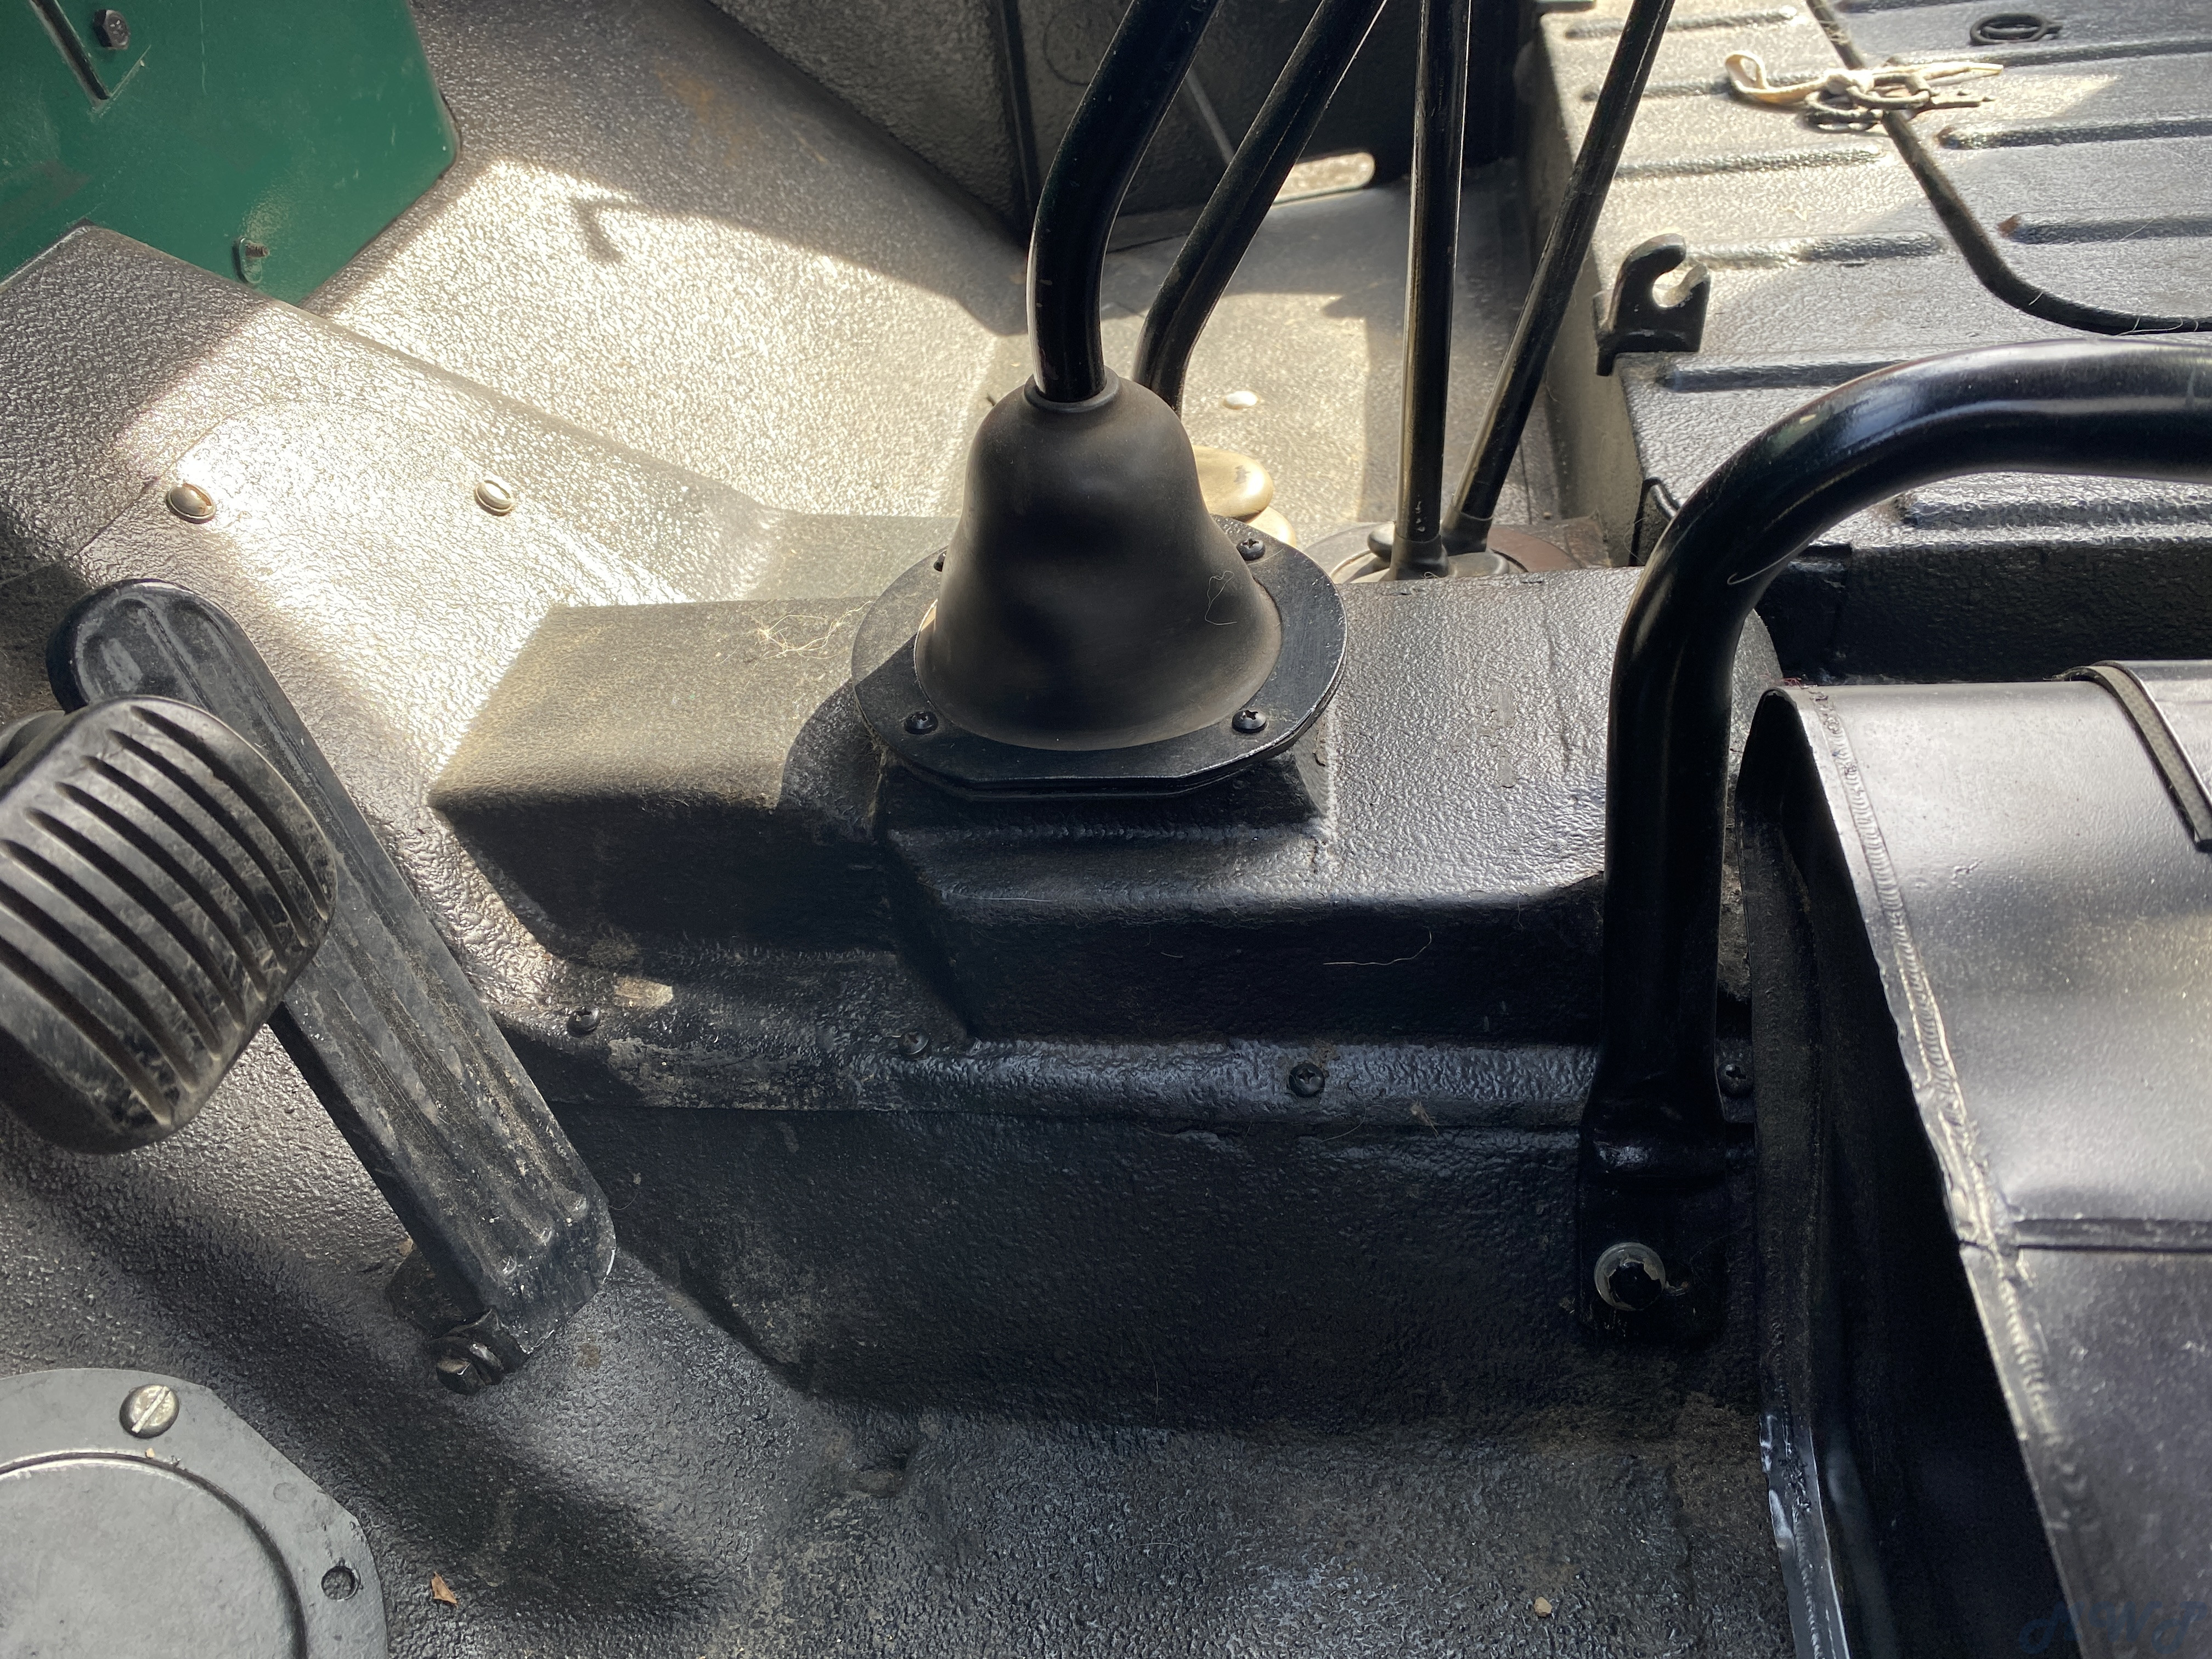
With this Jeep my plans were mainly as a work Jeep and possibly for use as an old school rock crawler. Here is where my biggest changes from standard 3B began. Years earlier I scored a 1956 (first year) T98-A in pristine condition.
You can read all about it here…..

Sorry looks like all the pics are gone….

It was removed from a 1956 cj-5 along with all related special parts. It is “THE” grandfather of all rock crawling transmissions. The very first and remains to date as one of very best.
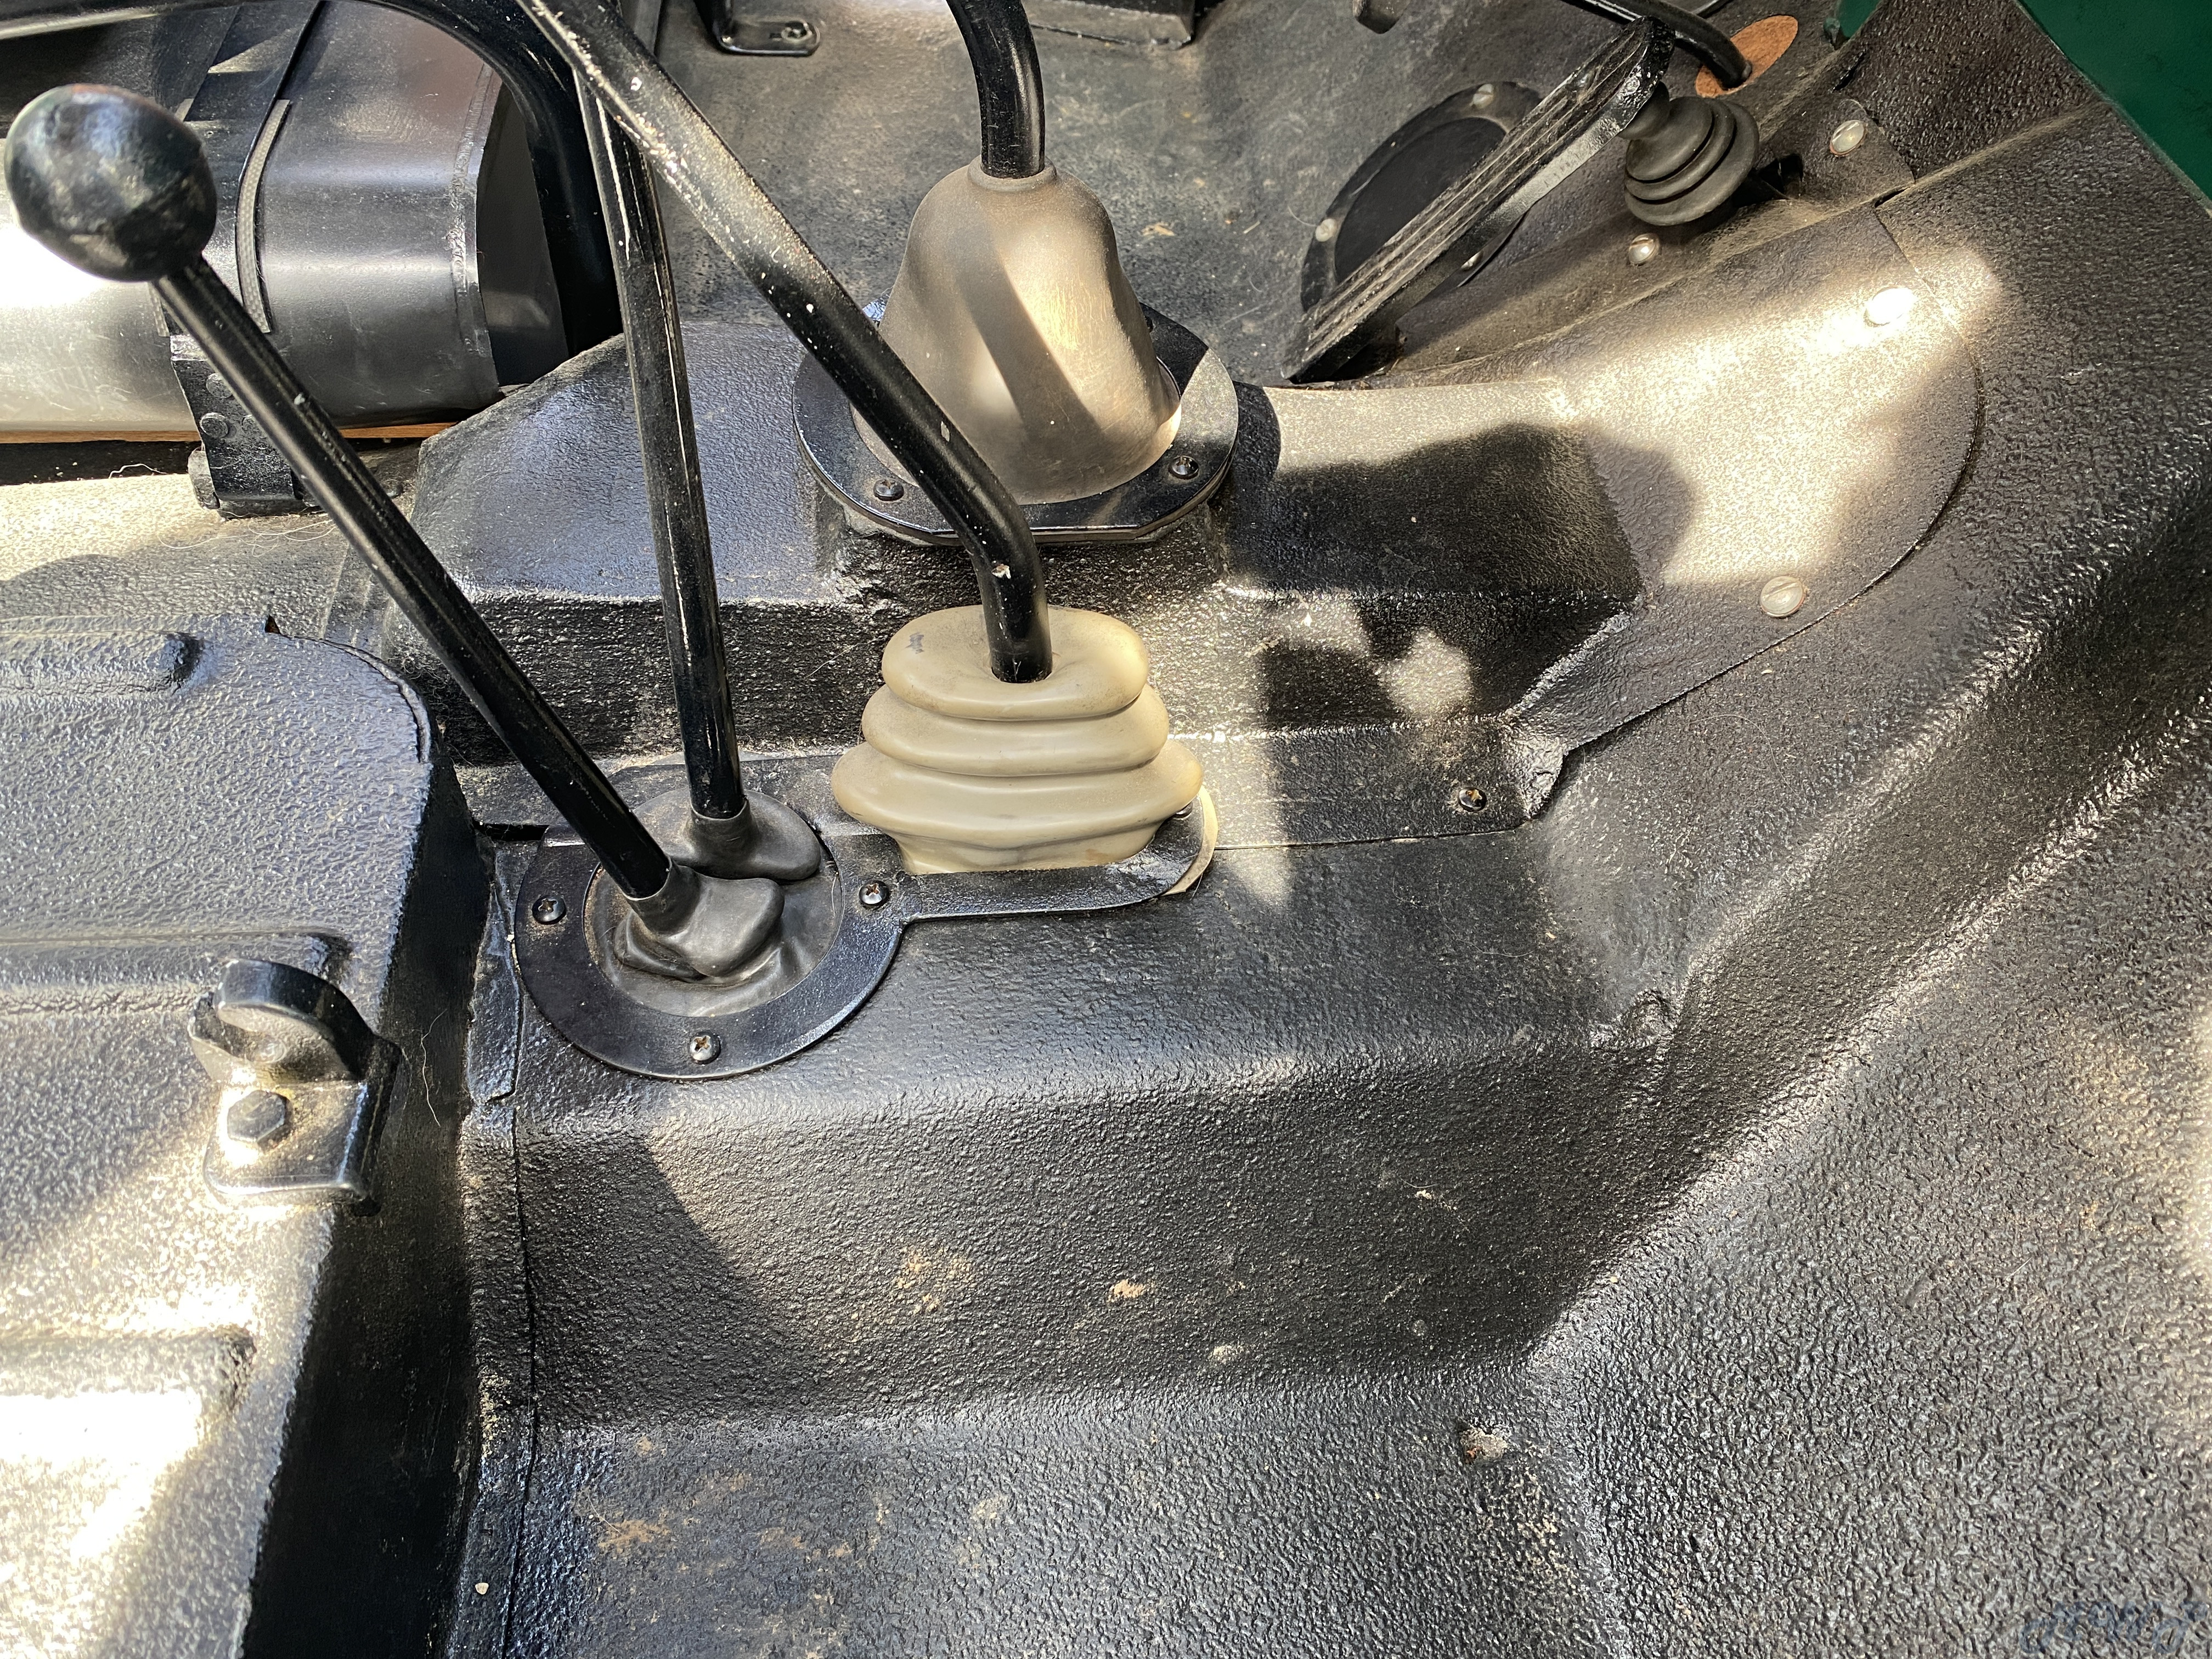
Here’s a look of the custom tunnel cover.


I find this transmissions gearing to be well ….very  impressive.
I might add this shifts every bit as smooth as a T90. That said you must be at a DEAD stop to engage the first/ reverse sliding gear.

Willys Group Index 18 Transfer case

Standard in 1953 was the 1-1/8” intermediate D18 with 2.43 ratio. But I feel the 1-1/4” intermediate D18 with 2.46 ratio to be a notable improvement. I certainly considered installing 3.15 Tera low gears but I wanted to stay with the original quality Dana gears if it performed as required.

It currently has a crawl ratio of 85/1 which can be lowered to 108/1 via the 3.15 gear set if I need to slow it further. So far I am very impressed and content as it is at 2.46.

Willys Group Index 19 Propeller Shafts

Short rear and longer propeller shafts as taken from the donor CJ-5. New greasable Spicer universal joints.

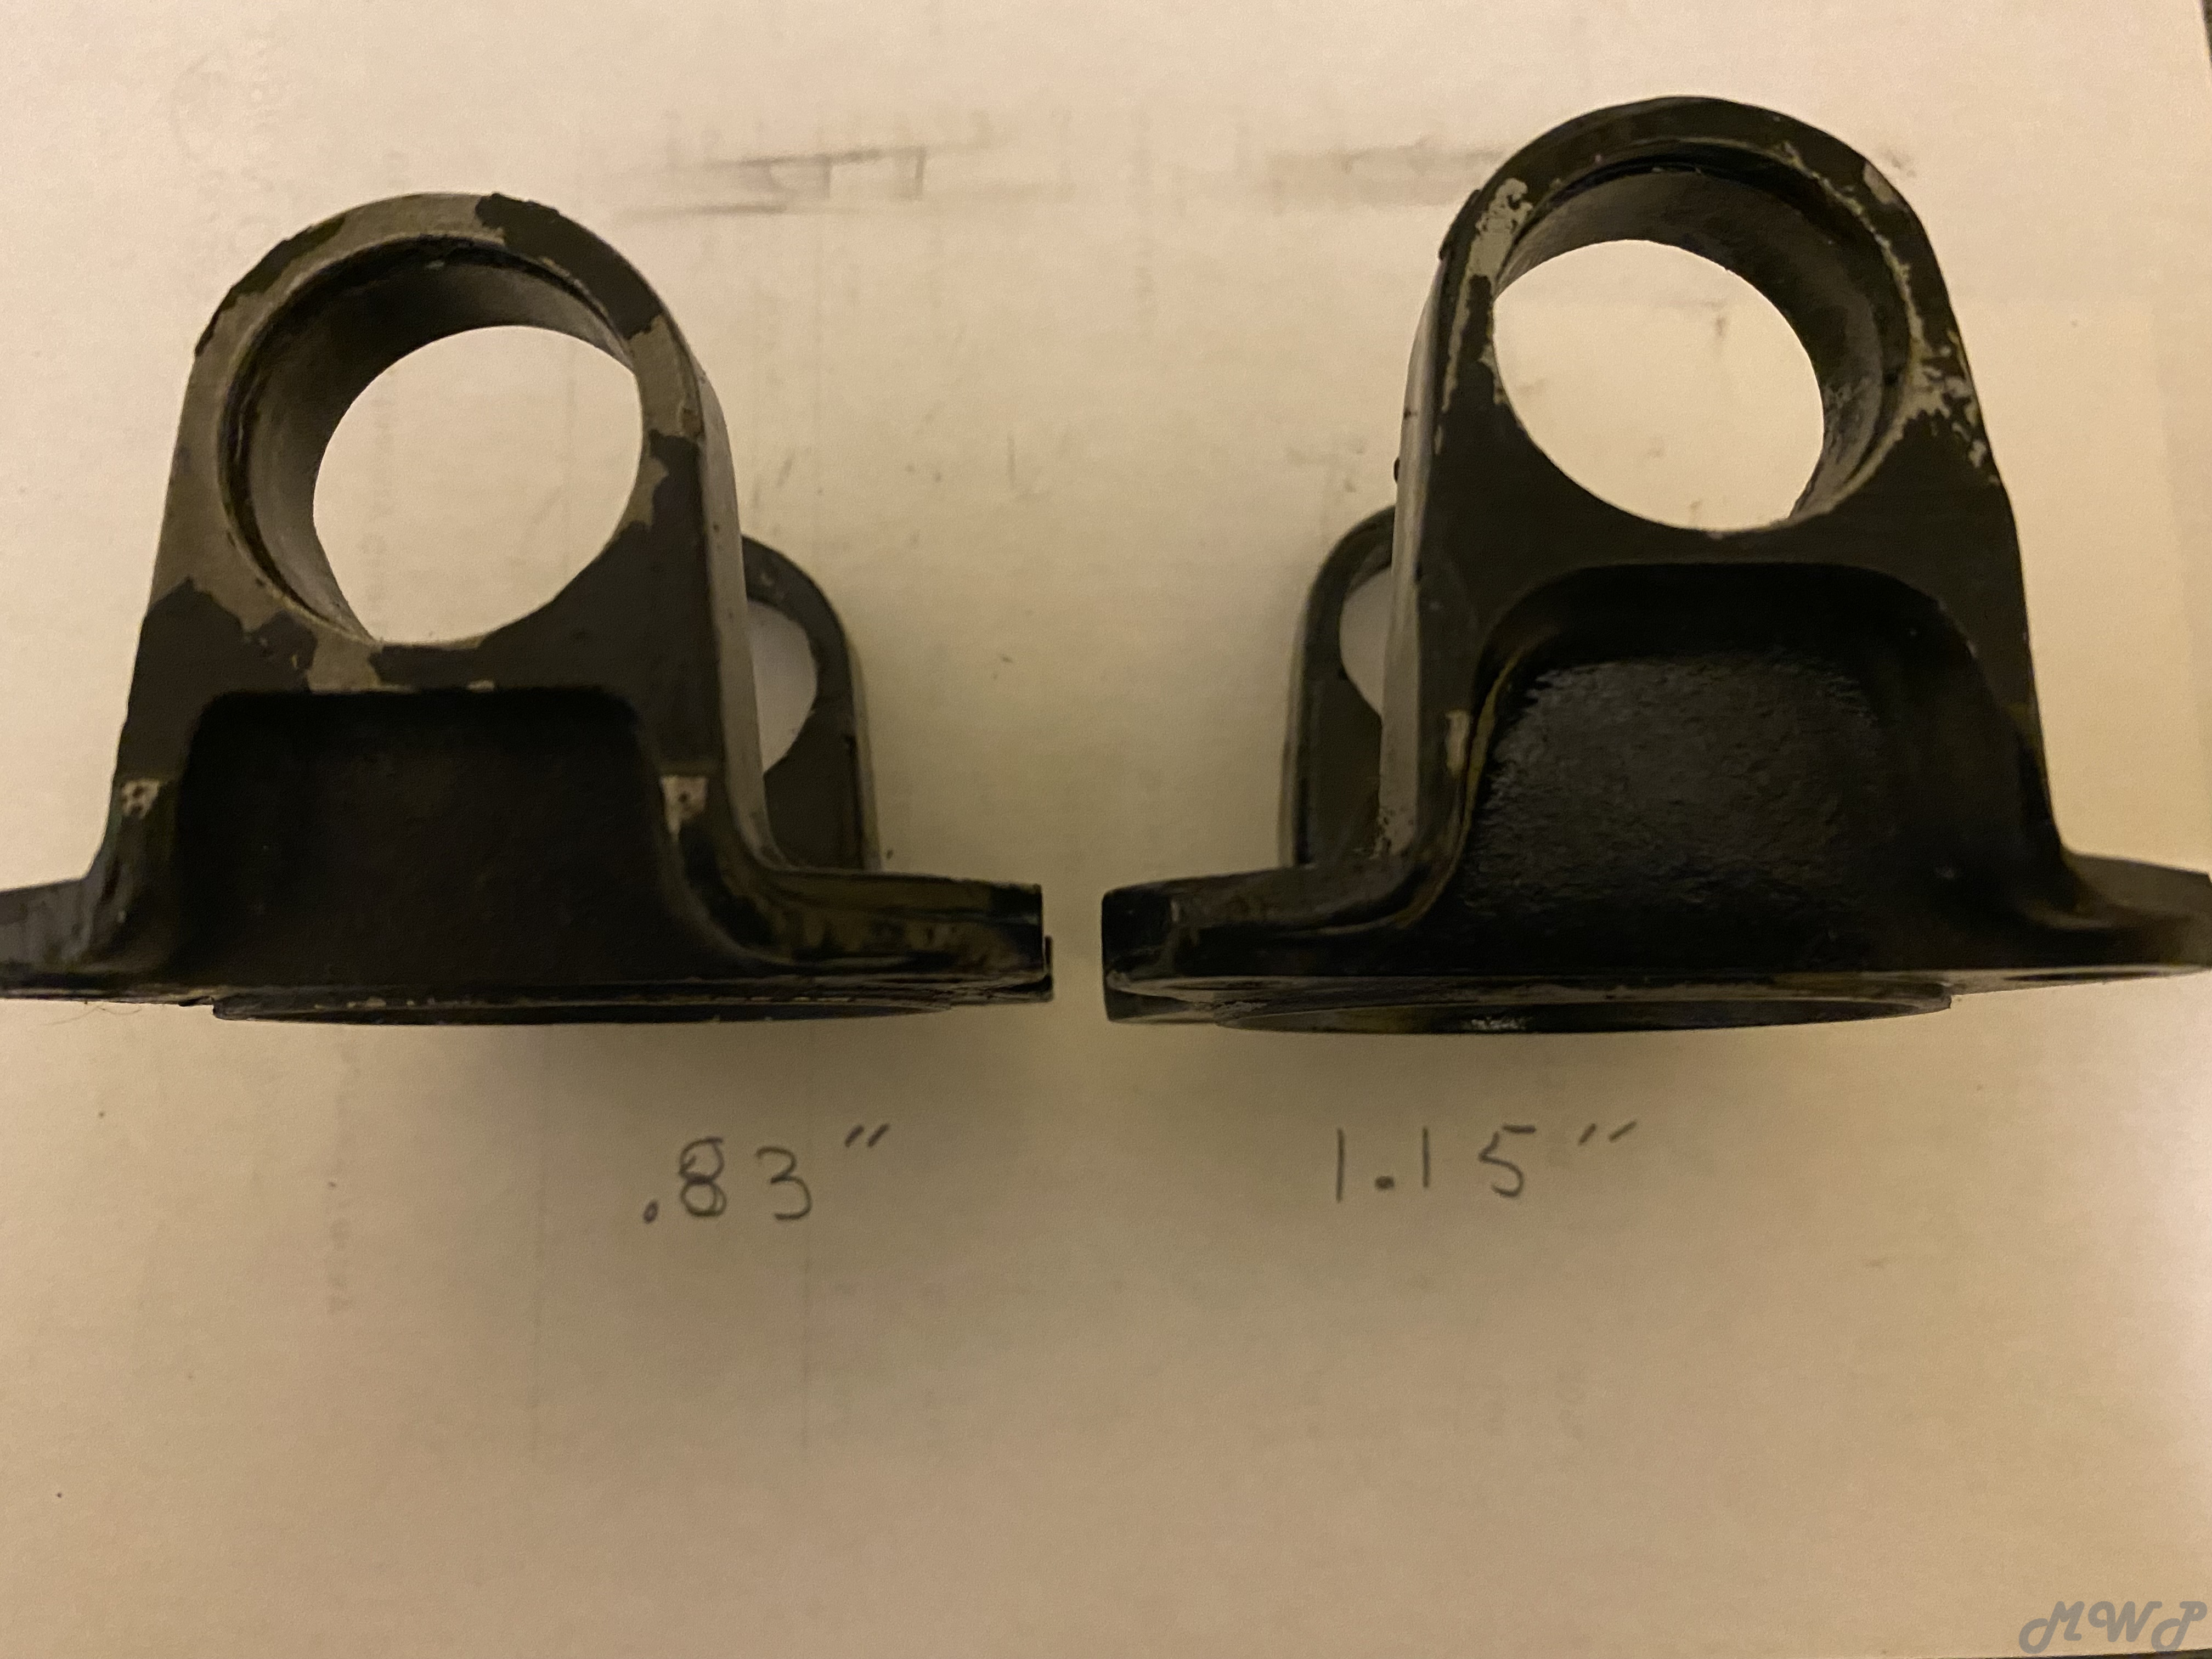
The rear is the shortest it can possibly be without limiting the standard suspension droop. If I was to droop any further the “U” joints would begin to bind. In fact I had to opt for late type companion flange yokes to get enough articulation at the rear joint. Shown here are the early and the late type companion flange yokes for comparison.


3
Your CJ-3B Project / Re: 1953 RESCUE and RECOVERY
« on: March 04, 2024, 08:25:02 AM »
We had a lot of really nice weather this winter so I have been working outdoors a lot.
Will get back to some of the more impressive details if it ever gets back to being cold.
Thanks for following along …

4
Your CJ-3B Project / Re: 1953 RESCUE and RECOVERY
« on: February 22, 2024, 08:17:47 PM »
Beyond serving as my one and only daily driver the 1953 was put into tree cutting service the other day. At the time it had about 200 miles on it since rebuilt. It just got its initial oil change yesterday at 400 miles.

5
I have never heard of needle bearings being used in place of the bronze bushing. So can’t comment much on that. Also I can’t verify but I certainly expect the sector shaft to be case hardened throughout.
An original used sector shaft can often be made serviceable IF the “taper pins” are the only defect.

6
Your CJ-3B Project / Re: 1953 RESCUE and RECOVERY
« on: January 24, 2024, 02:06:14 PM »
Willys Group Index 15 Electrical

15-01 Generator and Parts

The generator was simply cleaned and had the bearings replaced with original bearings.

15-02 Starting Motor and Parts

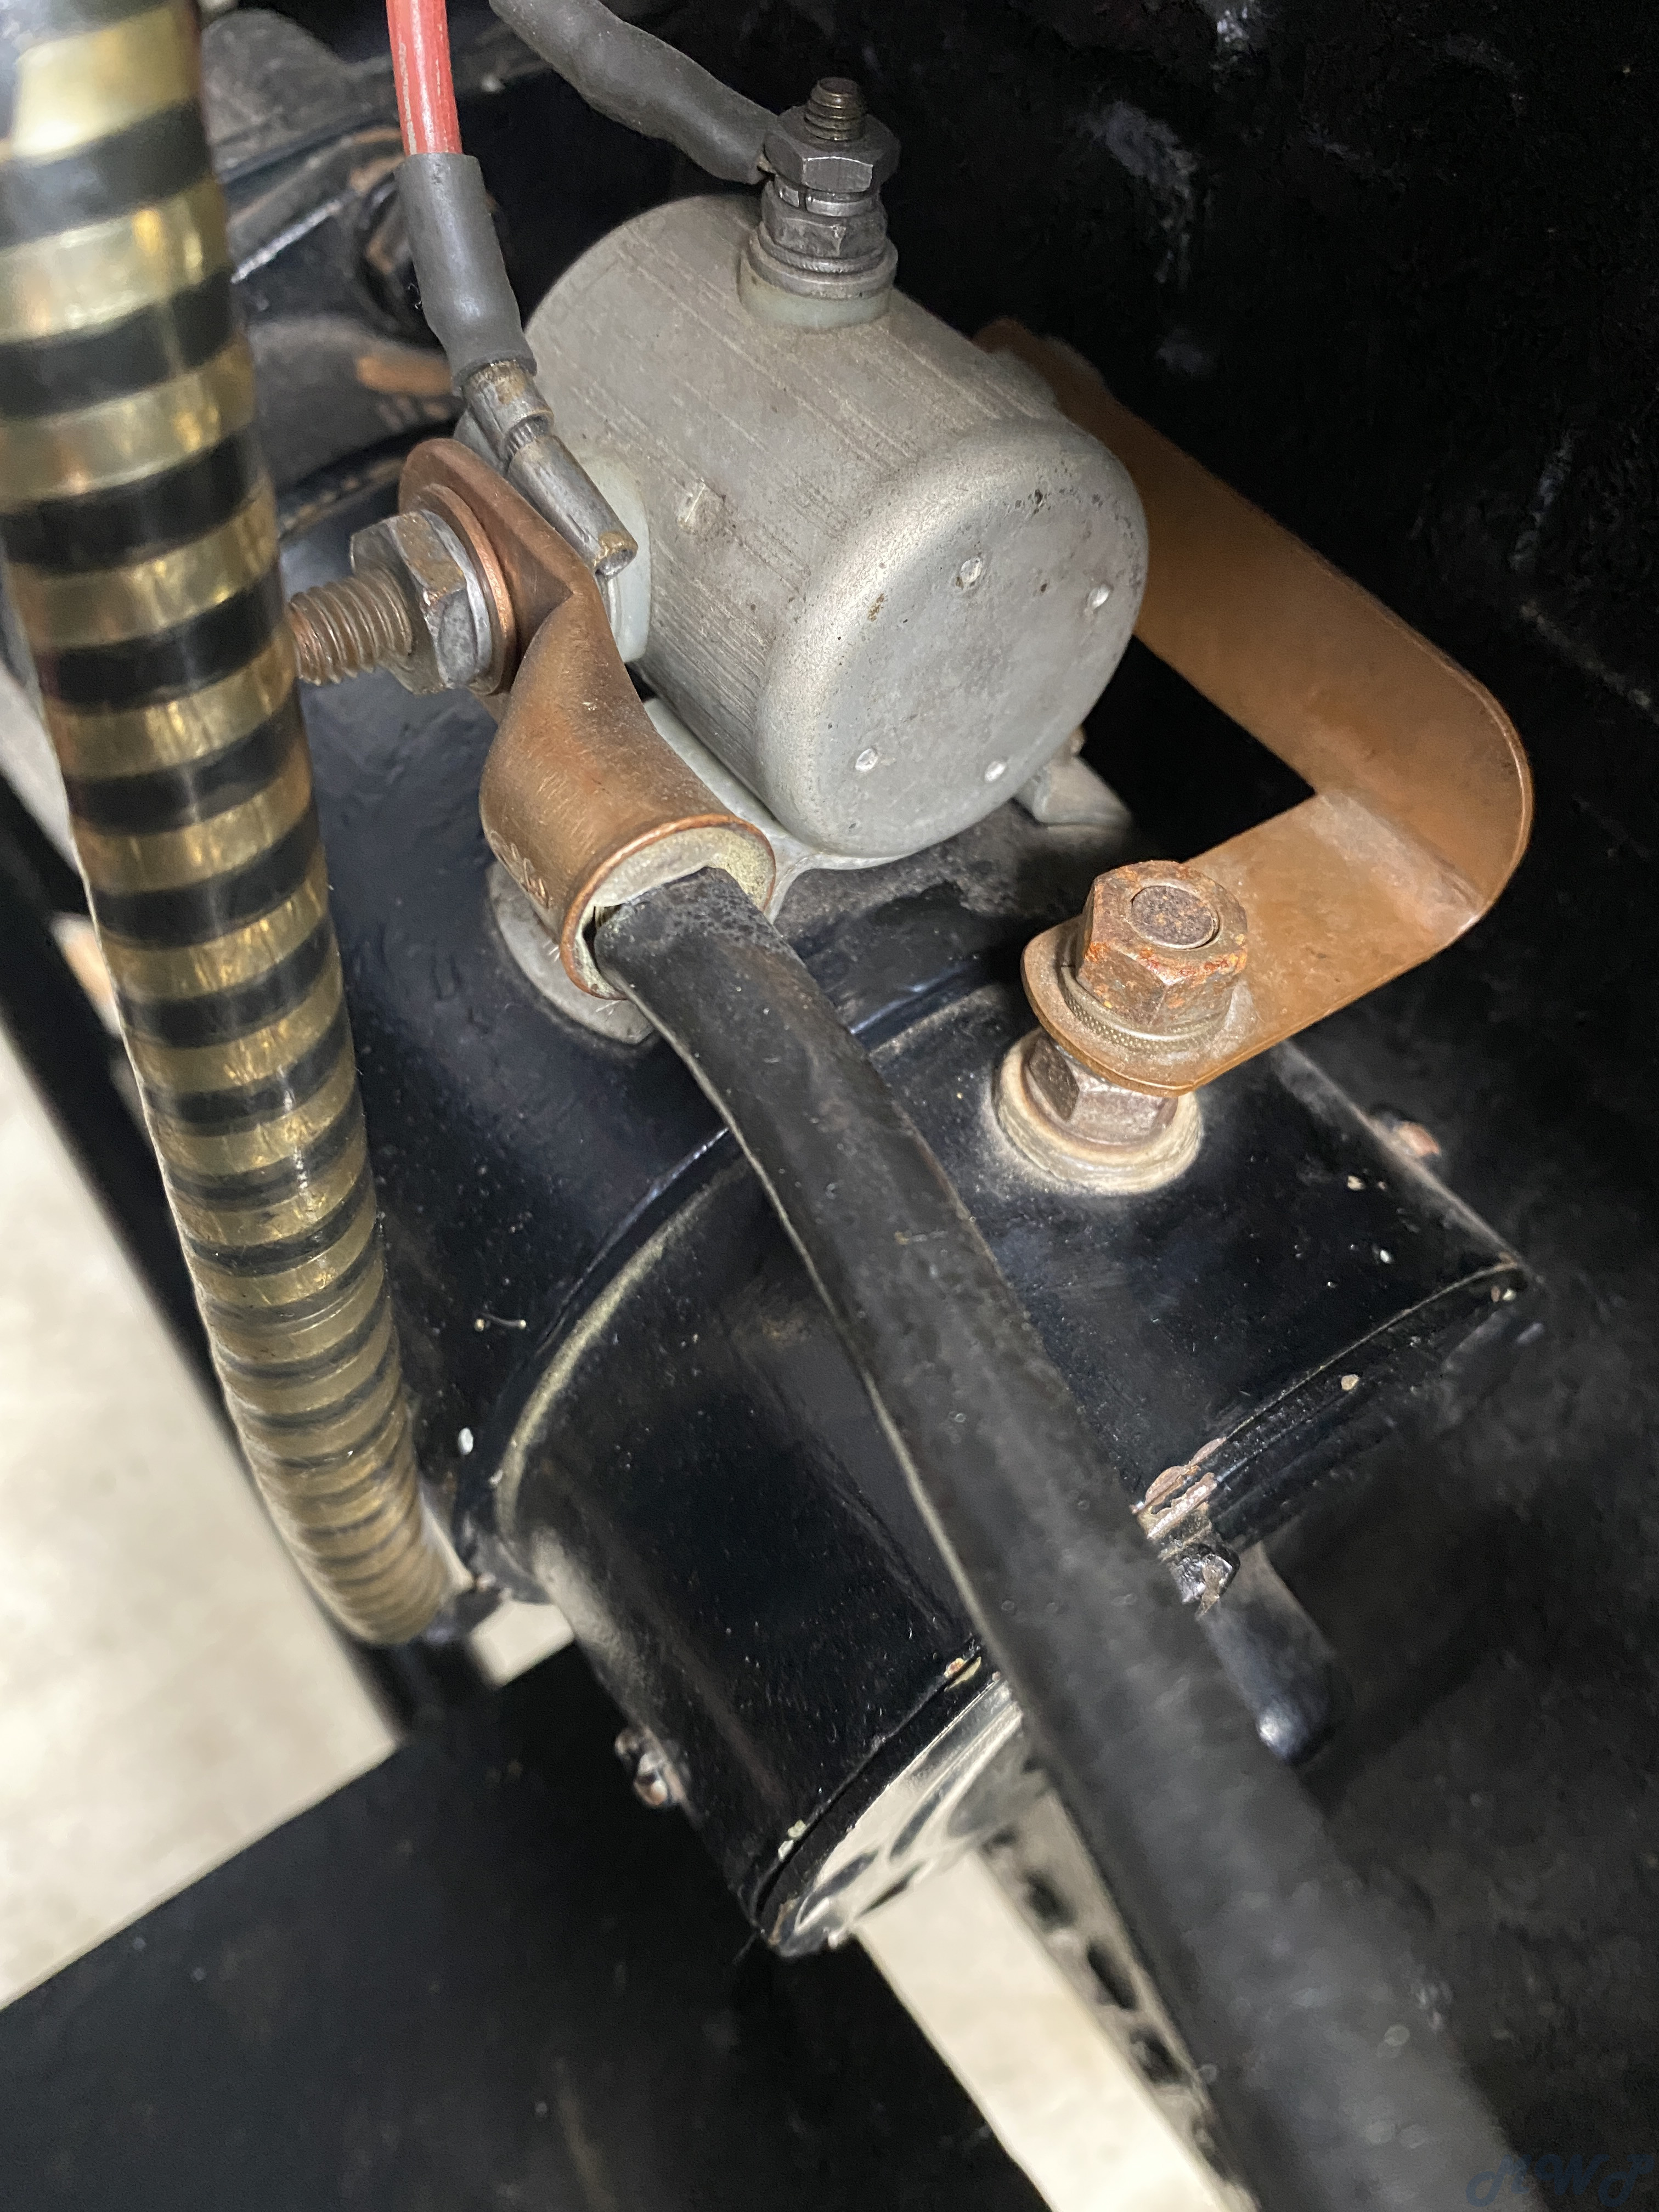
Again  was cleaned: painted plus NOS OEM bearings including the Bendix drive along with a new ring gear. Includes a correct 12 volt NOS Autolite starter mounted solenoid.


15-03 Distributor and Attaching Parts

I had a NOS IAT with vacuum advance but decided to install the latest and greatest NOS IAY 4401 instead.

15-04 Voltage Regulator and Parts

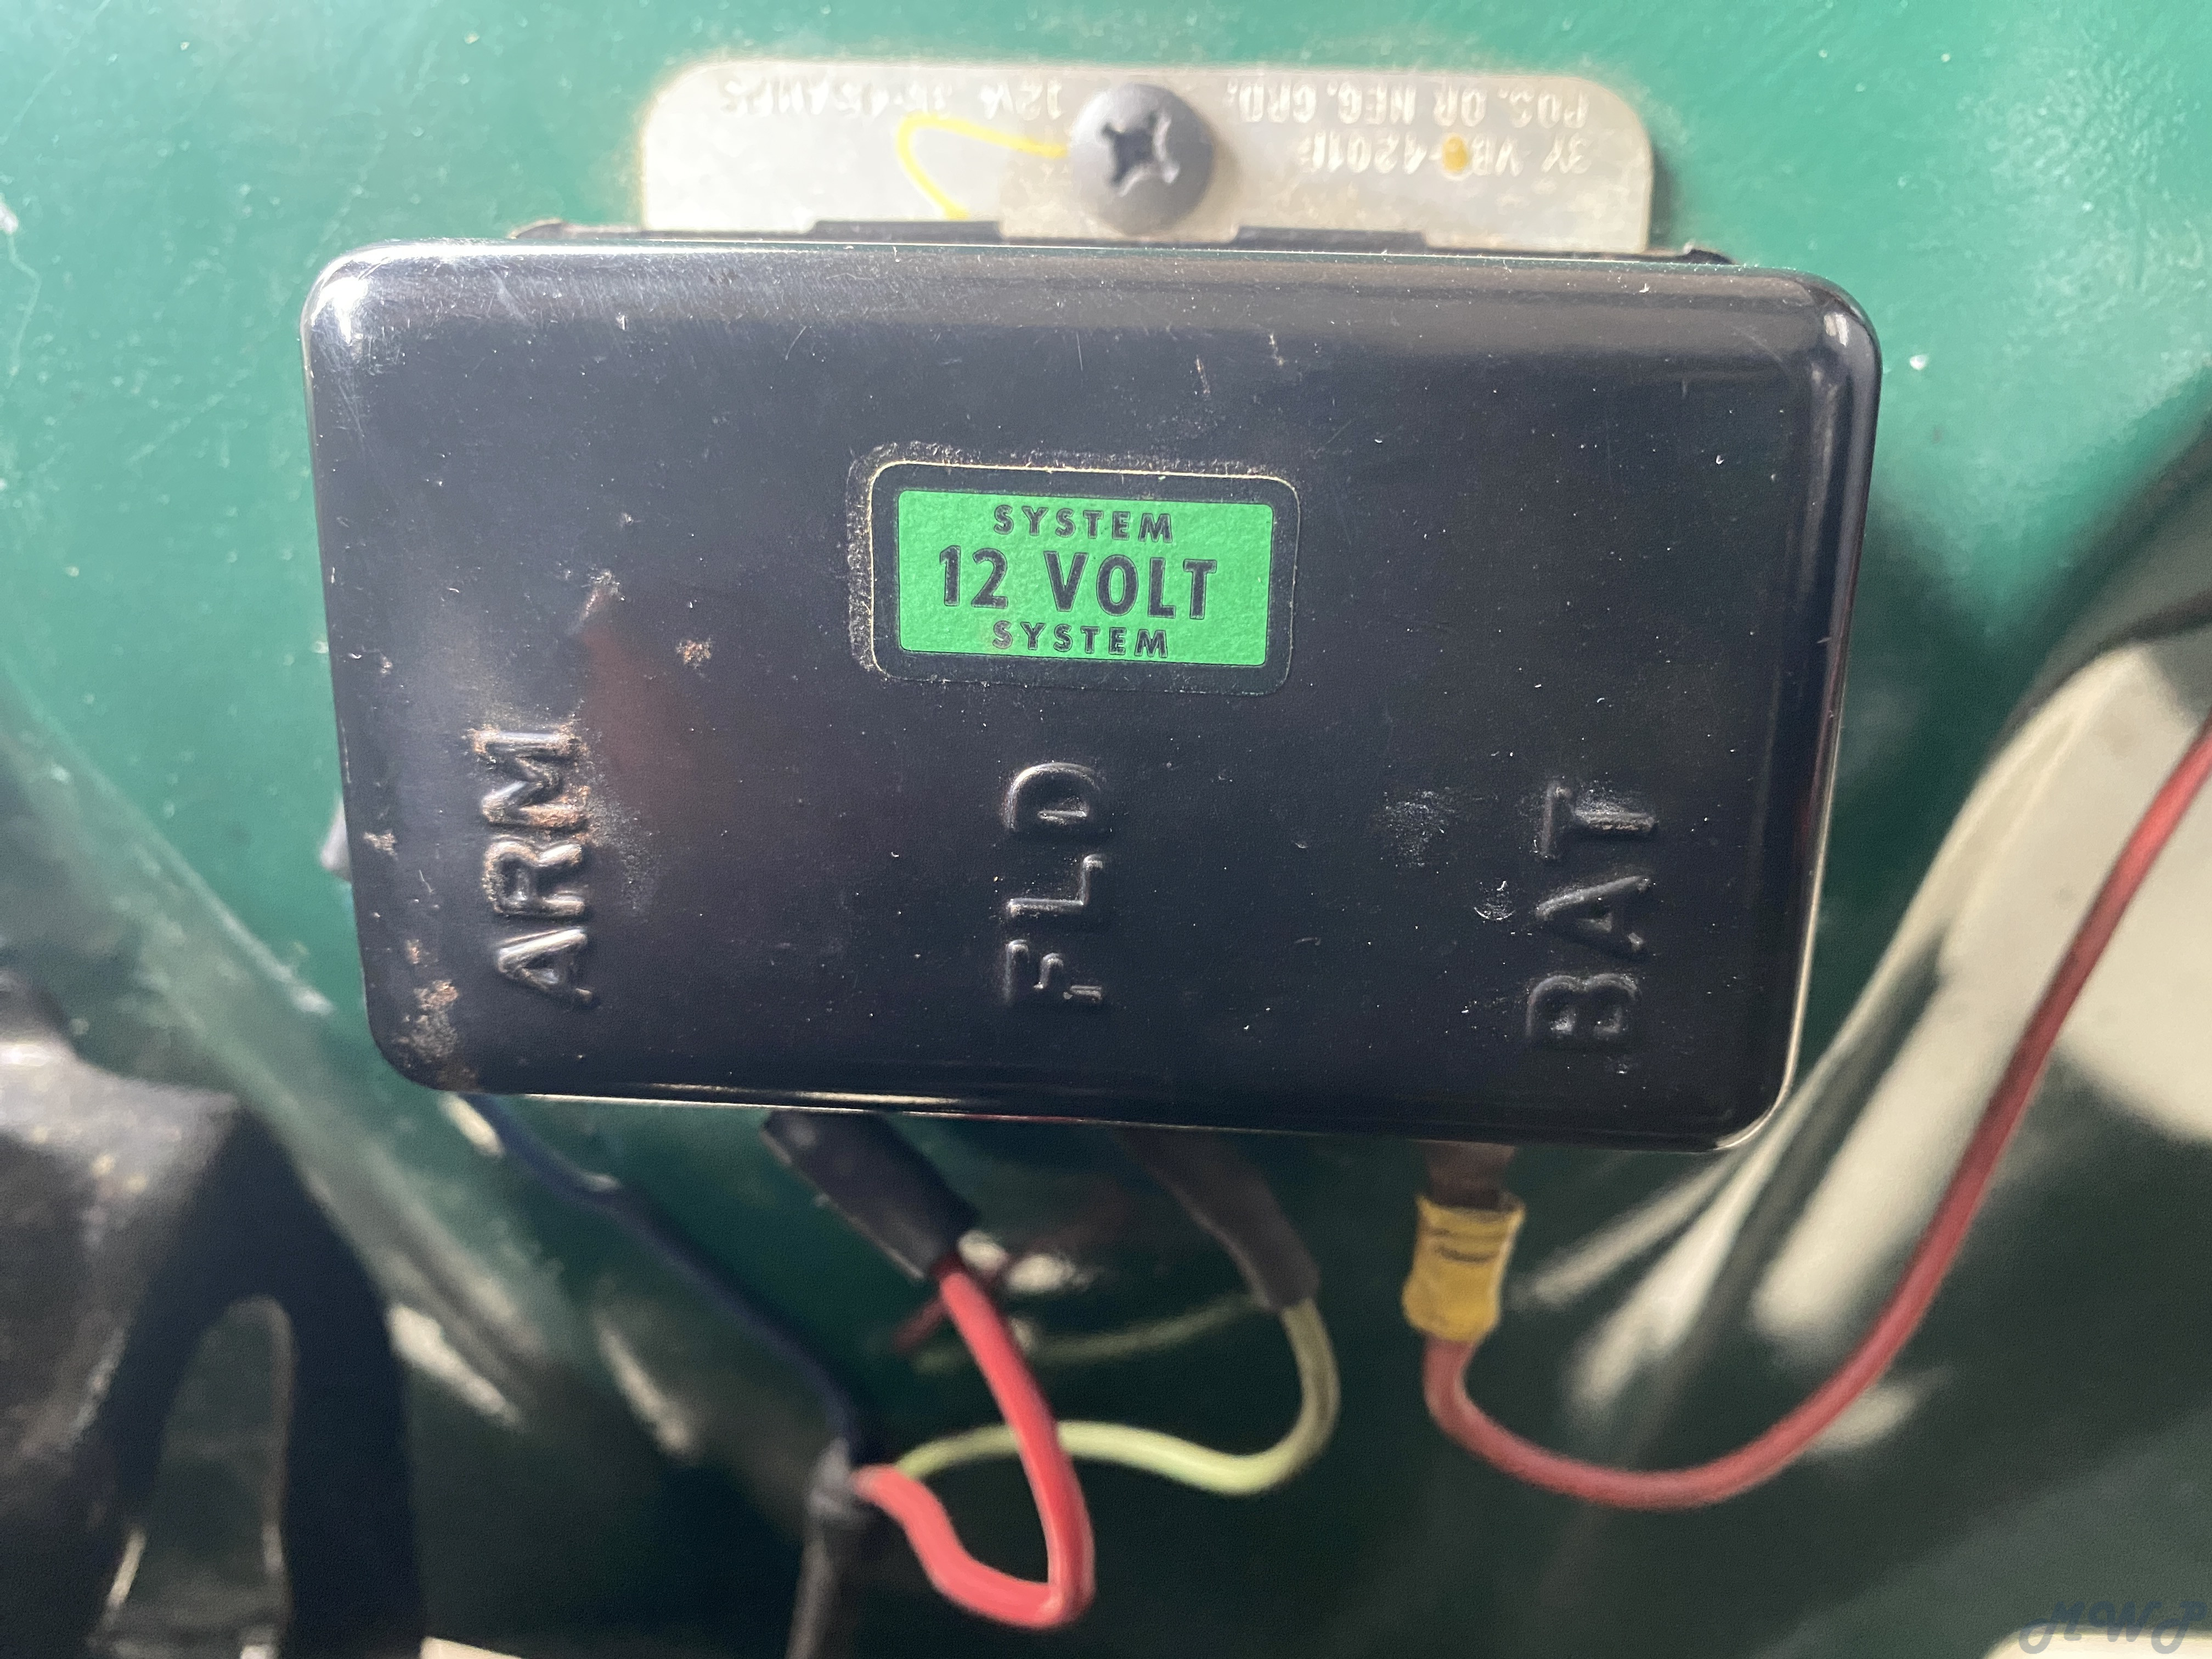
OEM  NOS


15-05 Coil Wiring and Attaching Parts

NOS Autolite coil

15-06 Spark Plugs and Wires

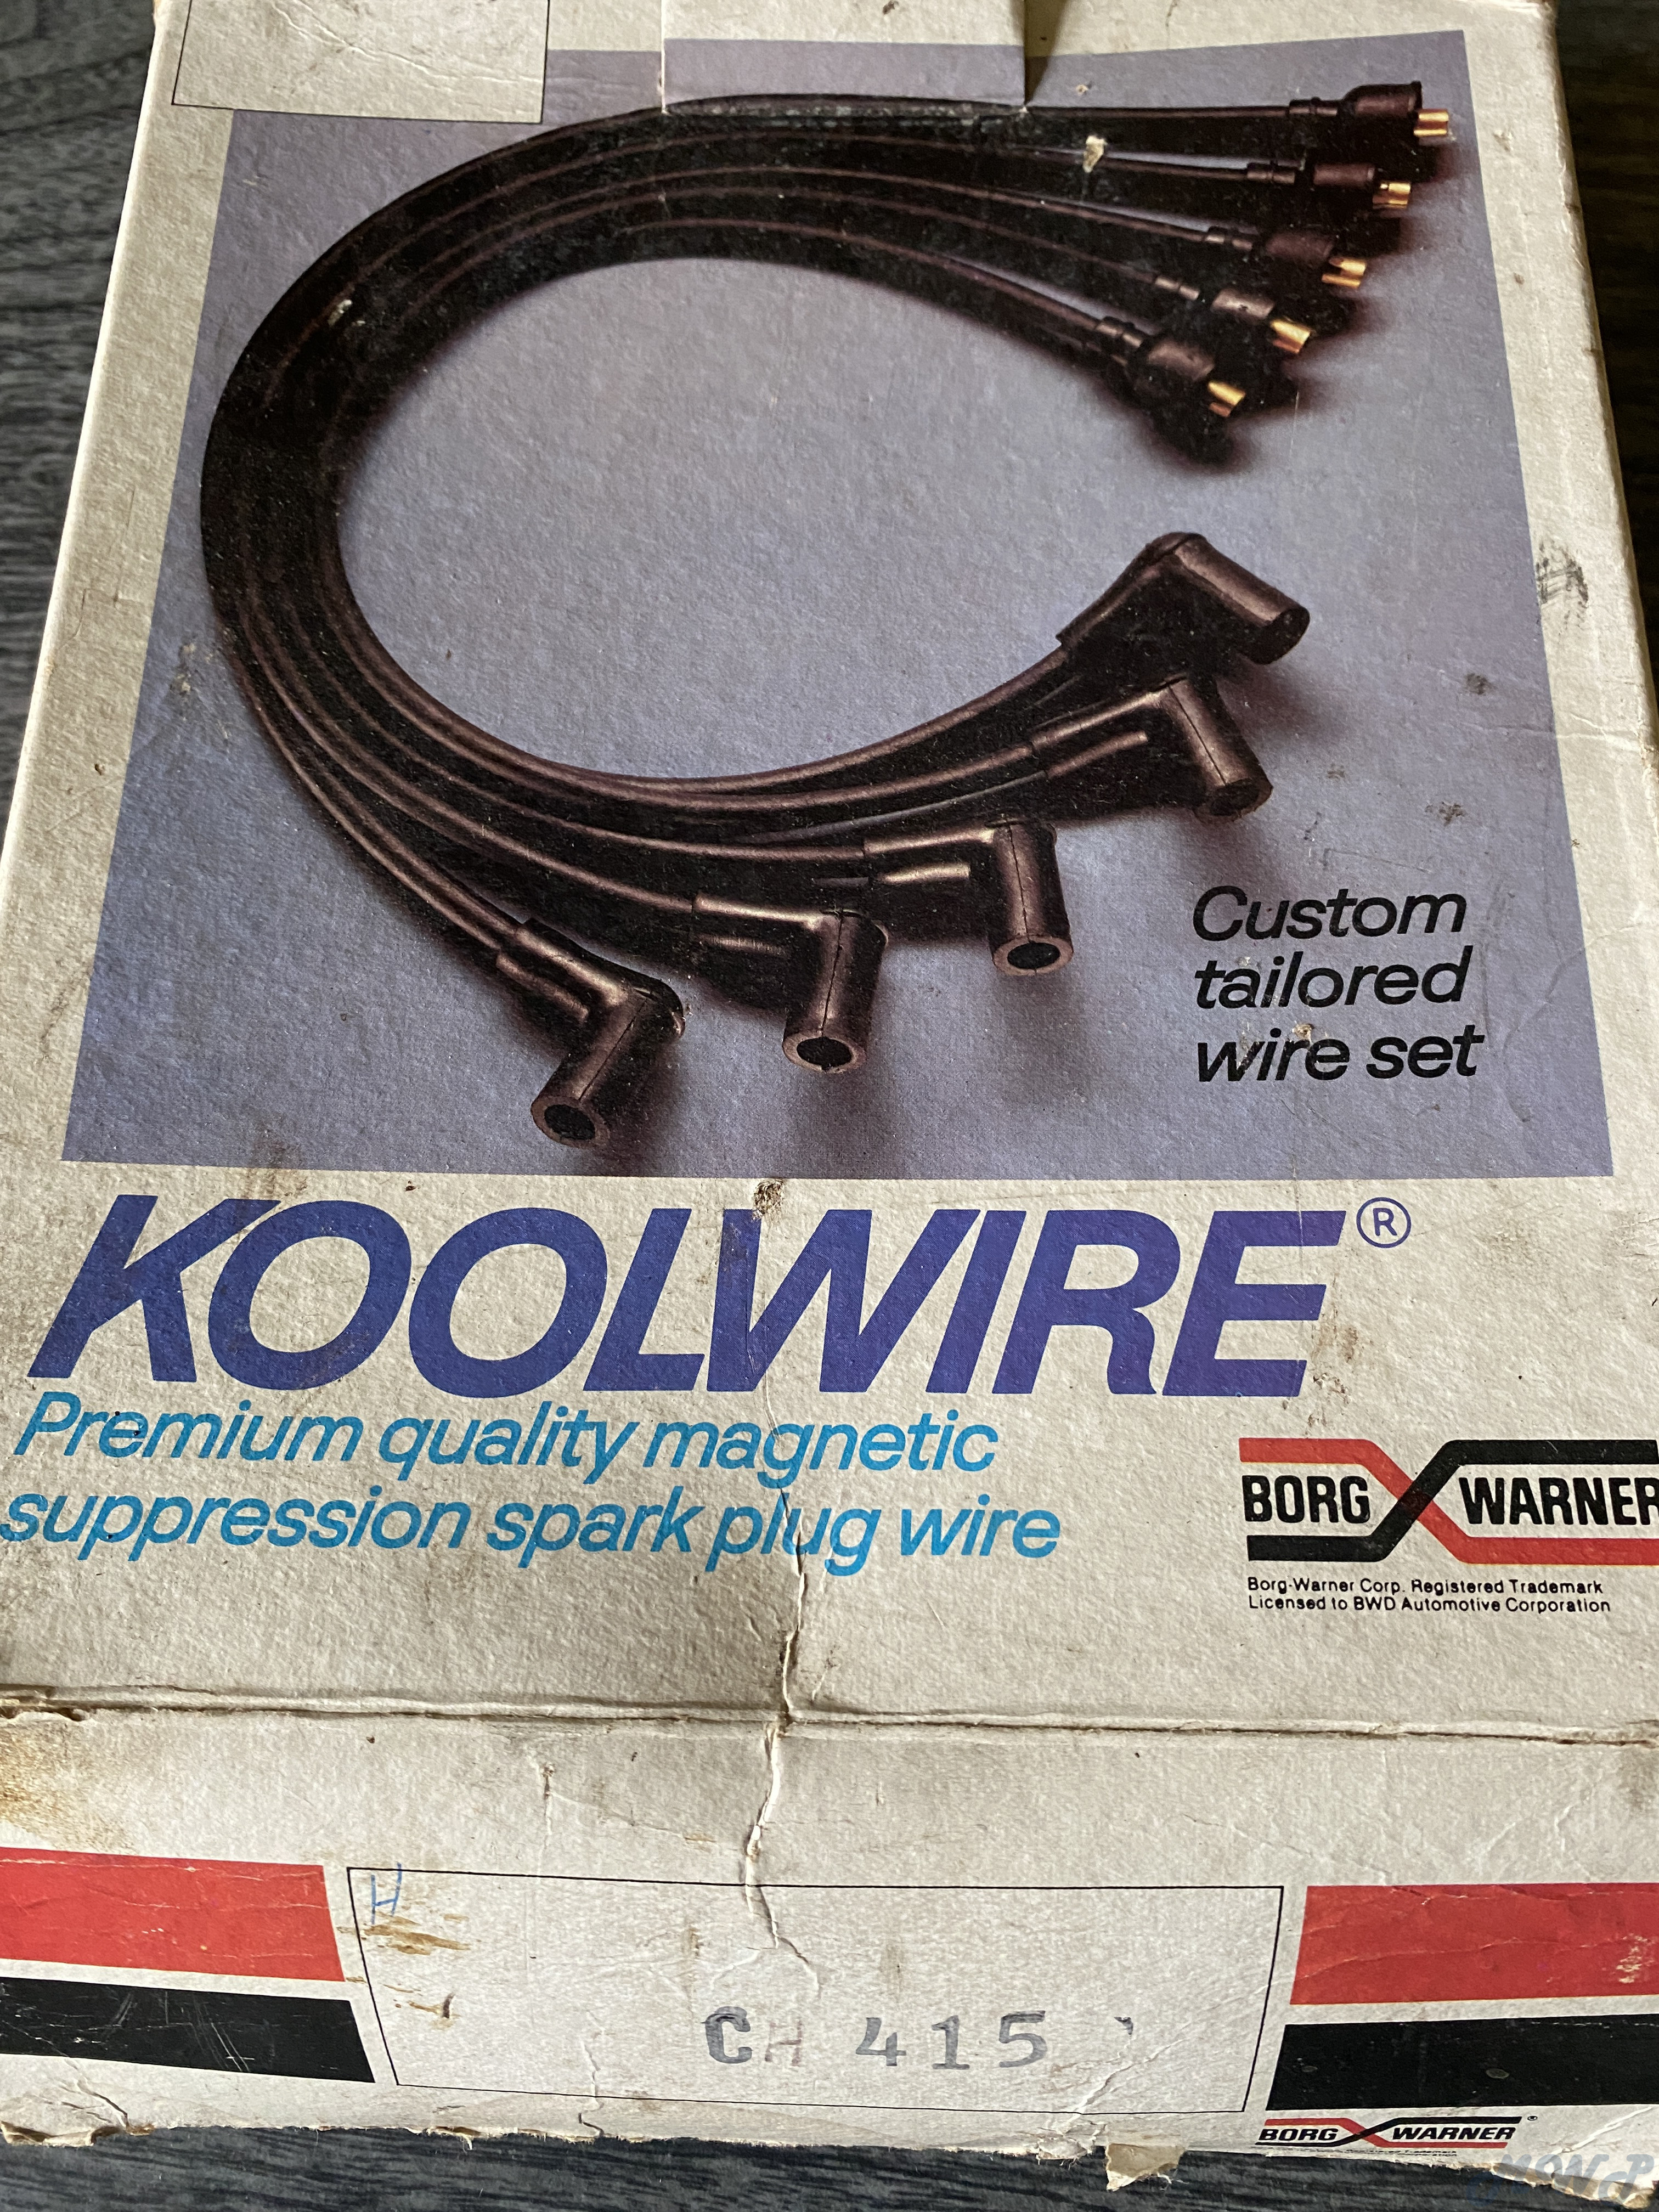
NOS Borg Warner suppression wires


15-07 Body and Chassis Wiring

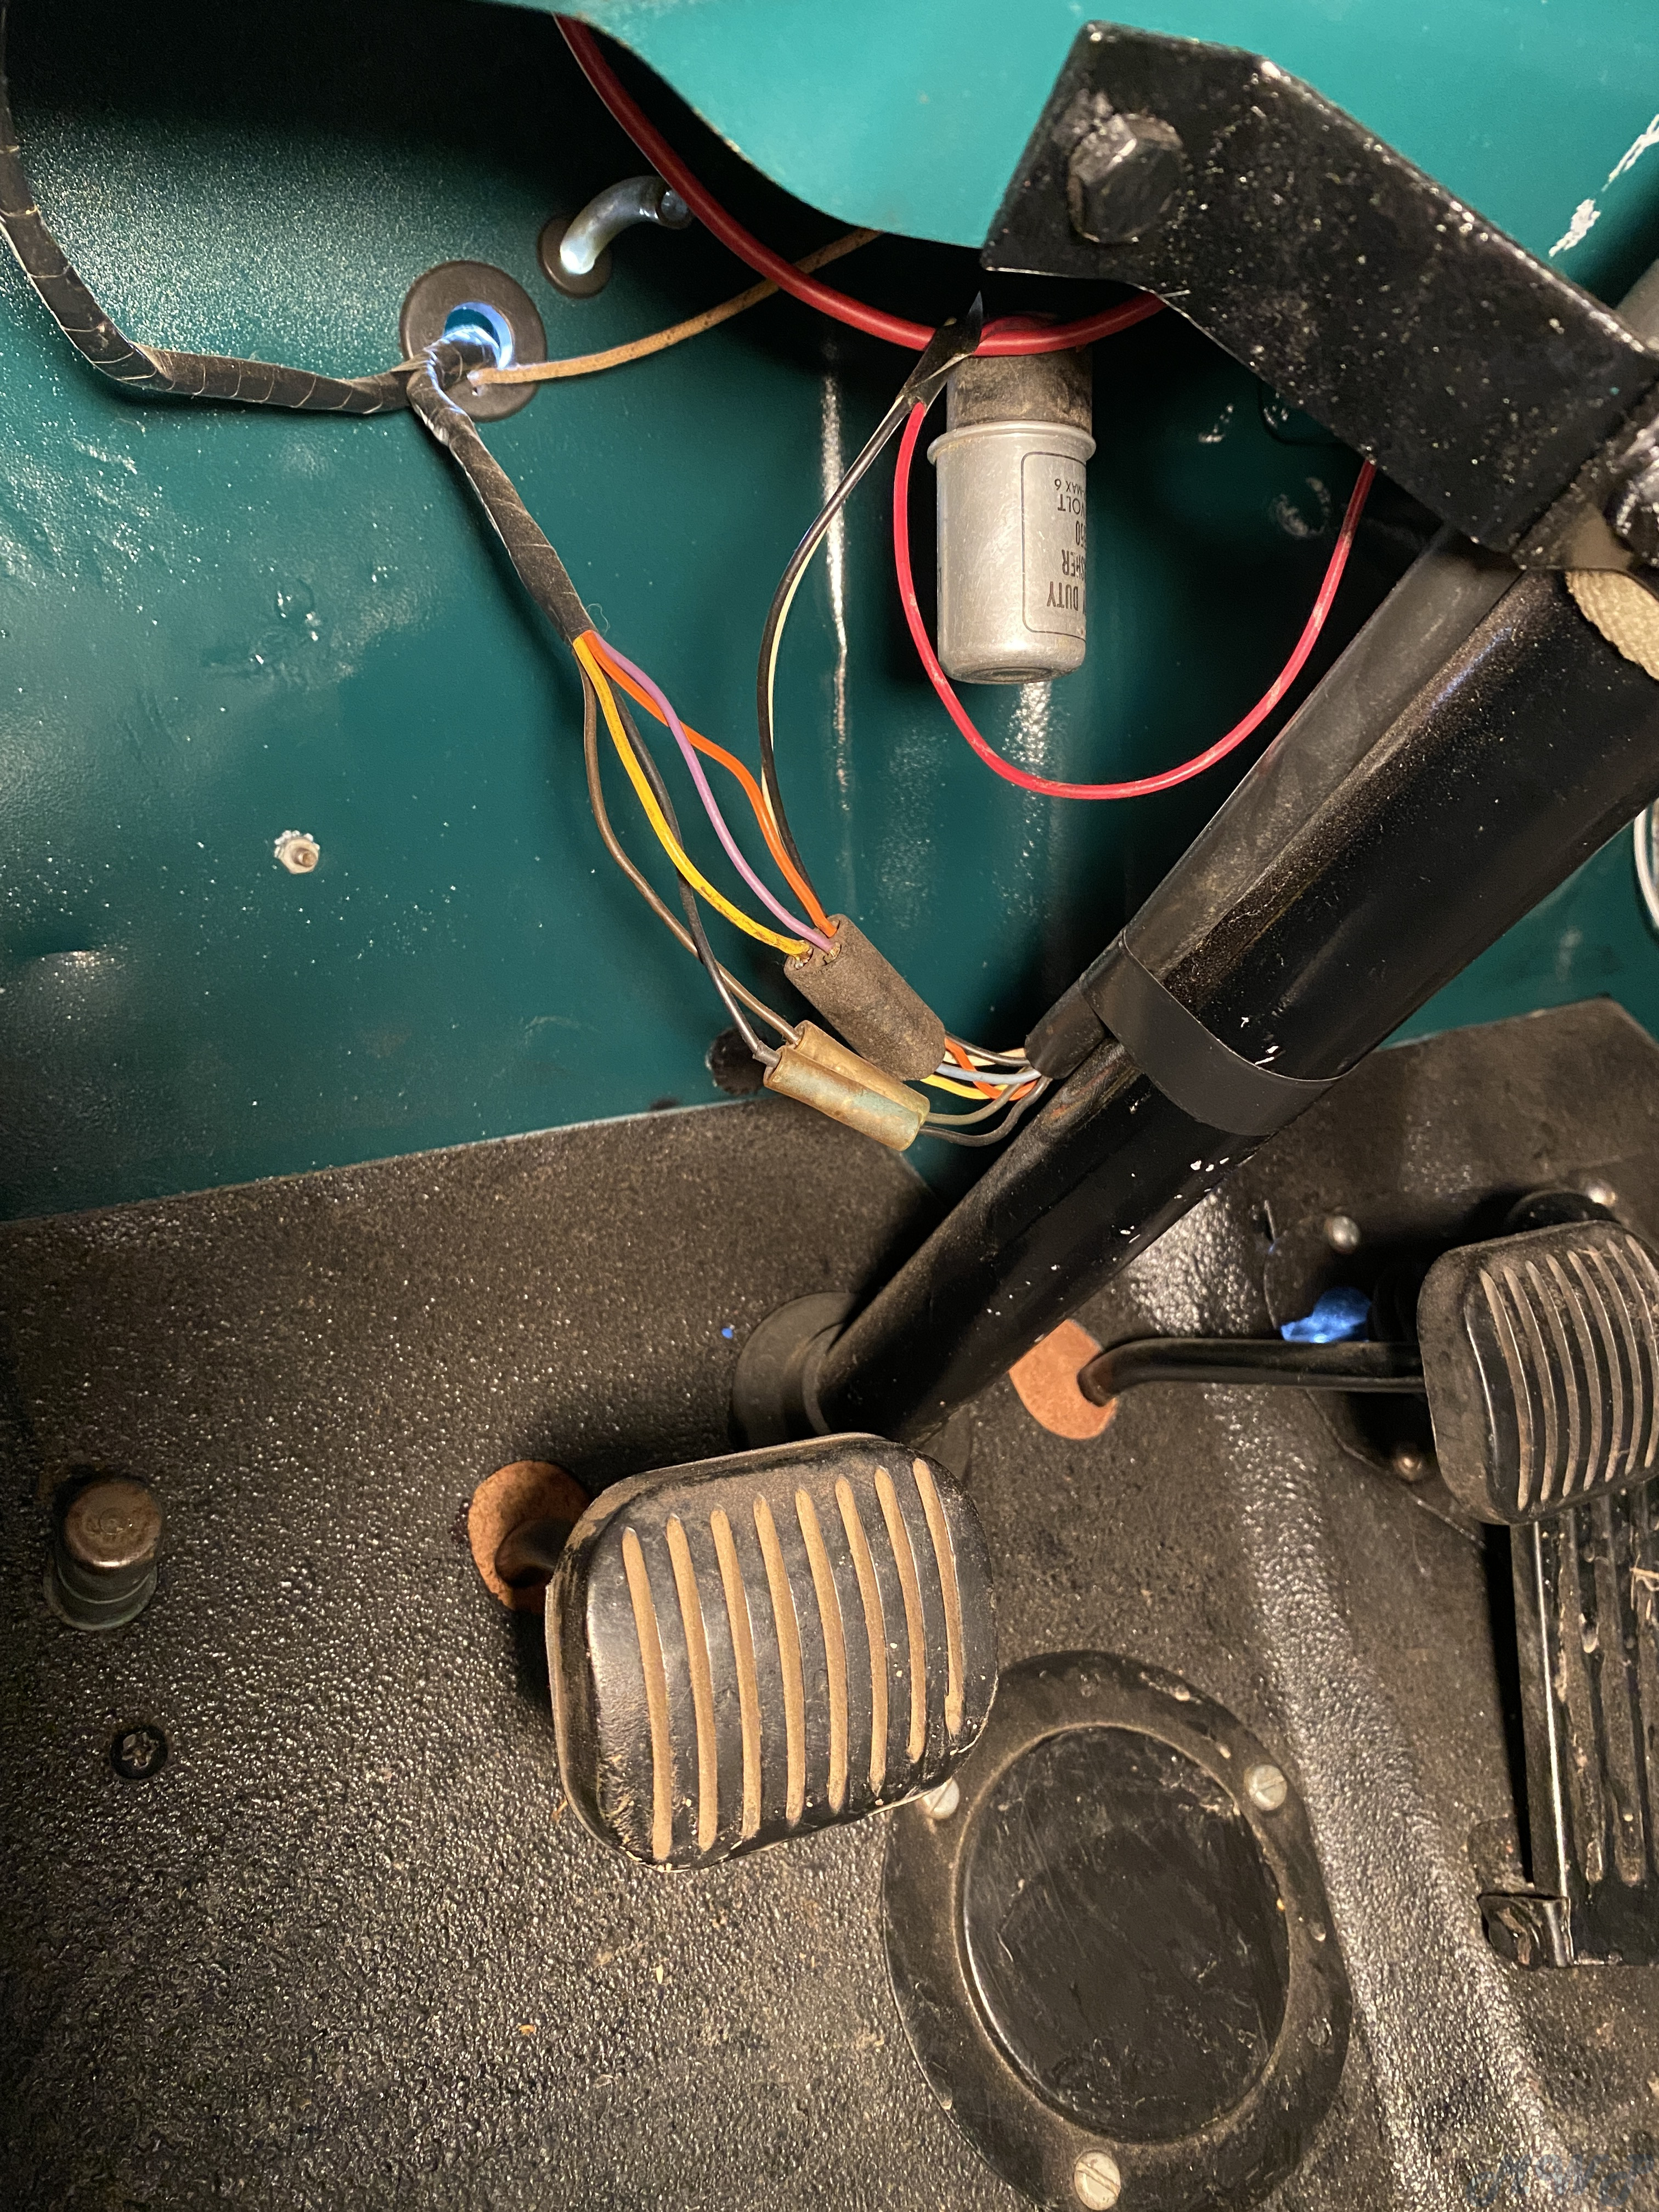
I hand built the various wiring harnesses using recycled original connectors. Built with vinyl color coded wires of proper gauge.

15-09 Headlights

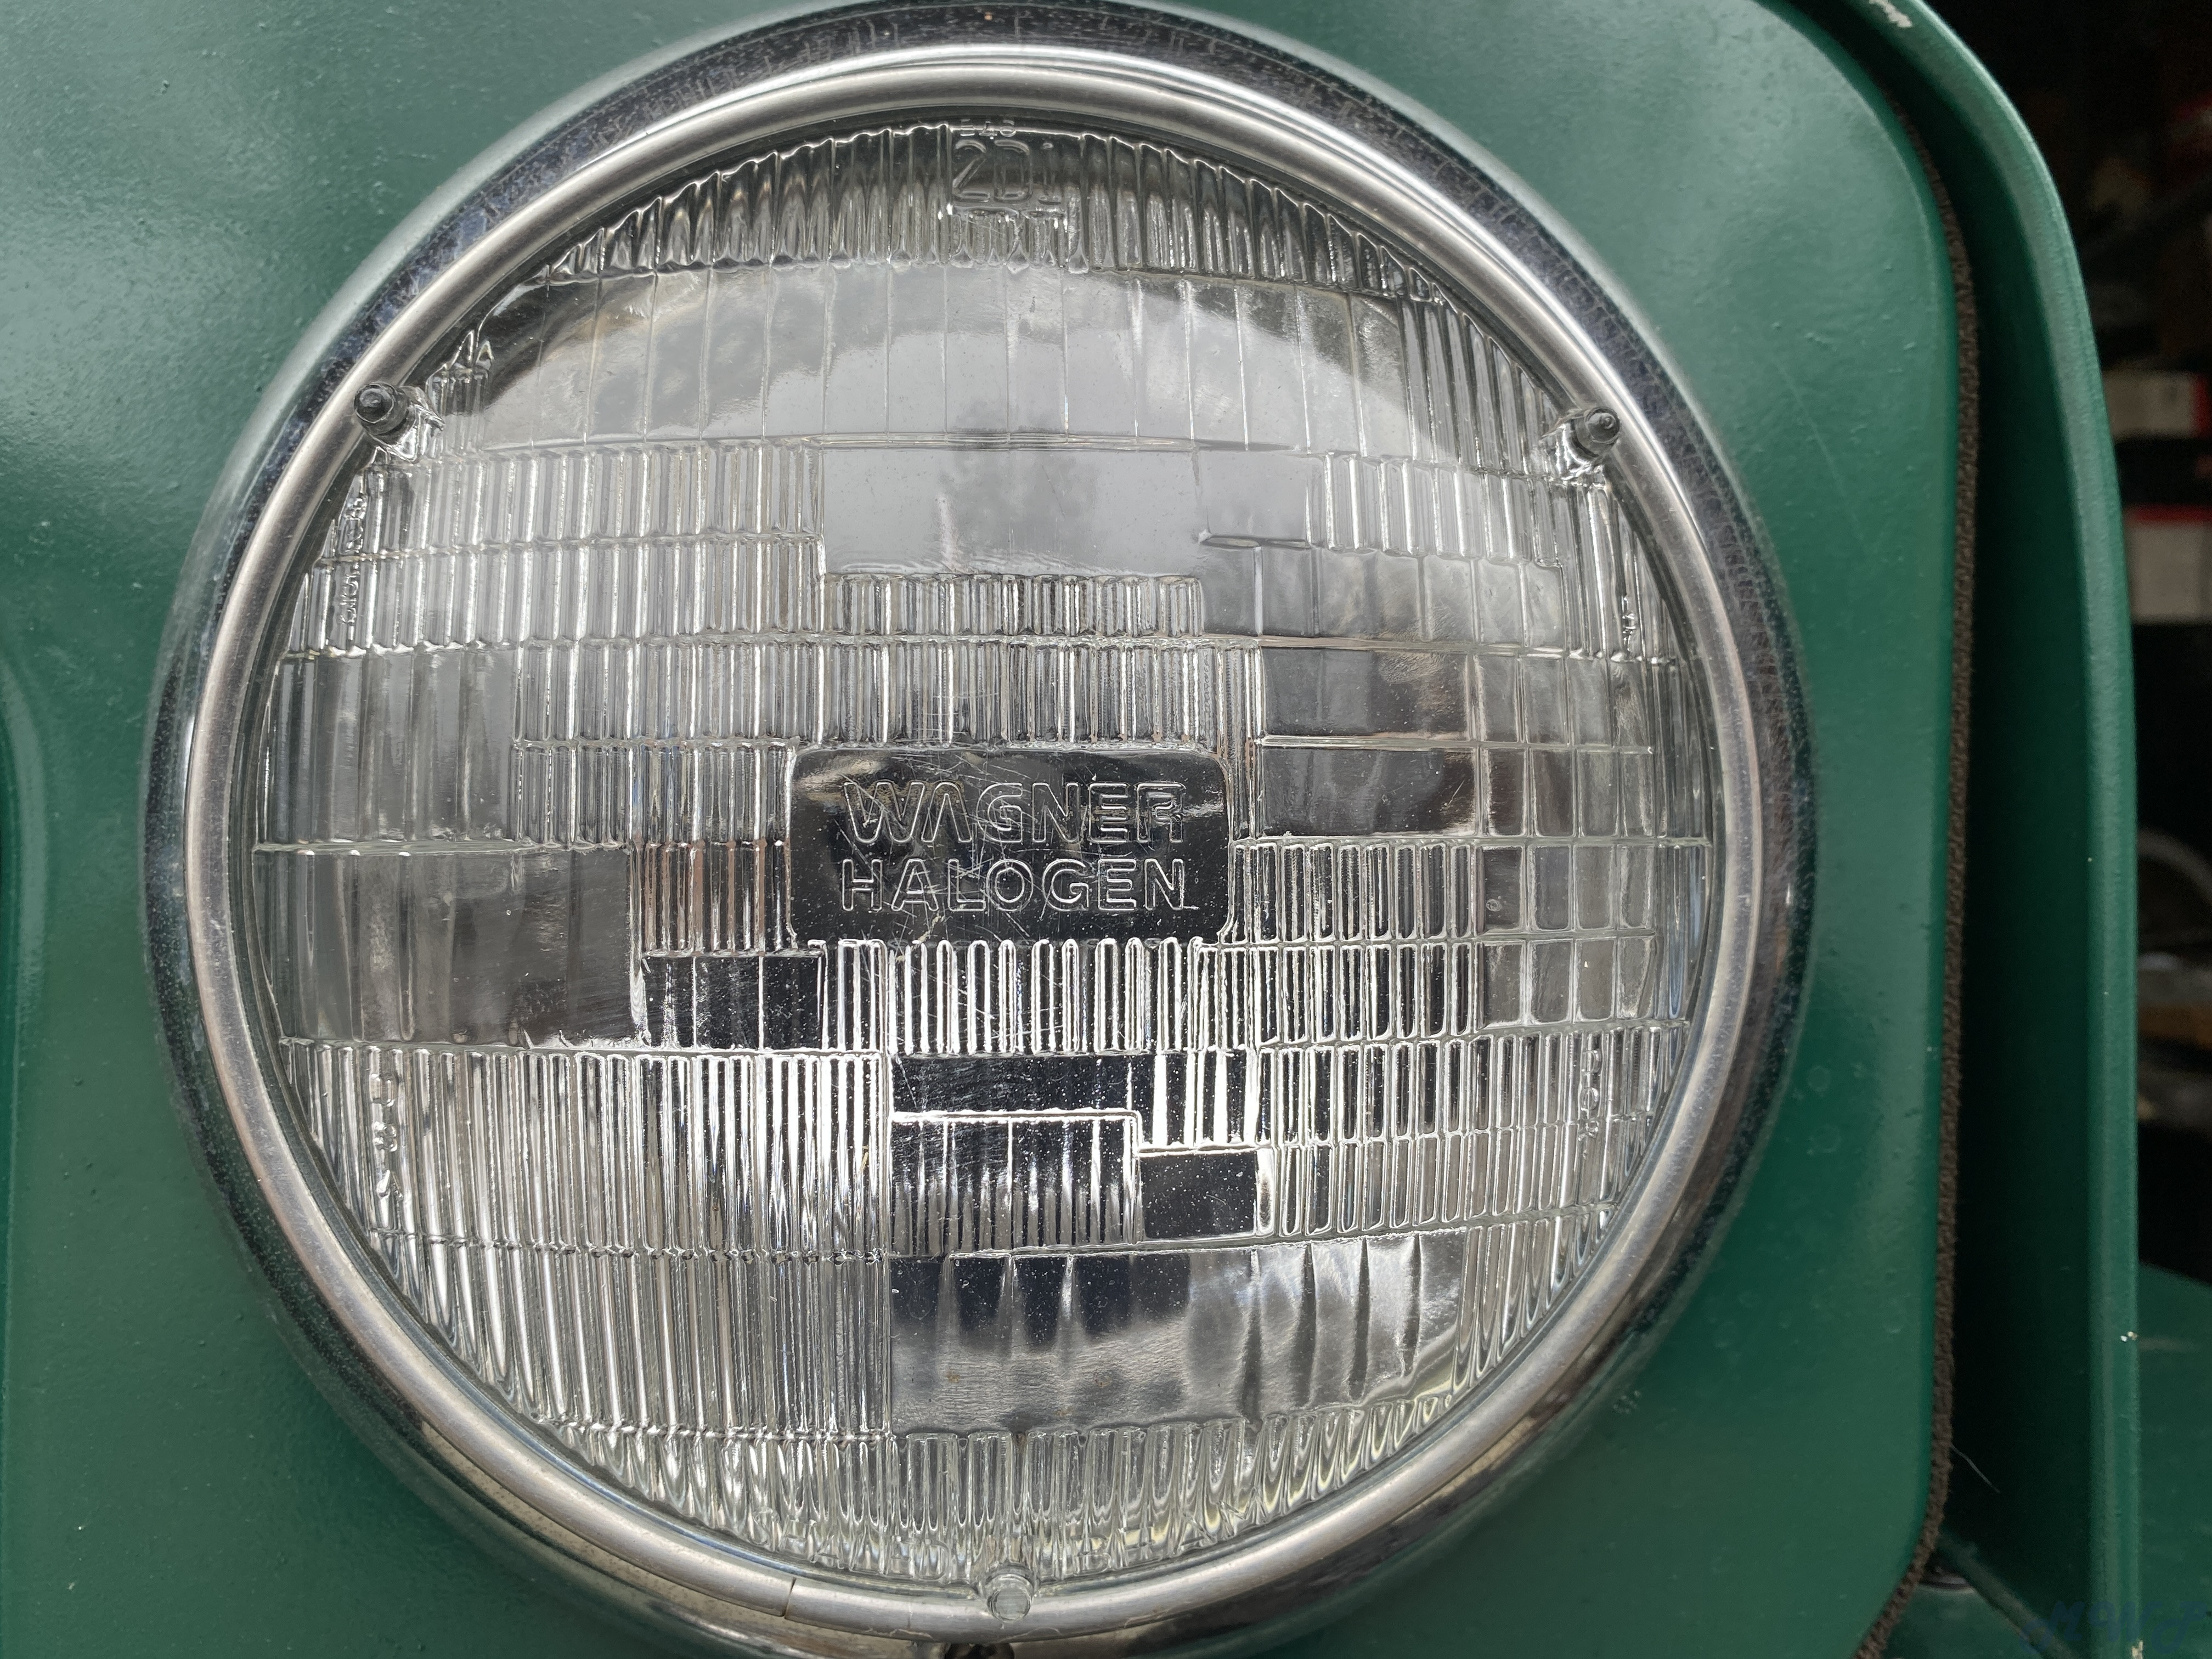
Wagner Halogen


15-12 Foot Dimmer Switch

OEM NOS

15–12A Lighting Switch

NOS switch with old knob.

15-13A Starting Switch

NOS with key starter function

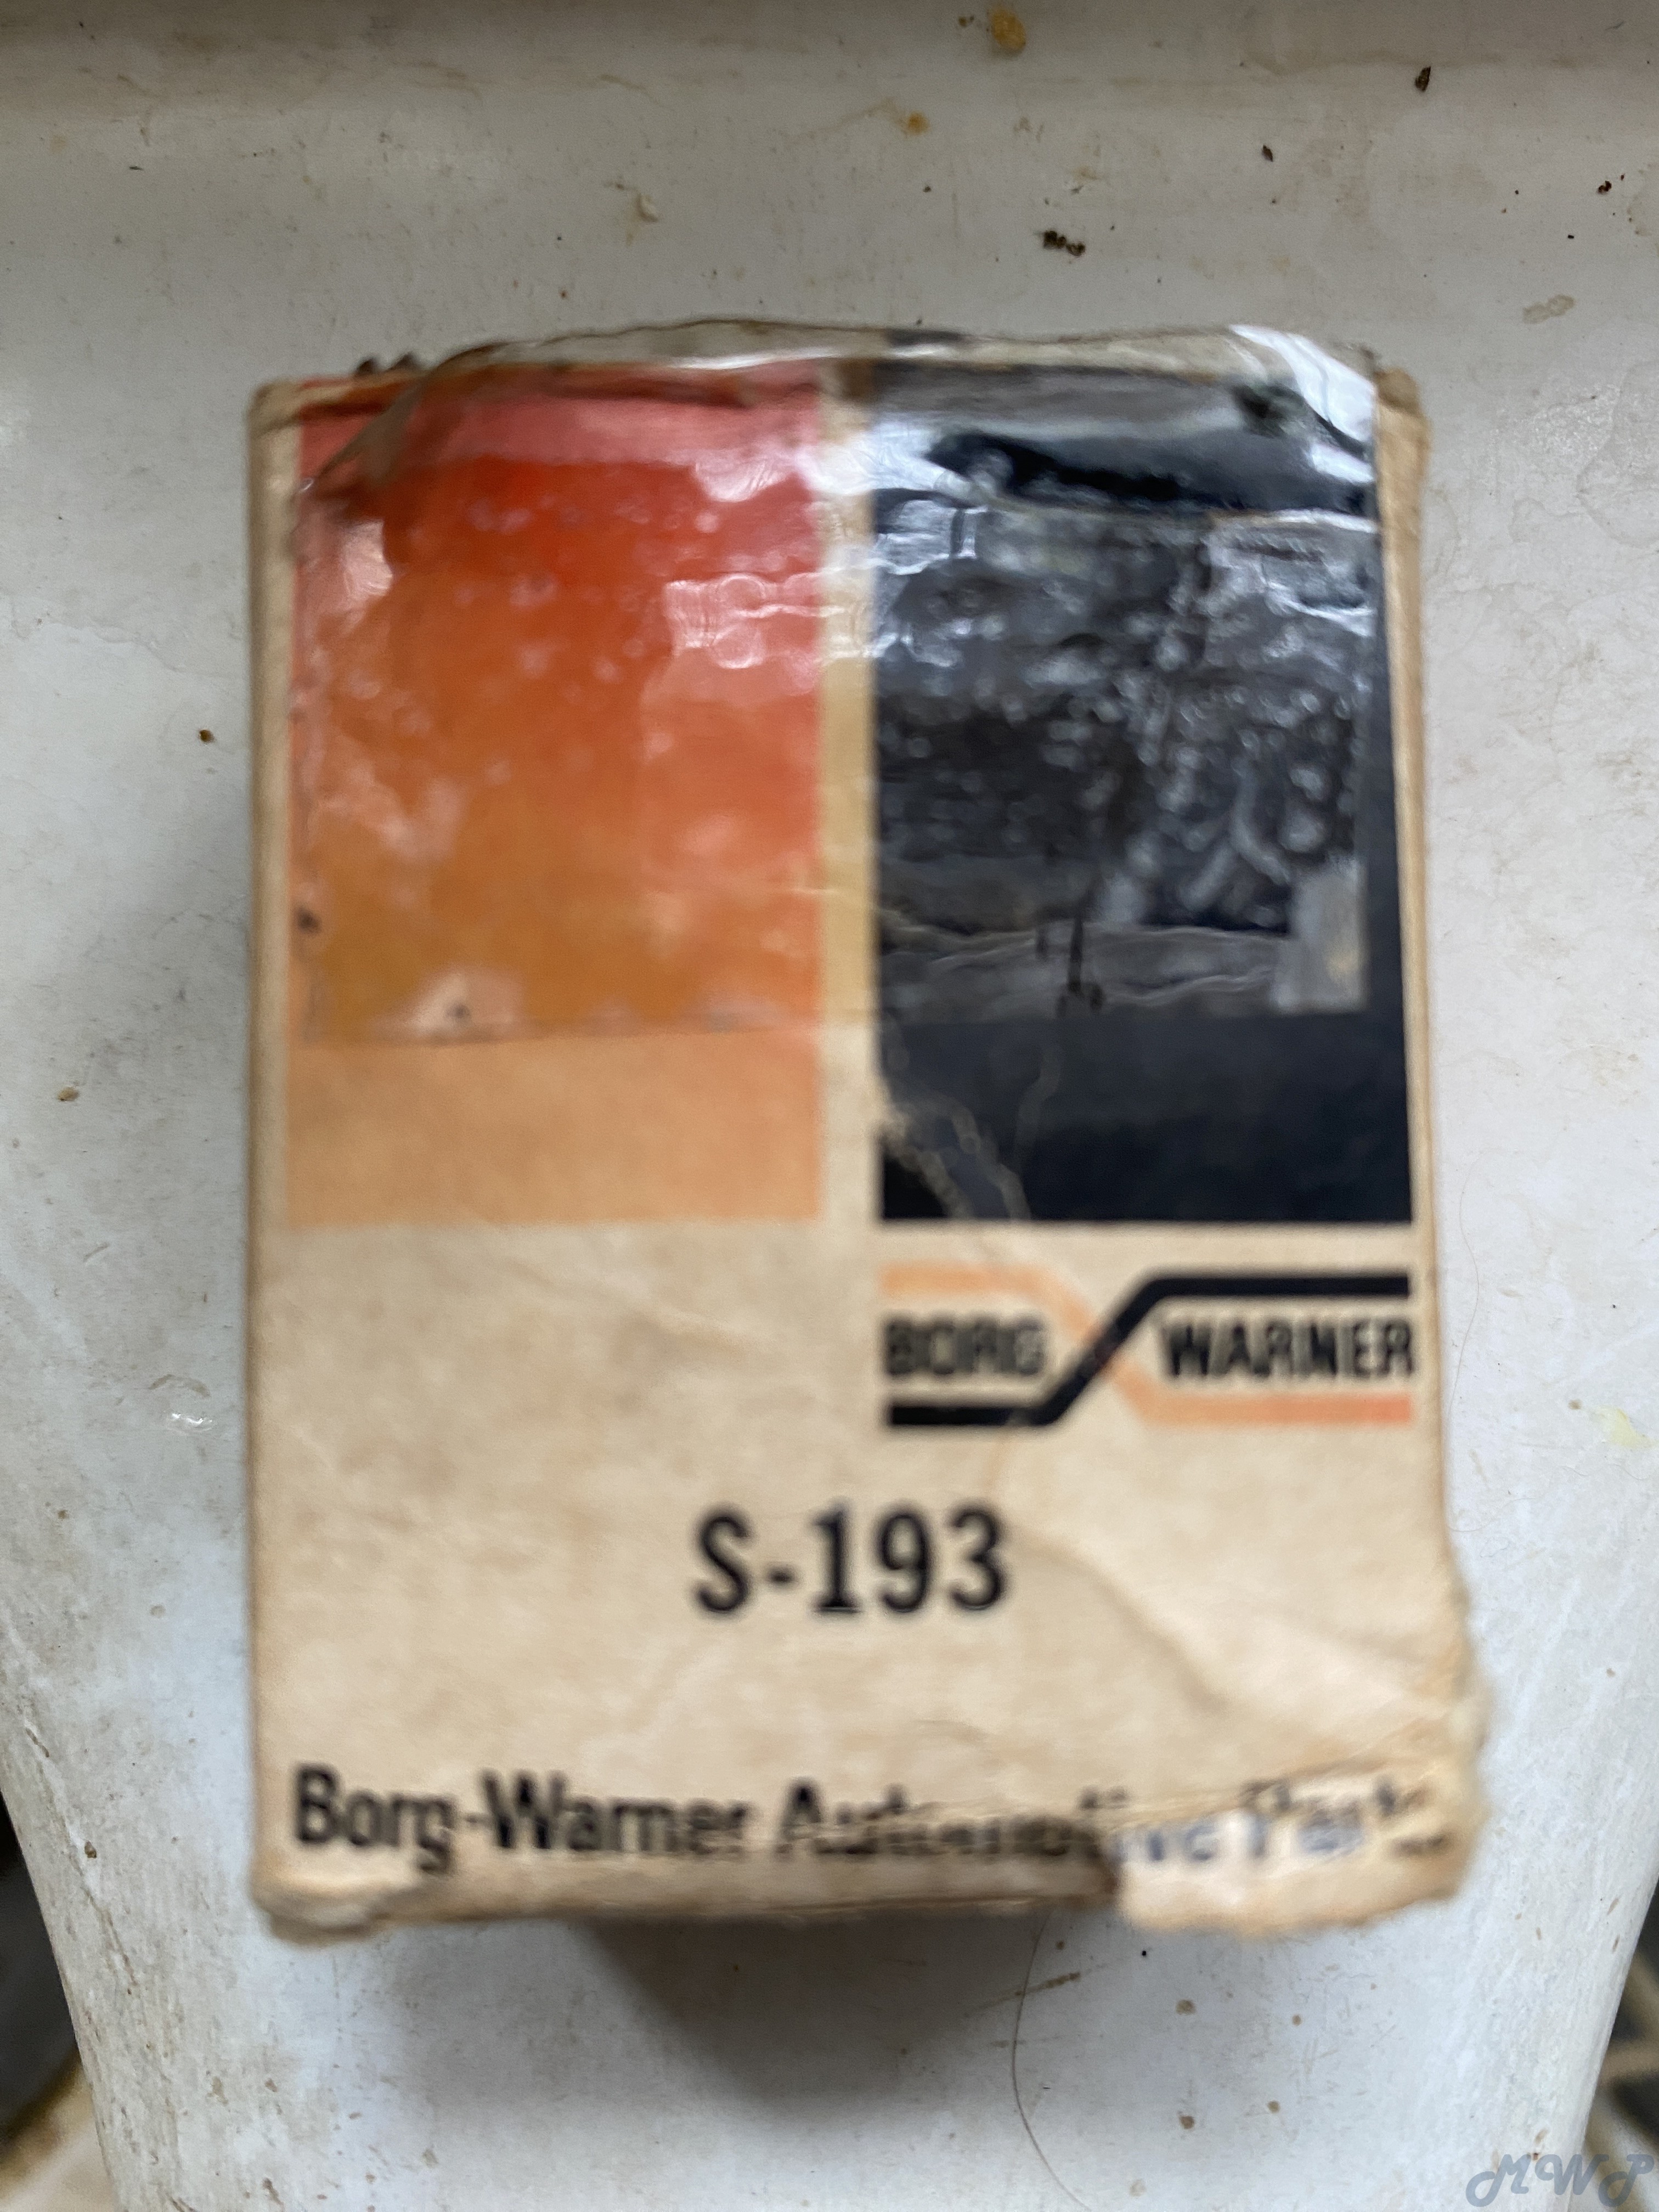
15-14 Stop Light Switch

NOS Borg Warner S-193


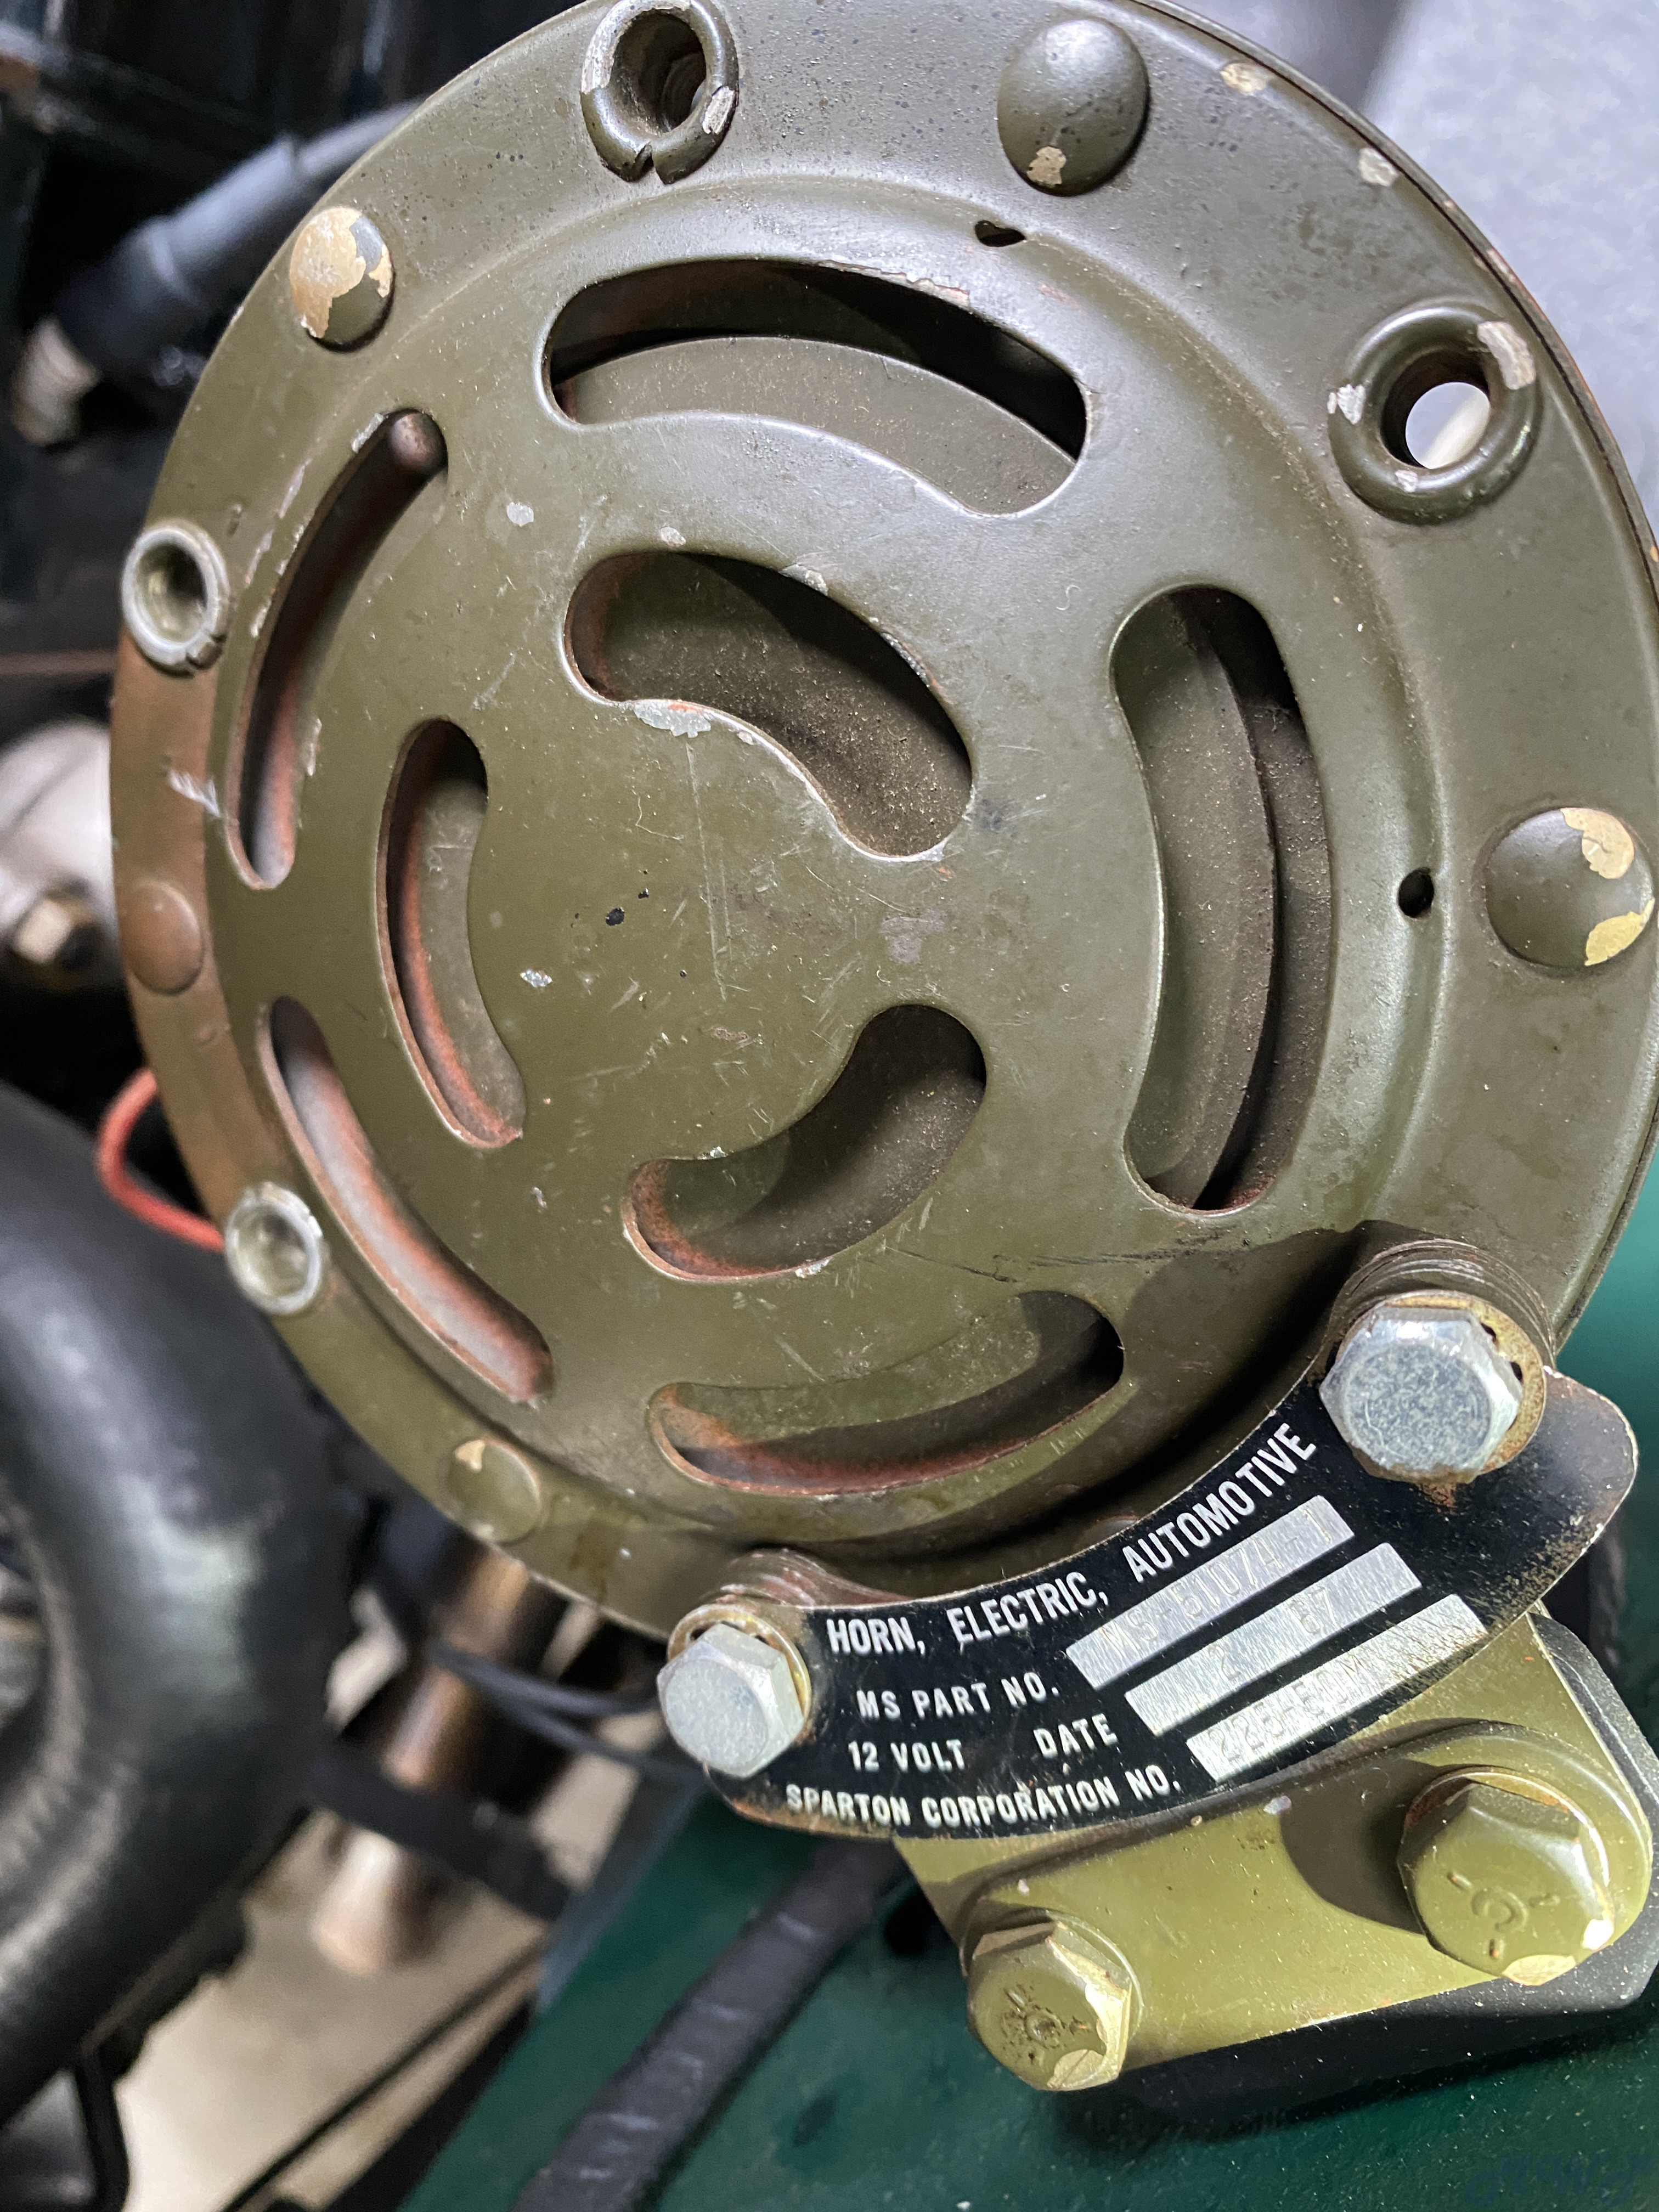
15-17 Horn and Bracket

NOS Sparton 12 volt military horn


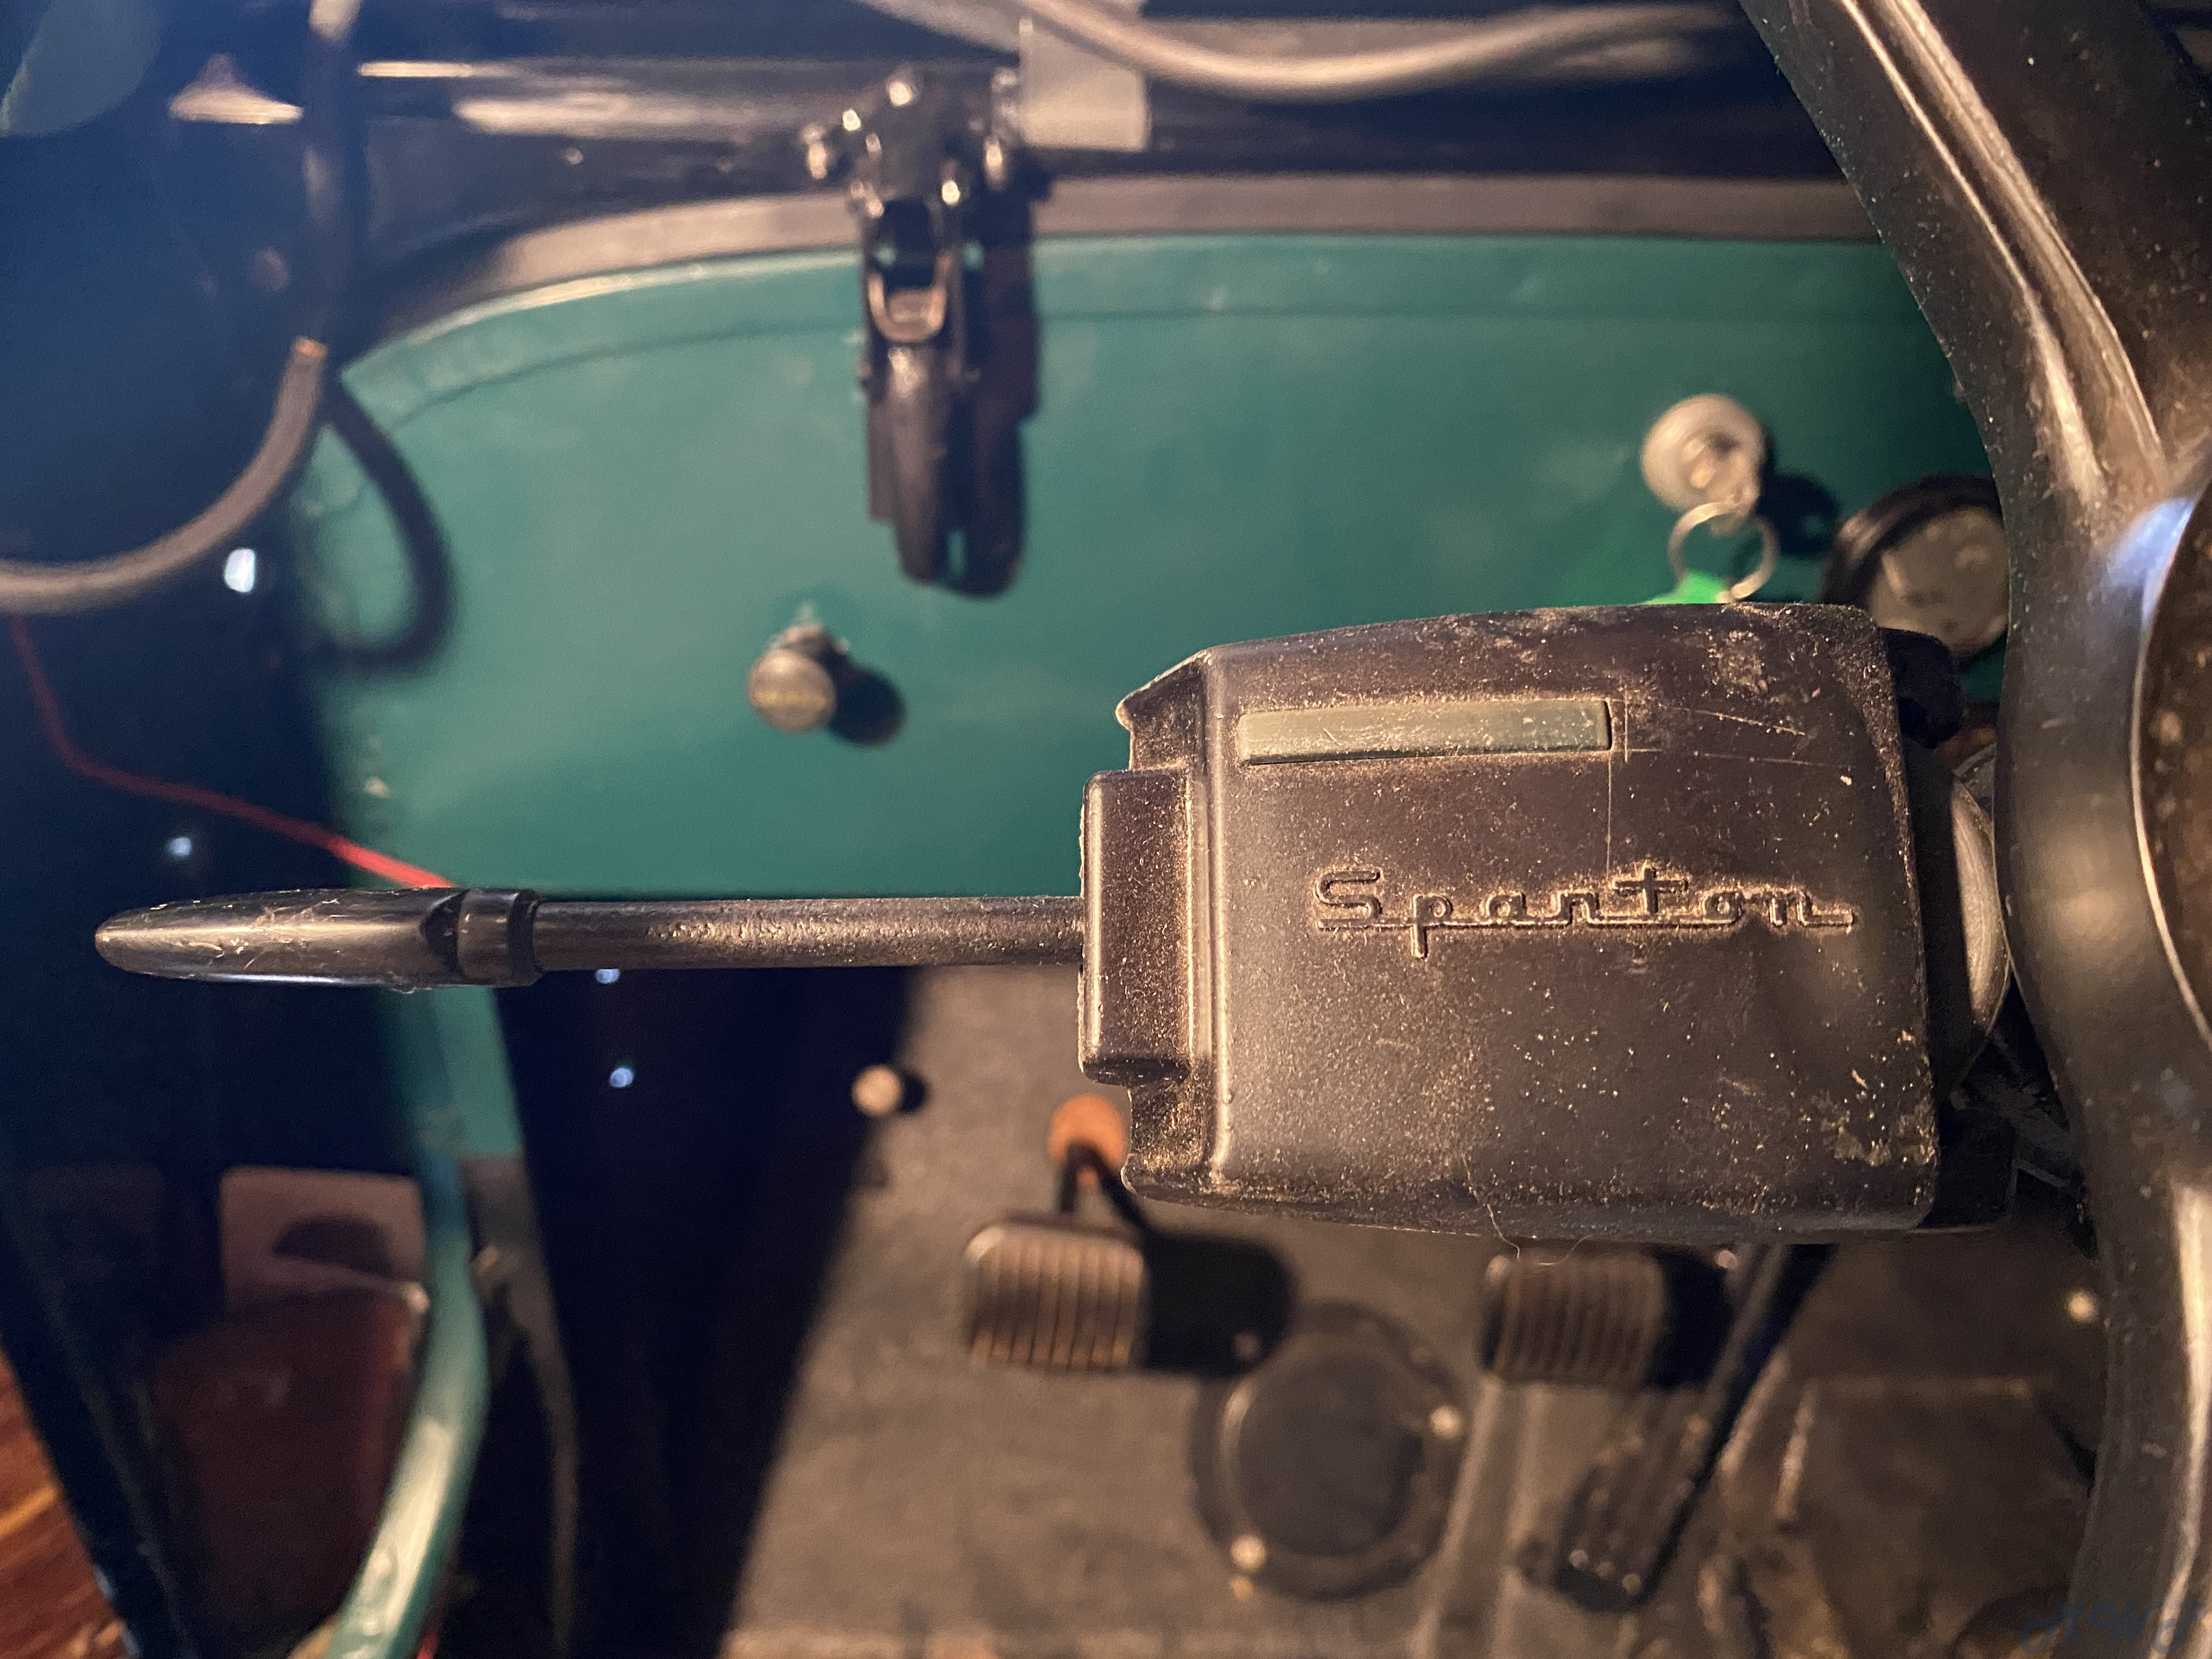
Also the correct rebuilt Sparton turn signal switch that was correctly wired in as standard equipment.


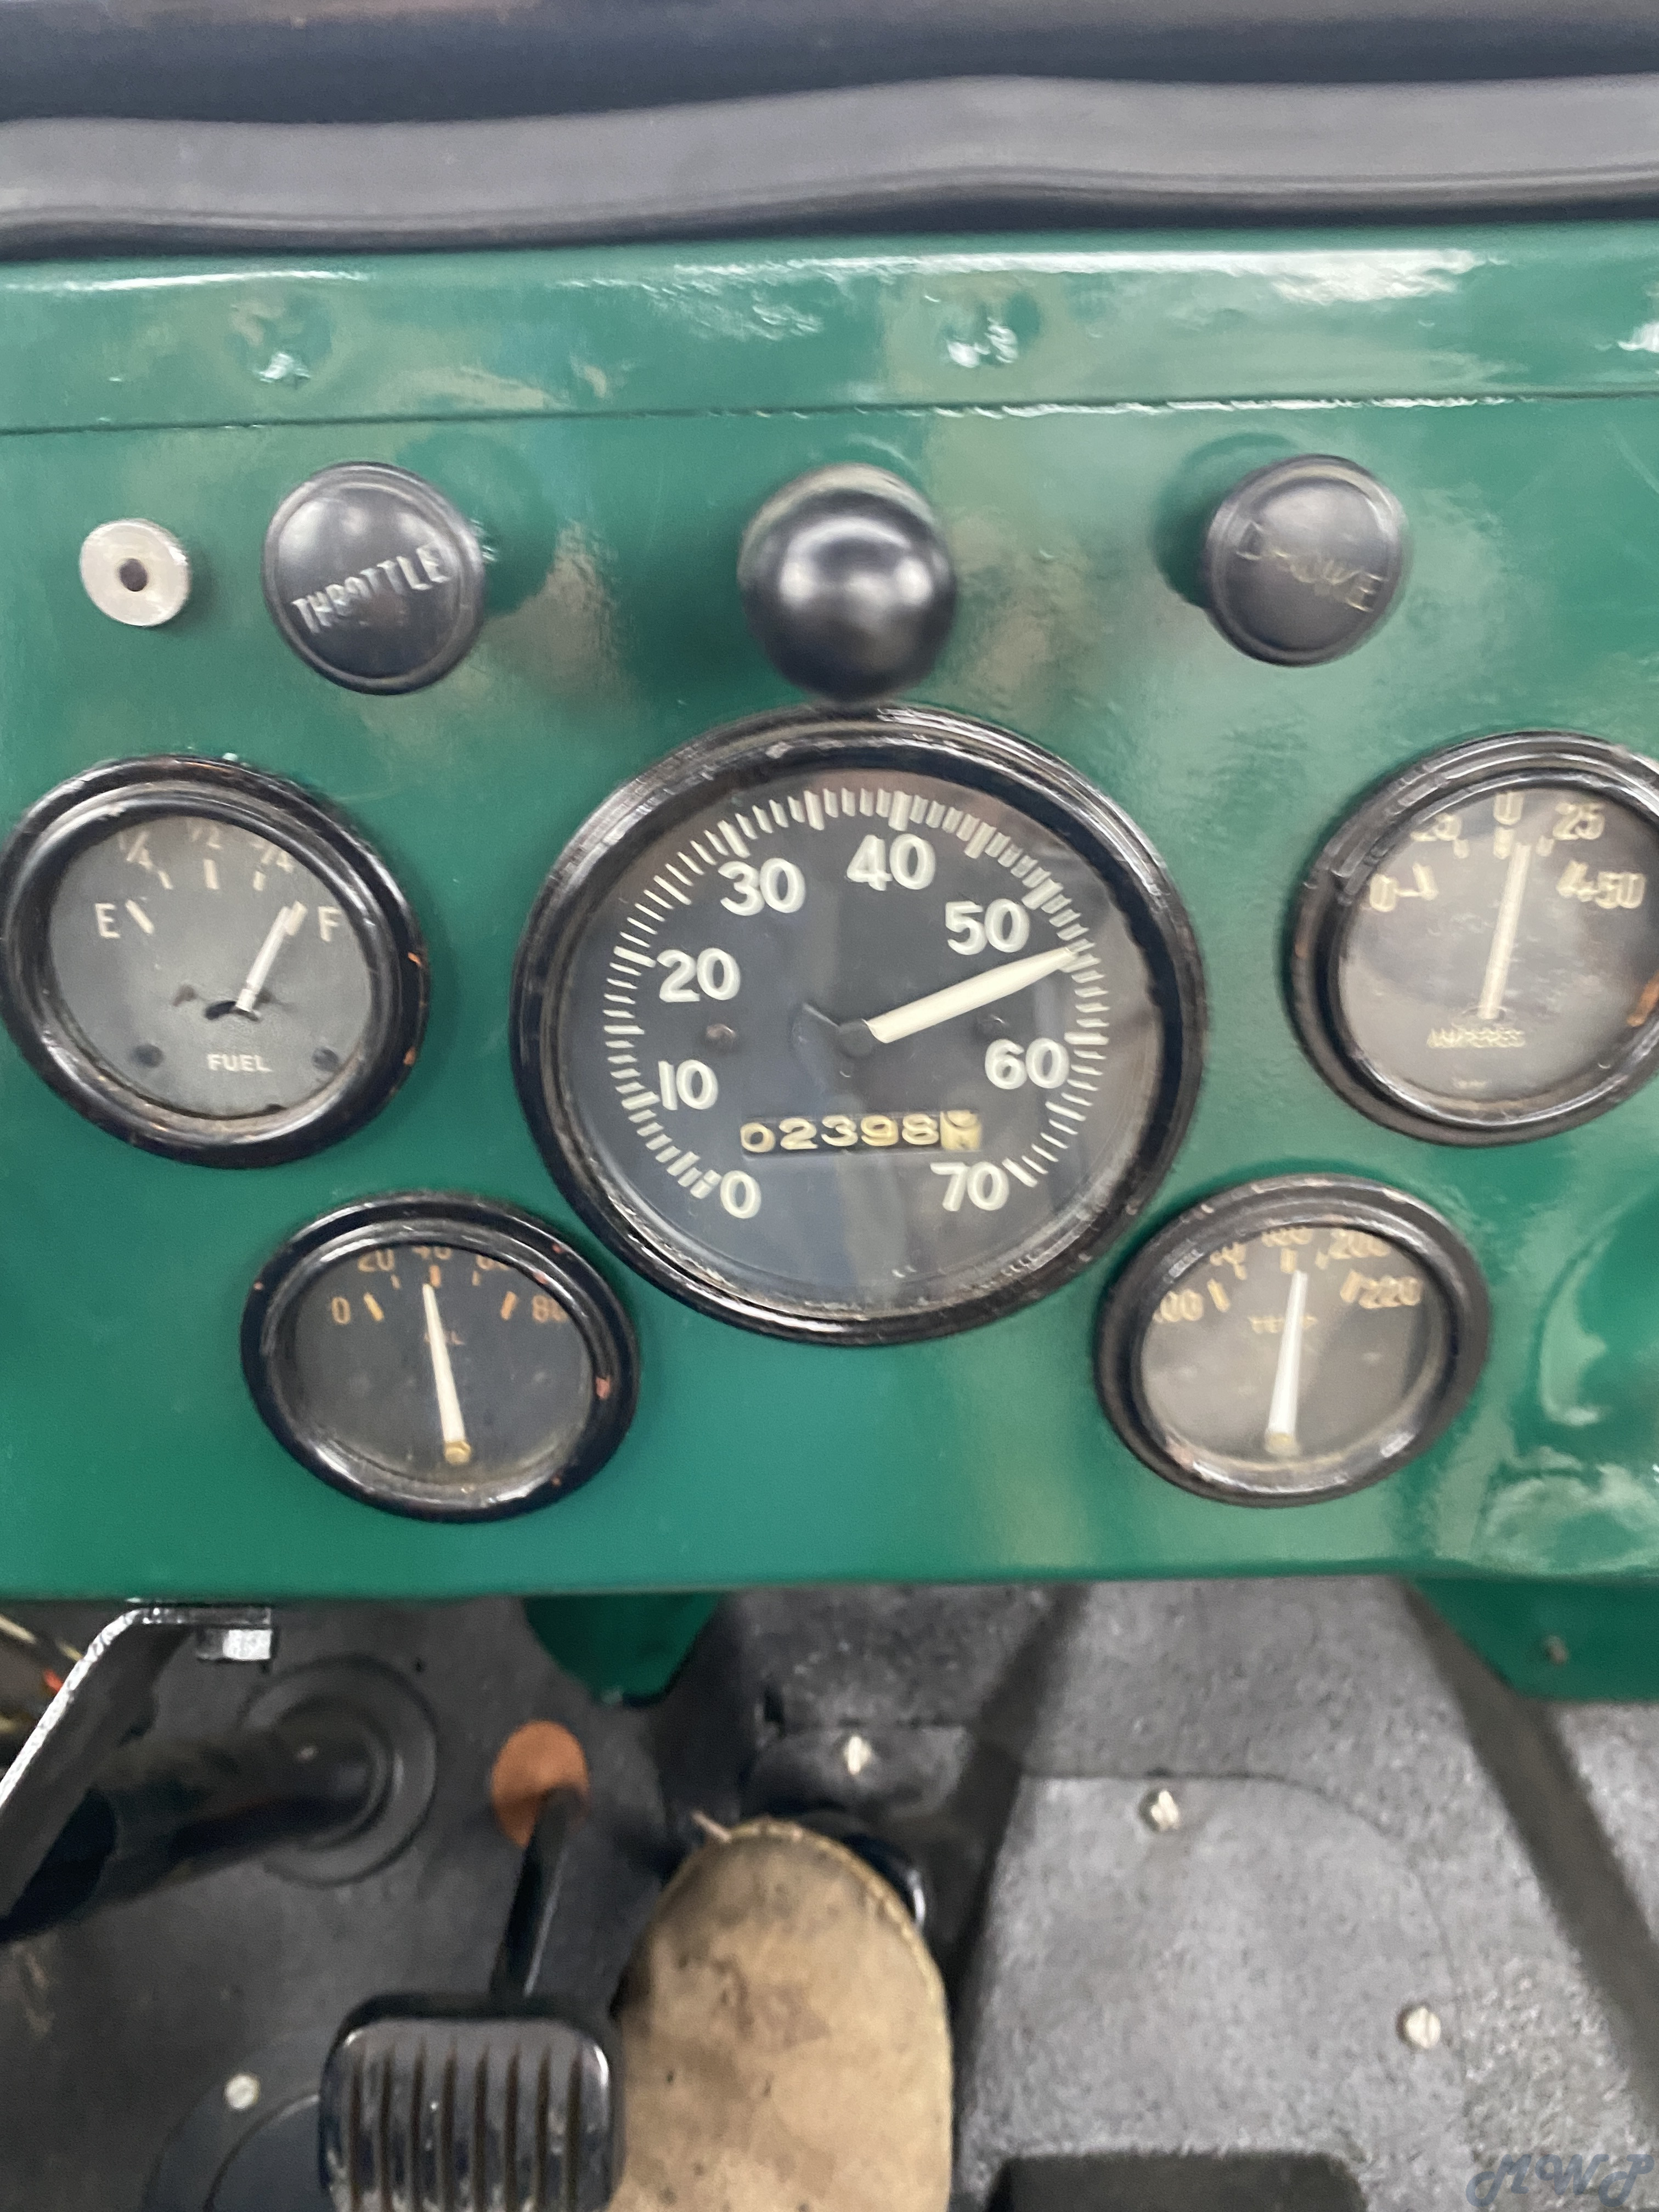
16-01 Instruments

Old style gauges, all originals.


7
Your CJ-3B Project / Re: 1953 RESCUE and RECOVERY
« on: January 04, 2024, 09:22:48 AM »
Thanks Bill.
Some of the very best comes at the end when I get to Group 35 Special Equipment and Accessories.

8
Your CJ-3B Project / Re: 1953 RESCUE and RECOVERY
« on: January 03, 2024, 01:34:26 PM »
Willys Group Index
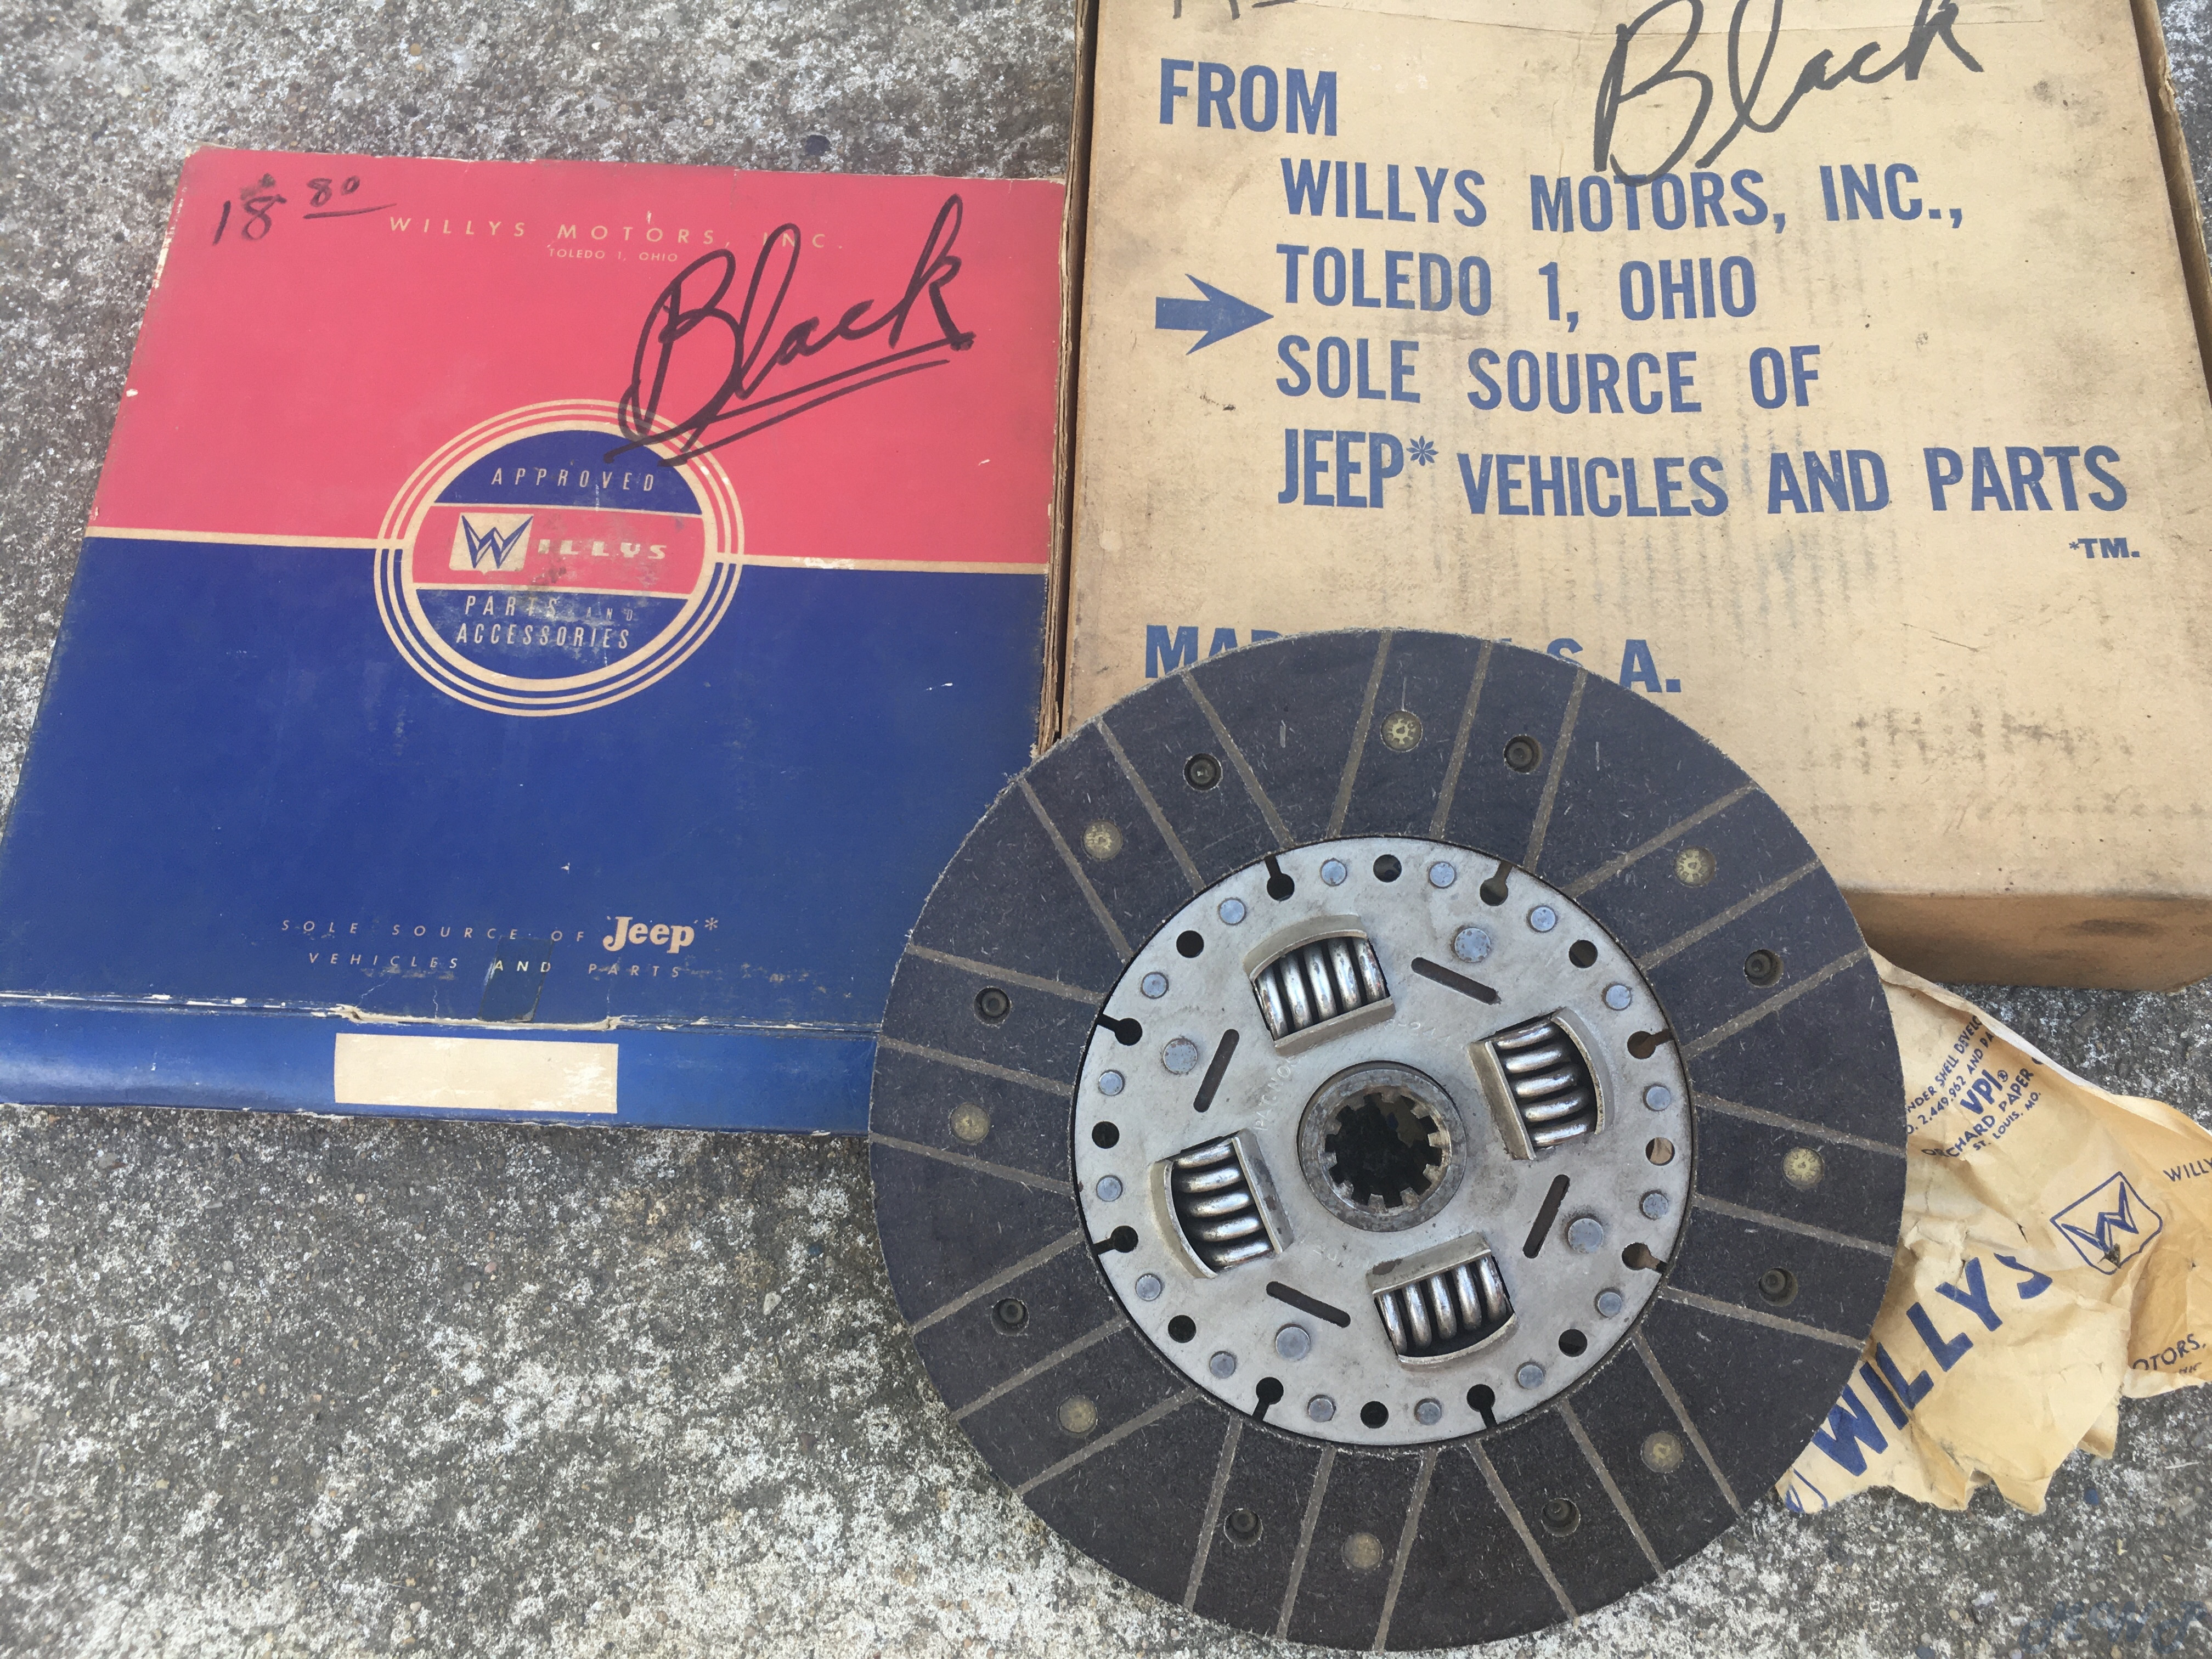
11-01 Clutch Assembly

Originally this Jeep was intended for hard work. I do a lot of firewood cutting every year and was planning to use it for log skidding. So naturally the intent was to go with the a heavy duty clutch. When this Jeep was rebuilt back in 1983 I installed a 9-1/4” Borg Beck 6 spring pressure plate. The clutch cover was so very stiff I had to remove it.
This time I wanted a big clutch that was easier to push. And so the decision was easy for me.
A genuine OEM NOS 9-1/4” Auburn cover plate over top the factory NOS genuine Borg Beck driven disk.
Let me tell you not only is this clutch big, it is also easy to push. Feeling just like the smaller factory installed 8-1/2” clutches.


11-02 Clutch Control

The clutch control is the correct standard used for a 3B with 9-1/4” Auburn. I added adjustable clevis joints at the ends of each link. And of course a NOS release bearing and carrier assembly plus retracting spring.

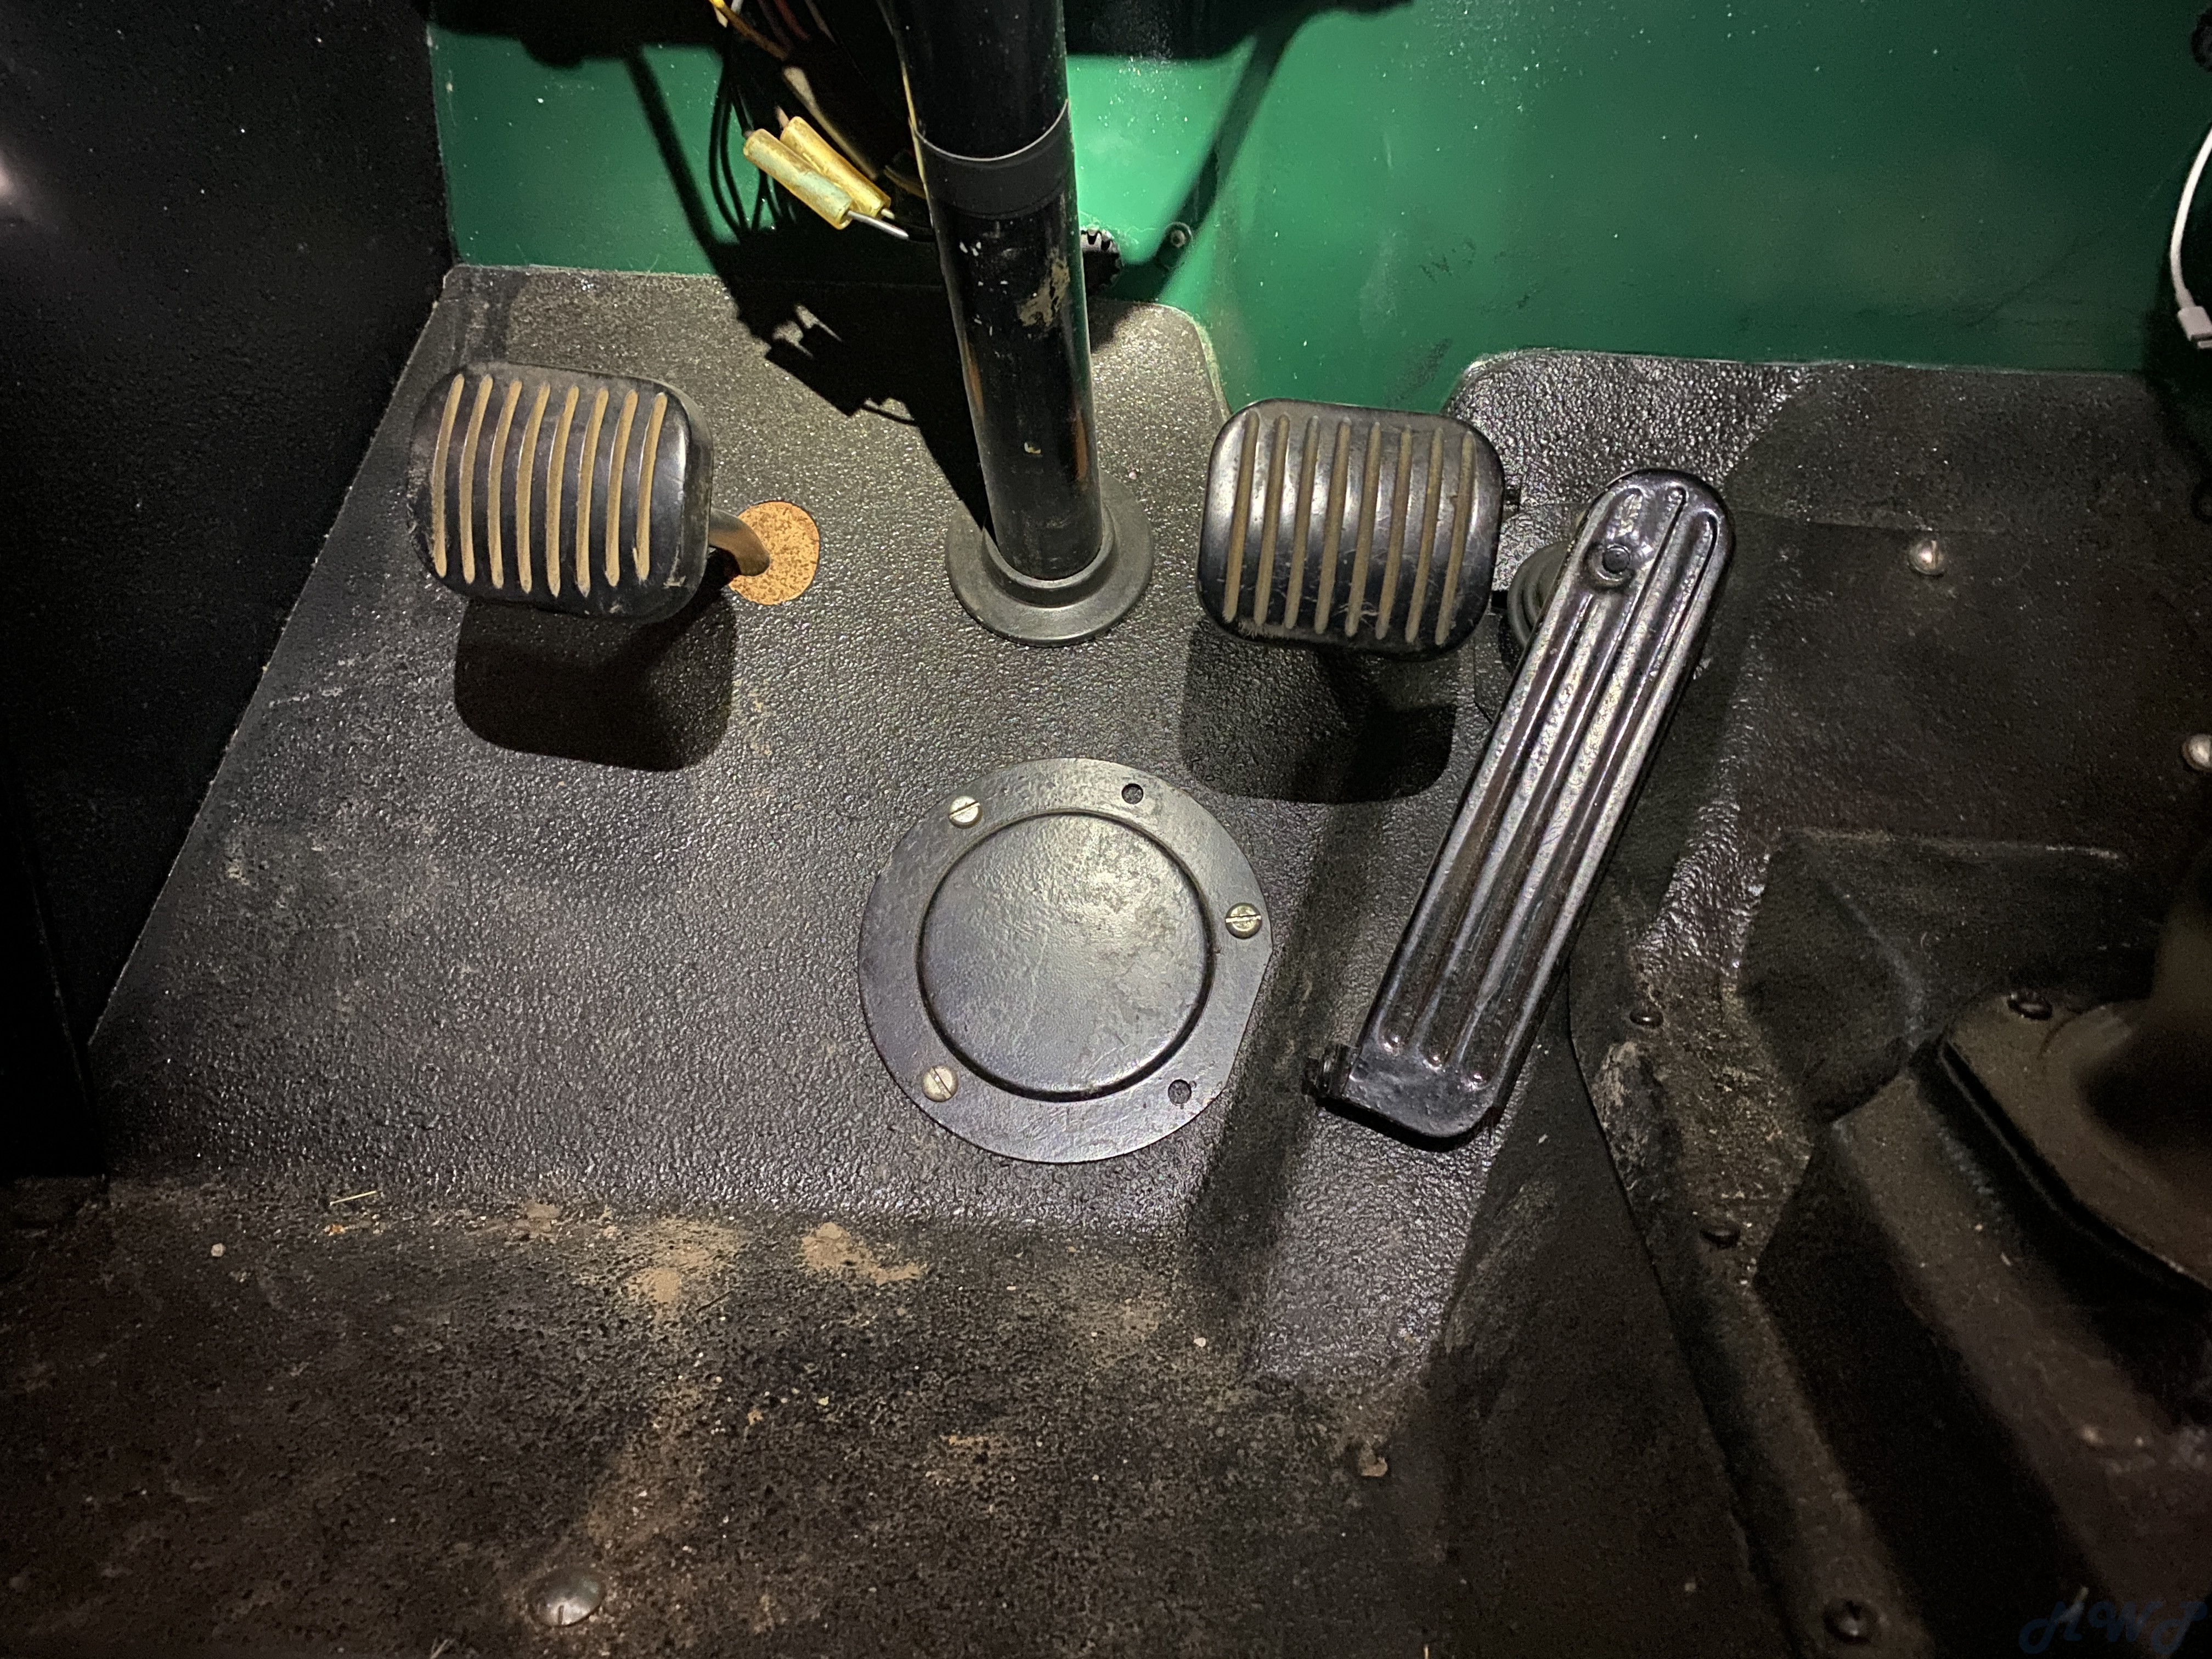
11-03 Clutch Pedal

The clutch pedal and while I was at it; the brake pedal was changed over to the latter type with rubber push pads. This change provides less pad wear and better non slip function.


12-01 Fuel Tank

It’s extremely rare for me to use an aftermarket part yet here I used an aftermarket fuel tank donated by John B. As expected this tank was built wrong. The neck angle was off unless the tank was raised up about an inch. But as it turns out this particular Jeep requires the factory 1” thick white oak slats positioned under the fuel tank. This factory tank modification was used to help clear the Jeep T-98-A transmission.

12-03 Fuel Lines

 Has original design hard lines going into a

12-09 Fuel Pump

NOS OEM NOS fuel pump AC 4693.

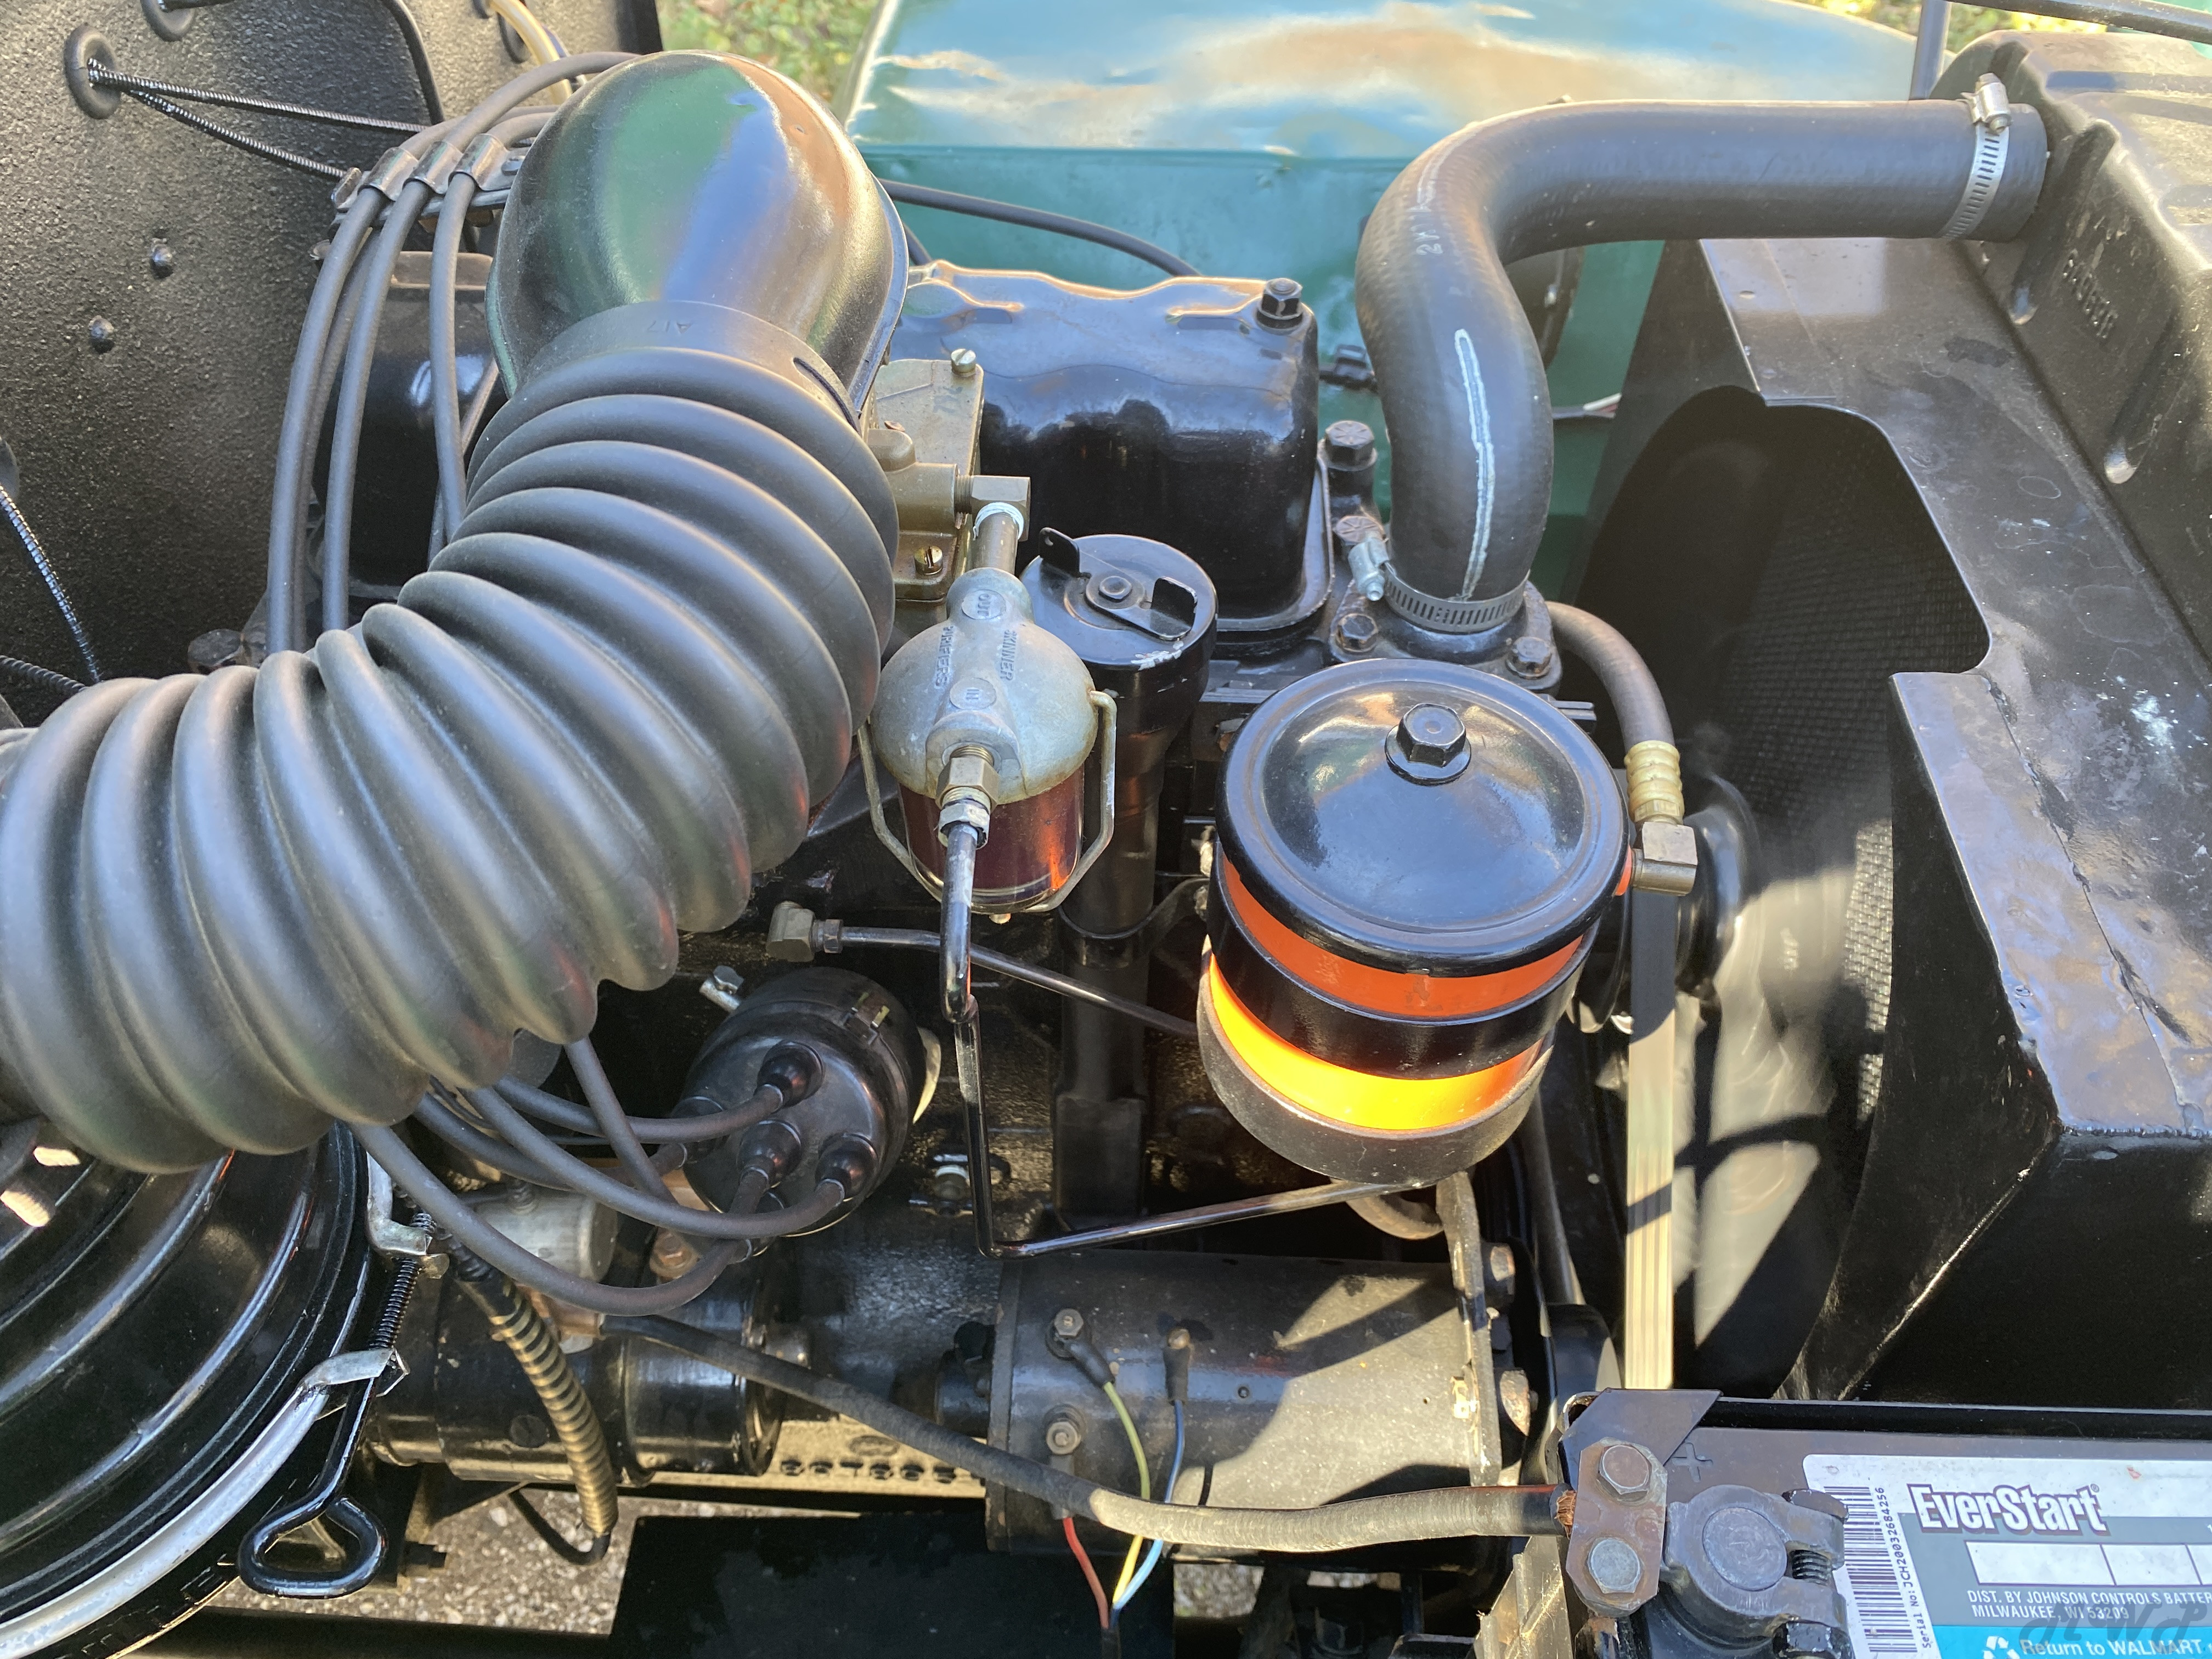
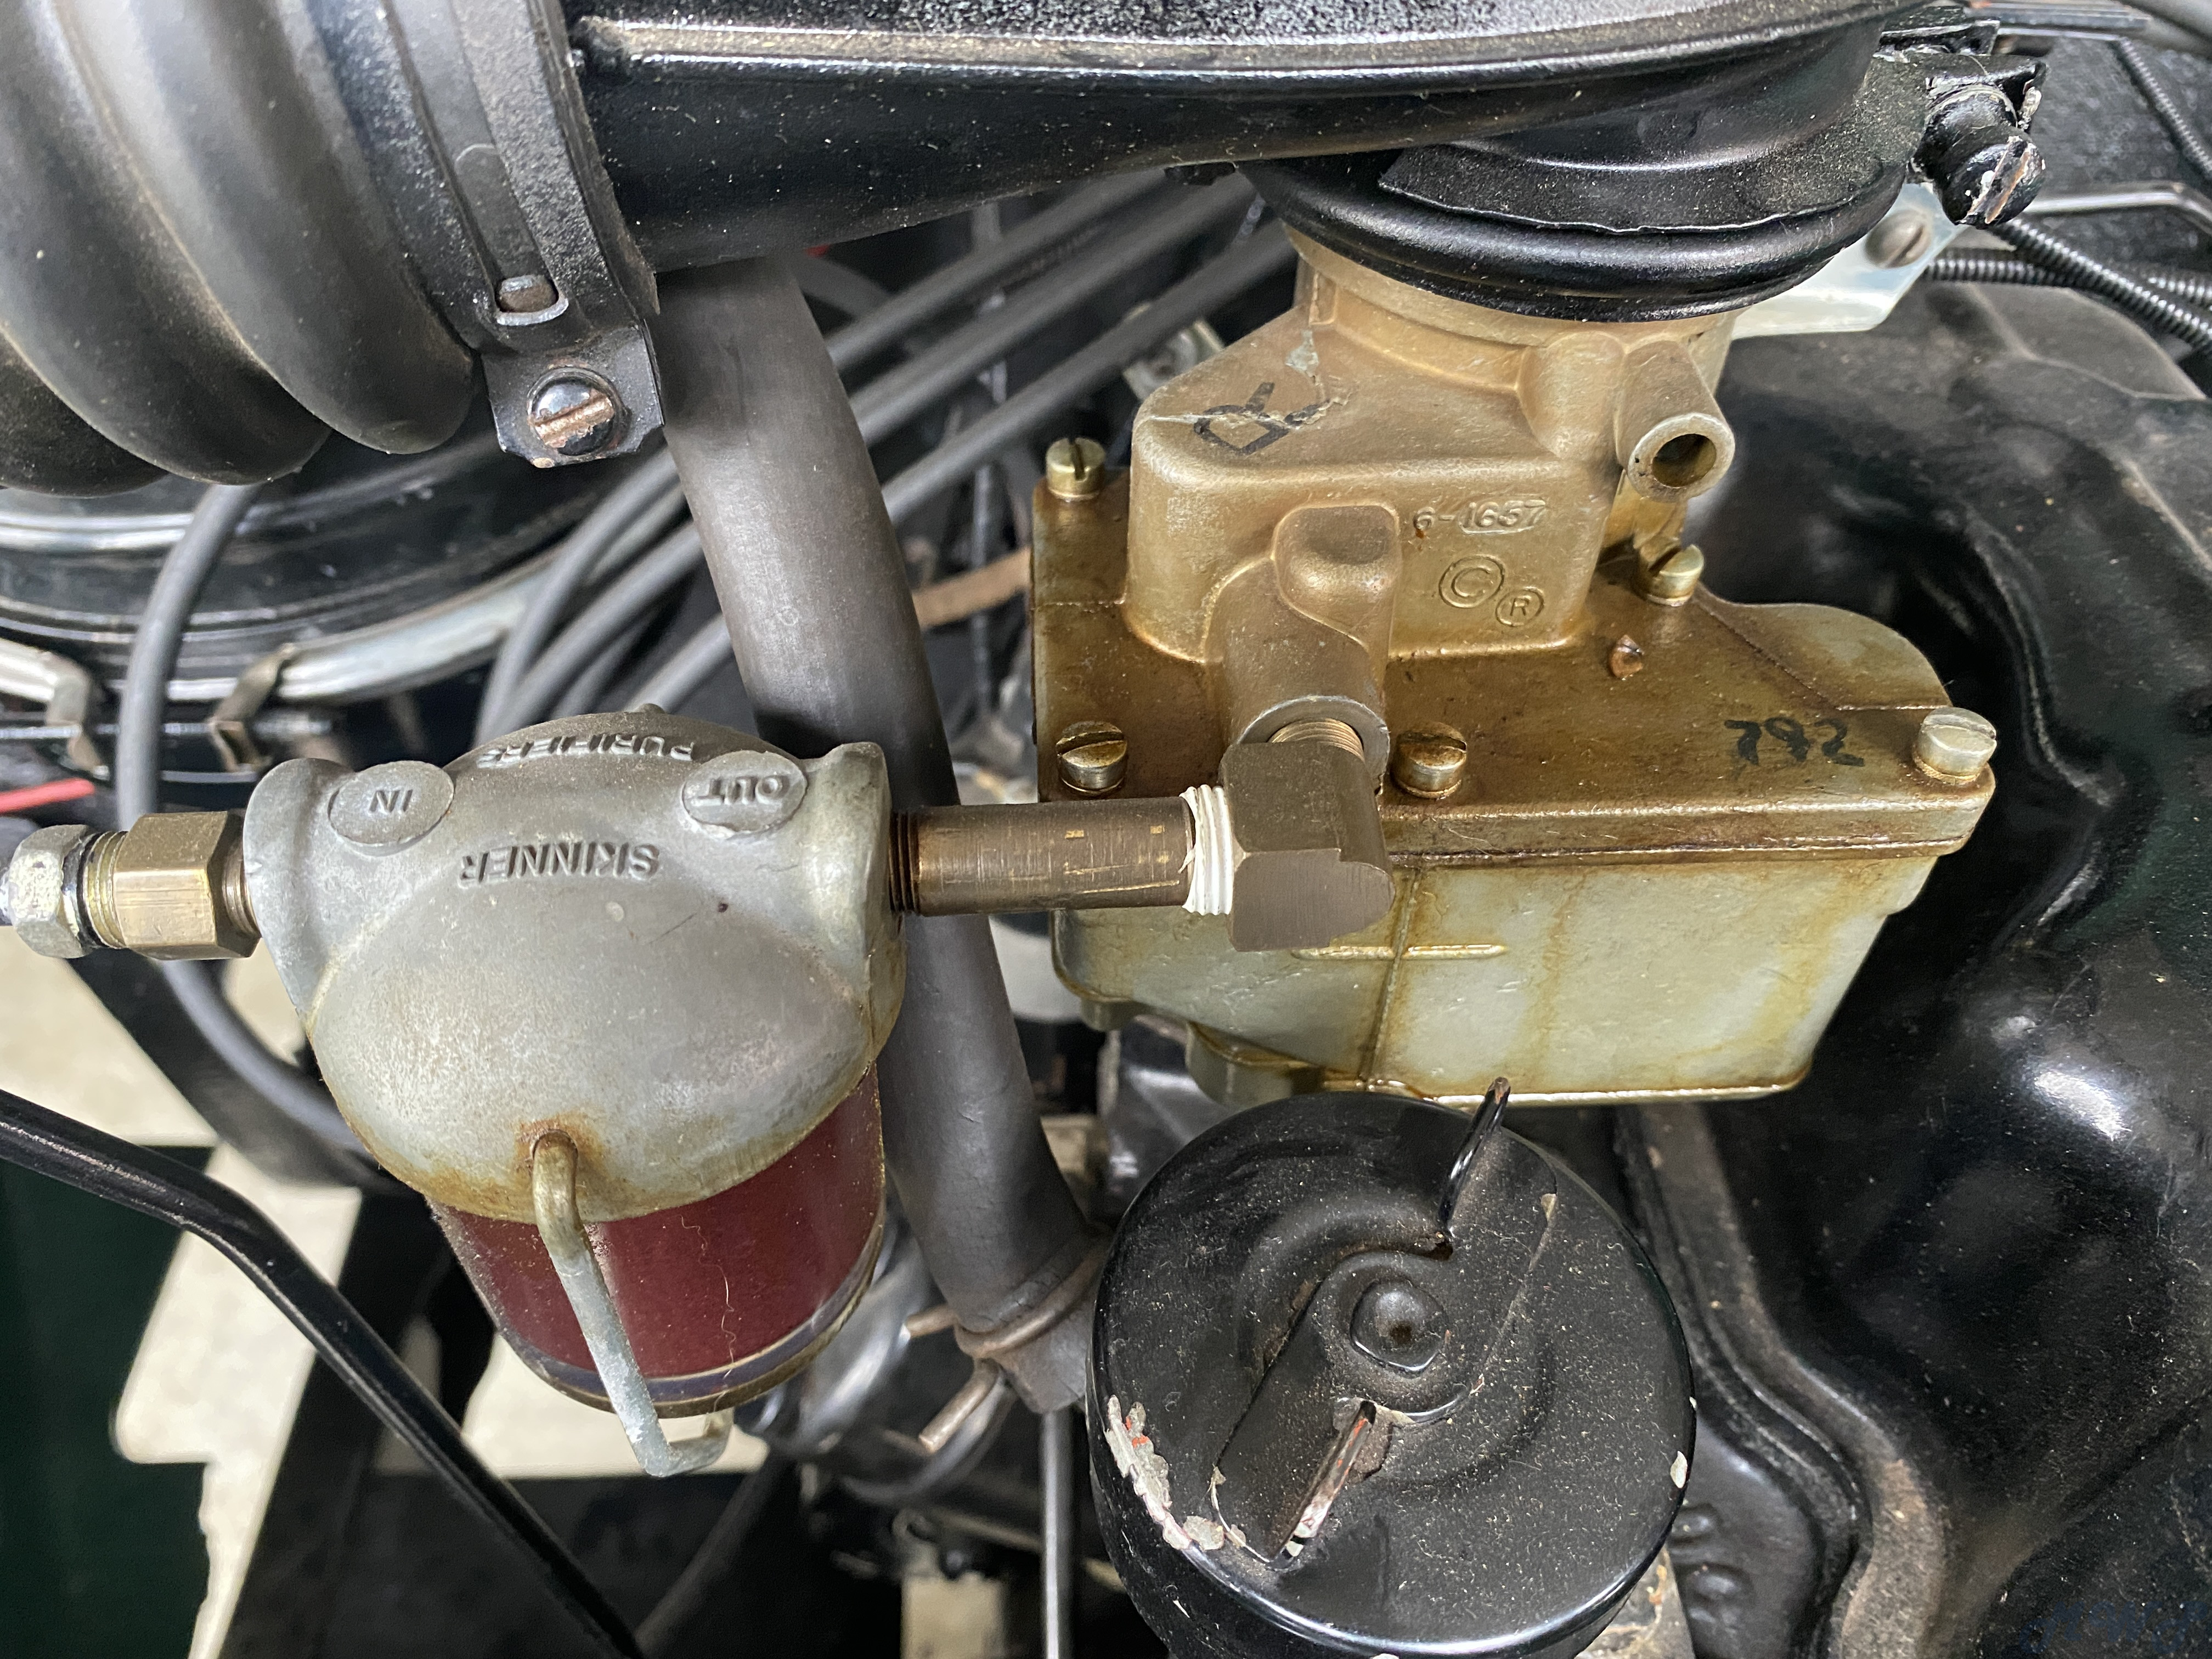
This pumps the gas up toward the carburetor via OEM factory optional fuel line into a NOS Willys approved optional “Skinner” fuel filter.

12-04 Carburetor

Next in sequence comes a nib Carter Zip Fit carburetor. The latest and greatest version; the 938 SD. After installation and upon initial start up the engine ran near perfect with only a very slight idle speed adjustment being required.


I have the option of installing new High altitude metering rods for use above 5000 or 10,000 feet.

Because this jeep has a NOS Carter and NOS AC pump I am only using ethanol free gasoline.

12-05 Air Cleaner

Of coarse the air cleaner is the correct and fully reconditioned Donaldson filter system including a genuine NOS air horn hose.

12-06,07,08 Choke, Trottle, Accelerator

The treadle control also the dash mounted throttle and choke cables are the standard factory items.

13-01  Exhaust System

Here I did some custom fabrication. One thing I hate is replacing old exhaust systems with all that rust and scale falling in my face as I remove the old worn out system.

So I bought up a lot of scrap 1-1/2” stainless .060 thick “hand rail tubing” and made my own. For design I simply copied the original pipes. Head pipe,  exhaust pipe and tail pipe. The curves were all mitred and tig welded to form.

I did however use a genuine original NOS muffler in the mix. Otherwise even all of the clamps and hangers were fabricated just like the originals, only from stainless.

14-01 Radiator

Simply put ….The cooling system consists of an original honey comb cored Harrison that is in excellent condition.


14-02 Radiator Hose

Of course it has all new hoses without installing the unneeded early type  bypass hose.

14-03 Radiator Guard

I have previously had a NOS 3B chaff screen and decided I do not like them, instead I opted to put a copper mesh screen attached direct onto the front of my radiator. It slips firmly into place just between the radiator and the grill guard. It is there to help keep bug debris out of the honey comb. The copper screen painted black is not obvious.


14-04 Water Pump

Yes you guessed it, the original cast pulley water pump was rebuilt with a genuine Willys water pump kit that was manufactured back in the early 1960’s.

9
Engine compartment / Re: push rod problem
« on: January 01, 2024, 03:53:51 PM »
Sorry I’m late to log in here.
Yeah I agree Rus how can it possibly be right if it does not even look the same ?
Apparently that big upper cup is allowing side motion …

10
Gearboxes and axles / Re: Cj3b dana 44 front axle
« on: January 01, 2024, 03:37:50 PM »
Contact Lee Larson,  I believe he just located some.
May have to contact him on the 2A page ???

11
No the L head engine was never factory installed in a model 3B.

12
Your CJ-3B Project / Re: 1953 RESCUE and RECOVERY
« on: December 27, 2023, 11:17:38 AM »
Willys Group Index 10 -01 Engine
Being self dependent I try and do 100% of my own work. But I certainly don’t have an automotive machine shop.

My favorite machinist had been self employed since the late 1950’s and was still going at it a few years ago. But being well into his 70’s  I knew his shop time was near an end. So I had 3 final Jeep engines fully machined before he closed up his one man shop for good. Two Dauntless engines for my final Jeeps were machined. But first came this engine which is my final and my best attempt on a Willys F-134 Hurricane. I’ve built a lot of these old L+F 134 engines and truly love their simplicity. But for use in daily drivers it’s clearly well past time to give them up. Yet here I am once again depending on an F-134 for all my travel needs.

10-02 Cylinder Block

By this time the original 1953 engine had undergone one full rebuild in 1983 and had approximately 180K total miles on its two lives. After hard use the block had developed 2 hairline cracks showing up at the typical # 2 + 3 exhaust valve locations. Besides that It previously had a .040 o.s. bore and I prefer not to bore them any further.

So I found me another engine block. The 1963 Hurricane engine I settled on looked solid having no visible defects and upon inspection was expected to clean up with .030 oversized bore.

10-02A  Cylinder Head

I hoped to increase the CR as much as possible so I can derive a bit more power from the gasoline. As you know Willys produced an optional high altitude F head for use over 10 K elevation. At the time I could not locate a 7.8/1 compression ratio head. I thought on it a while and decided not to go beyond the optional factory ratio of 7.8/1. Just for starters the block was to be decked and that would shave .010 off the top.

So I settled for the next best thing. I looked over the piles of spare heads that Harry Sheets had in his shed. I picked out a real nice 7.4/1 CR head (intended for use above 8K altitude) and decided to make that one work. After milling the top of block down plus shaving the 7.4 head itself; I ended up with the desired 7.8/1 CR. Add to that a “Best” brand copper head gasket for superior heat transfer away from the valve area.

10-03 Crankshaft

I wanted this engine to be as close to a factory new engine as possible. At the time Matt Fox had a virtually unused crankshaft. The crank was removed from a M38-A1 military salvage wreck with only 50 some actual miles of operation. Well I jumped on that deal and bought the crank with no second thoughts. Took the crank downtown to the best crankshaft specialist in STL. Had him to re-polish all of the dry but rust free journals and so it was essentially as good as new.

10-04 Crankshaft Bearings

So what does one pair with a virtually new crankshaft ? Well at the time it was easy to find OEM standard sized main bearings. Clevite bearings; still in their original Willys boxes. When I installed the crank into the block I test fitted with Plasti-gauge. The Plasti-gauge deformed evenly across the surface right down to the ideal specs.

10-05 Connecting Rods and Bearing

The rods were native to the block and the rod bores were checked for size. Here again standard journal sized OEM Clevites in Willys boxes was the right thing to use.

10-06 Pistons and Pins

A couple years prior I had found a very rare set of .030 oversized OEM Willys pistons for sale. These Willys pistons are special for the F-134 Hurricane  as they are heavier built than L-134 Go-Devil pistons. Luckily when the block was miked it looked to need .030 O.S. pistons. So my machinist got the block honed in to a perfect fit. It turns out that the .030 O.S. pistons is the only notable difference between this particular engine and factory new.

10-07 Piston Rings

Here again OEM Muskegon rings; need I say more ?  With all ring gaps carefully placed during assembly.

10-08 Valves, Valve Guides and Springs.

Prior to machining the block and head I installed OEM Willys valve guides to proper depth. This block already had the original hard exhaust inserts. Add to that Willy’s boxed genuine Eatonite exhaust valves. And here once again Matt Fox supplied me with a complete set of military surplus NOS valve springs.

10-09 Valve Tappets

This time I did not go new. I fitted all tappets into their original bores and they were snug. So all they needed was a reface the ends on the adjusters.

10-10A Rocker Arm Cover

Over the years Willy’s used 4 differing styles of crankcase ventilation. I decided to built this with what I feel was the latest and most effective system. Unlike the system used in 1953 there is no venting on the rocker cover itself.

10-11 Camshaft and Timing Gears

Here as always OEM NOS including the cam bearings.

10-13 Oil Pump

Here I used an original late design pump as it looked in good order. Simply rebuilt it with a NOS gasket.

10-17 Oil Distribution

Of coarse the complete inside of engine was lubed prior to assembly. The oil gallery including oil filter was primed before its initial start up. Of coarse upon start up the oil pressure comes right up and holds steady as should be expected.

10-18 Crankcase Ventilation

As previously noted a late type crankcase ventilation system was installed exactly as was used on the late type Hurricanes.

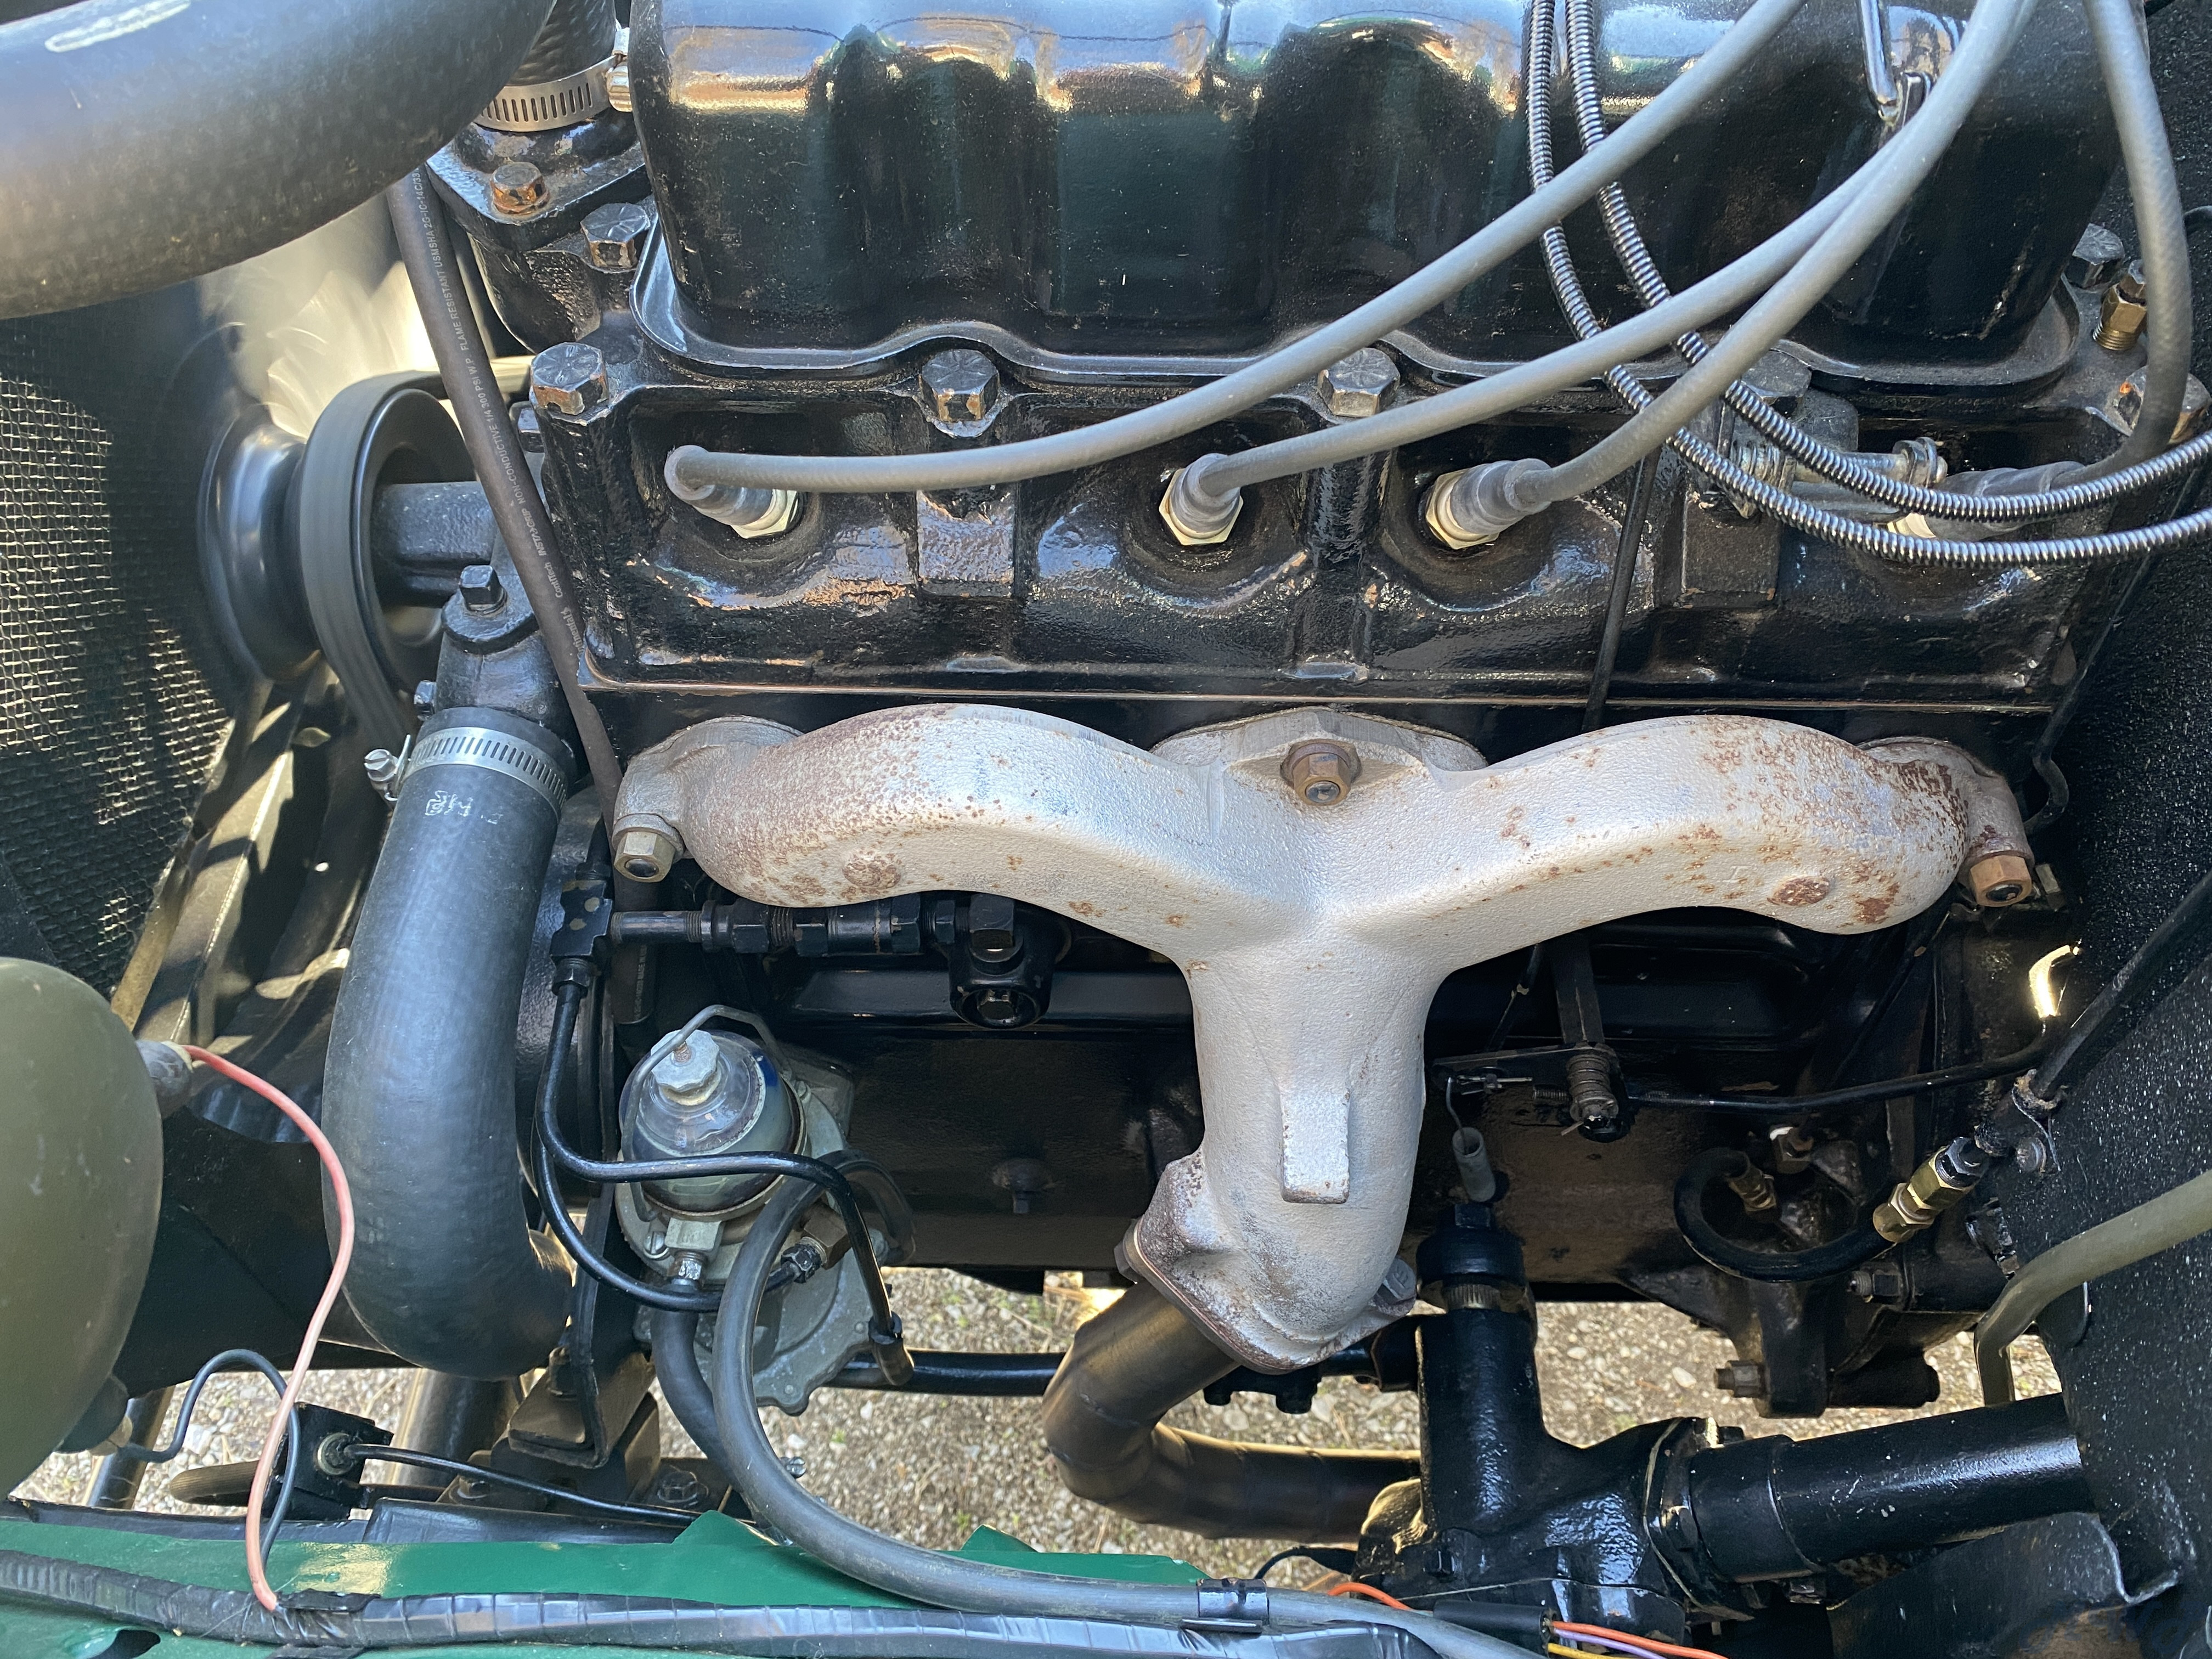
10-19 Manifolds

Here I used the original exhaust manifold that was in very good non pitted condition. A good paint and brass stud nuts to make it even better.

10-21 Flywheel and Ring Gear

I used a post 1961 factory drilled flywheel adaptable for either size of clutch cover. Add to that a NOS ring gear. I prefer the original taper type studs for mounting.

10-23 Engine Mountings

Once again OEM NOS rubber mounts.


Lastly;

All engine groupings and any specific parts not mentioned were the carefully refurbished original parts taken from this particular  engine.
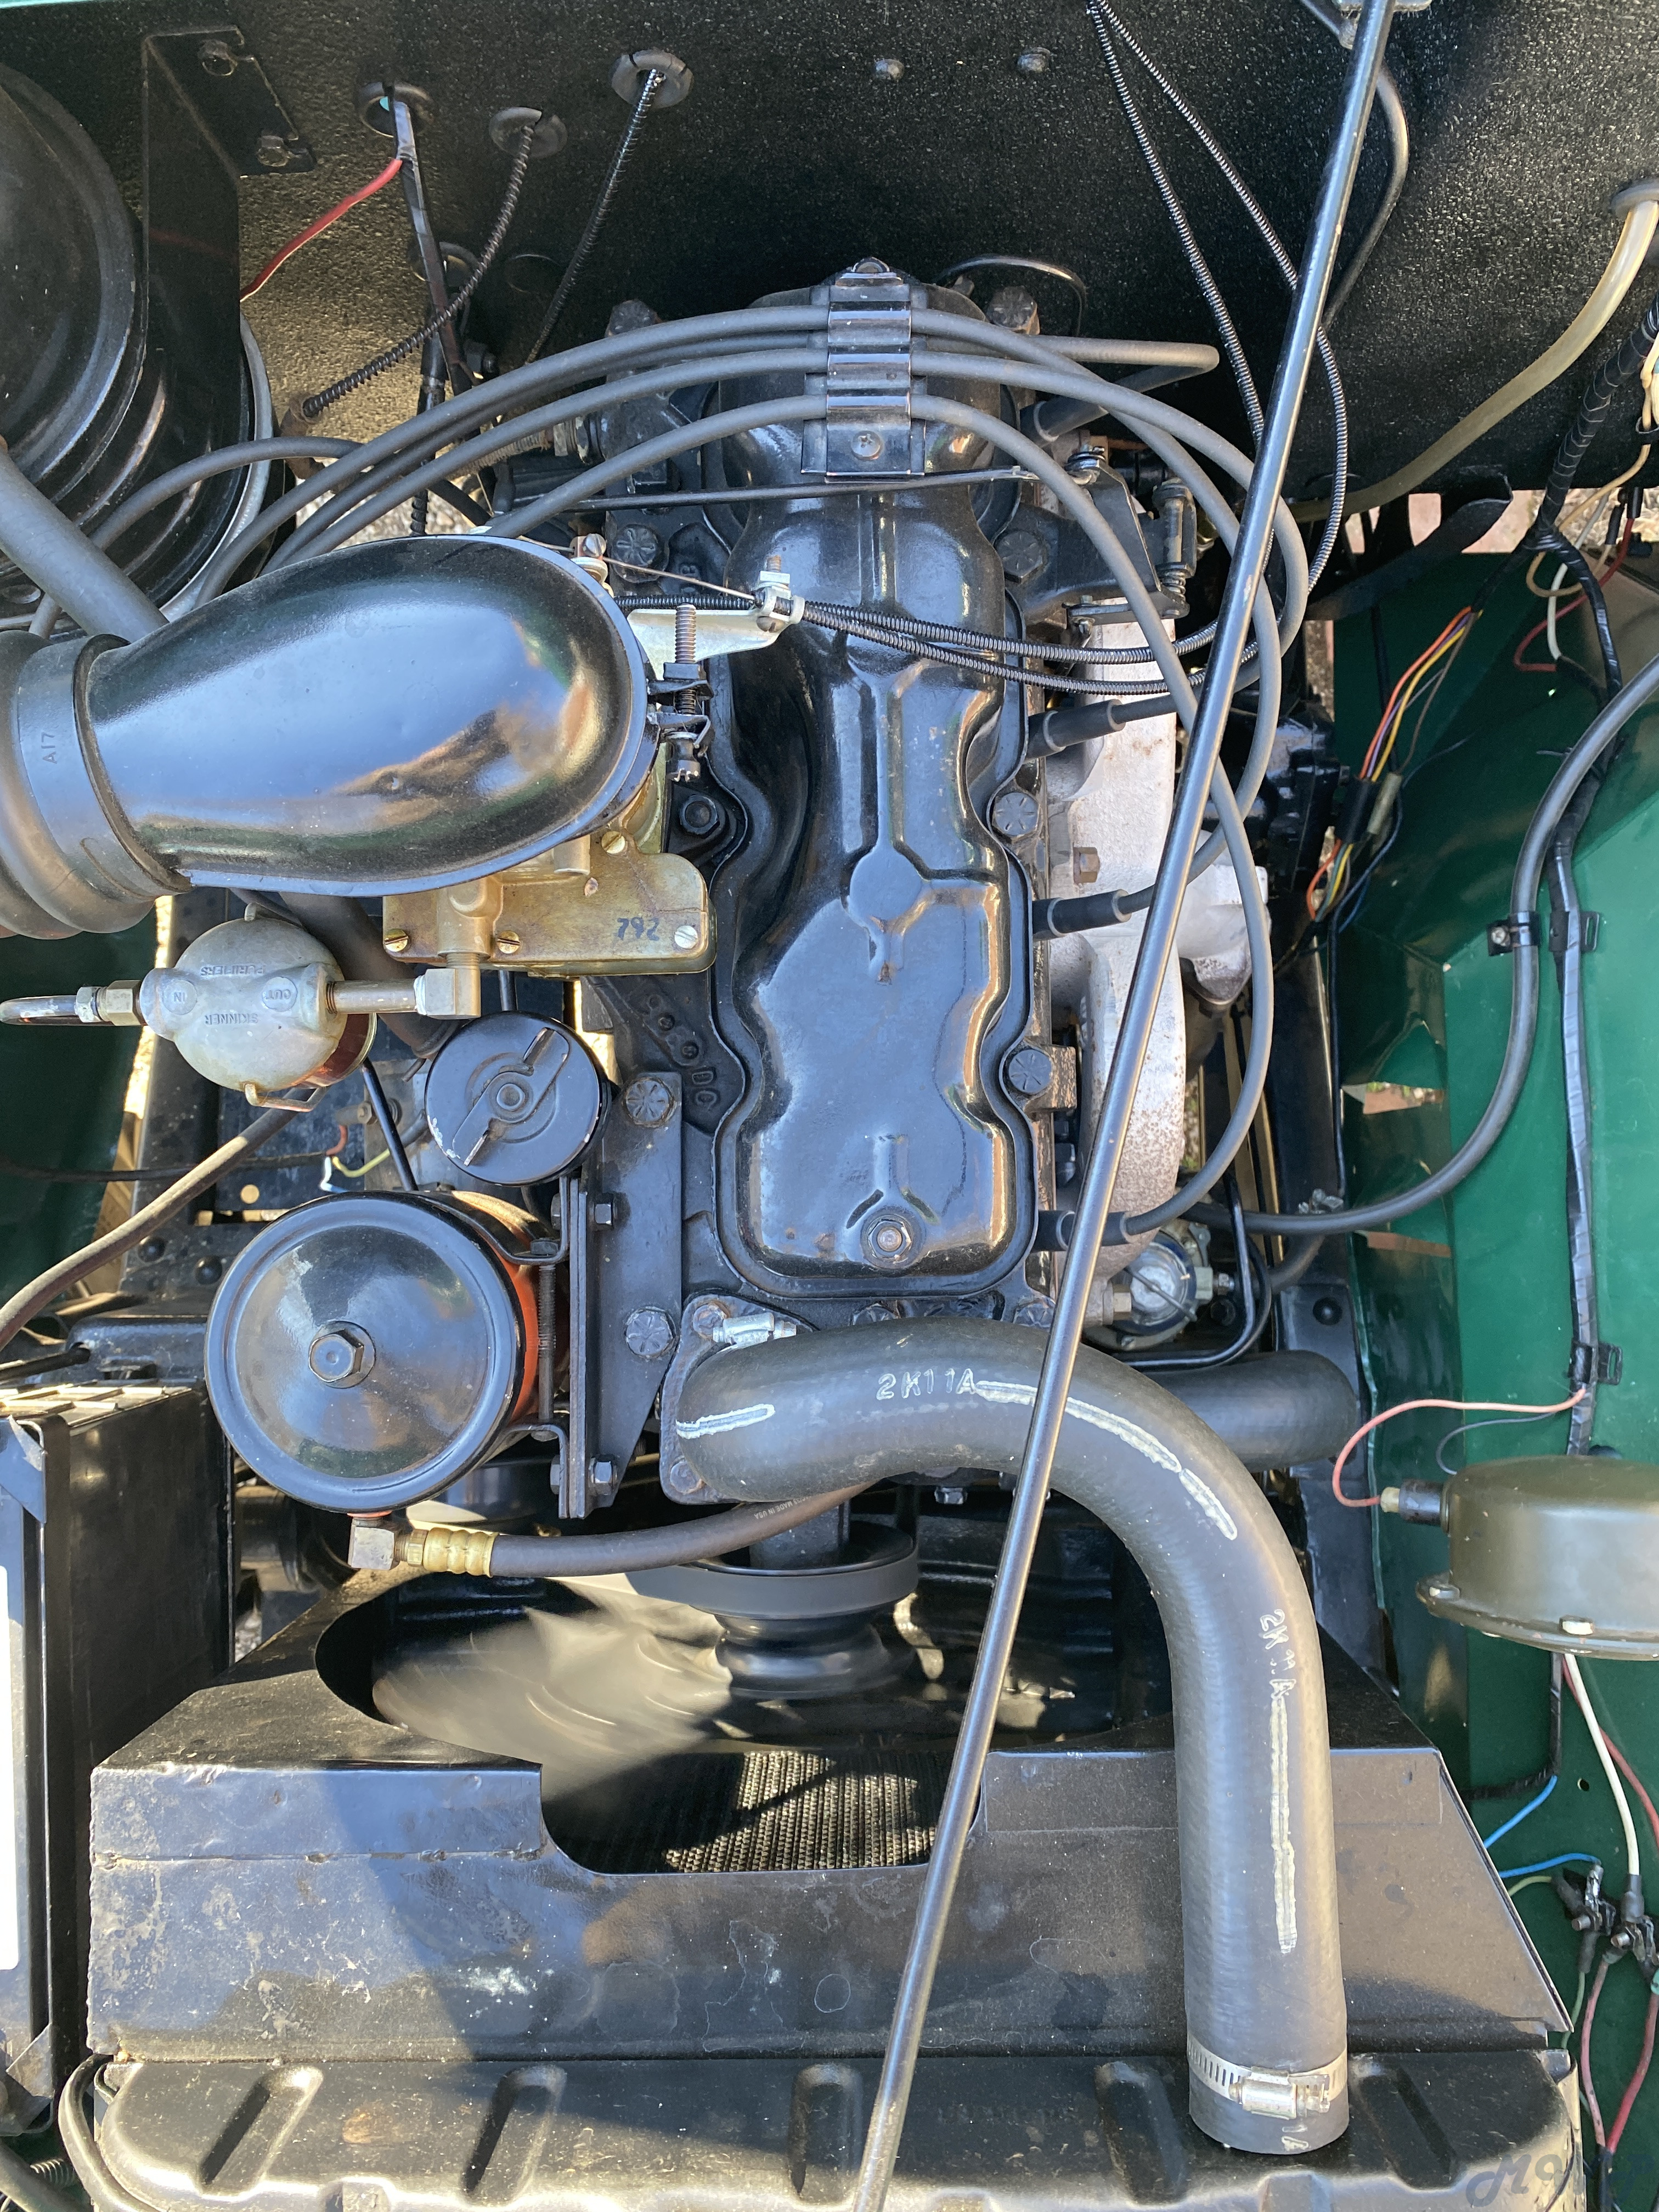


Stay with me as I continue to detail the complete build via the Willys Group Index.

13
Beyond what Rus mentions I will say that good rubber seals and tension are important.
Beyond sealing in grease, the rubber seal helps retain the bushing from backing out.
Proper bushing tension against the rubber seal is key.
The rubber needs be compressed about 1/8” by the bushing.
To achieve this you need exert some sideways hand pressure agaist the “u” type shackle just as the bushing threads begins to engage with the shackle threads.
I have never had a “back out” problem with proper shackle rubber seal to bushing tension.

14
Your CJ-3B Project / Re: 1953 RESCUE and RECOVERY
« on: December 15, 2023, 10:02:31 AM »
THE BUILD PARAMETERS

The main influence behind the making of R&R was to use up accumulated Jeep stock that I had been hoarding for years. Parts that mainly were not deemed complimentary toward the building of my final ultimate daily drivers. I simply was using up OEM parts I had that were of lesser value to me. Previously I had the idea of having multiple spare standard type 3B’s to drive but had long since given up on that notion. I felt they are no longer valid in a world traveling over 65 mph.  So I sold off 2  perfectly nice 3B’s of somewhat lesser value.

During earlier times these same parts may have been my pride and joy. But as I learn the deepest secrets concerning CJ’s 1945-1985; my “know how” is constantly improved on.

My general plan came together by always selling off my spare parts of lesser value first. Thanks in part to forum members and also those attending the annual Fall Willys Reunion. As always done previously this jeep would be constructed 100% using Jeep genuine stock standard and stock optional components.

The parameters for this build are to remain 100% Jeep via “stock standard” assemblies along with heavy duty and other “stock optional” parts plus a few important upgrades removed from early cj-5’s.

The build parameter was to be focused toward  the very best of the “old school CJ’s”. (1945-1966).

At the time of it’s inception I had a need for a Jeep that was truly capable for log skidding. Along with that I also envisioned it’s potential for tight situation Off Road Rescue + Recovery  work. A small Jeep being  fully able to extract other flat fenders and utv’s becoming stranded in tight quarters.

And so my old 1953 3B was destined once again to become my final and my very best 134 Hurricane build.

15
Your CJ-3B Project / Re: 1953 RESCUE and RECOVERY
« on: December 11, 2023, 09:09:33 PM »
Derek,
I have not been very active on this site as was originally intended,
Seems like we covered near every single topic sometime previous.
However thoughts and the latest procedures are always good to update.

Pages: [1] 2 3 ... 27