The CJ3A Page CJ3B.info

Post reply

Warning: this topic has not been posted in for at least 120 days.
Unless you're sure you want to reply, please consider starting a new topic.

Note: this post will not display until it's been approved by a moderator.

Name:
Email:
Subject:
Message icon:

Verification:
Type the letters shown in the picture
Listen to the letters / Request another image

Type the letters shown in the picture:
Write the word between words Jeep from this JeepWILLYSJeep?:
How many slot has a GPW grill?  7 - 9 - 11:

shortcuts: hit alt+s to submit/post or alt+p to preview


Topic Summary

Posted by: SteveB
« on: June 02, 2014, 04:48:03 PM »

Quote
Any updates on this project?

Thanks for asking...........been shelved for a while...life got busy then the boss pulled his own project into the shop (67 Sprint convertible - modding into GTO clone).� When we're slow we work on his project.� �Good thing though, as I am learning to weld on HIS car, so I am inspired to save as much of my original 3A tub as possible....when I can get back to it.
Posted by: Kirkski
« on: March 02, 2014, 12:39:15 PM »

Any updates on this project?
Posted by: Ryan_289
« on: April 25, 2013, 09:45:12 AM »

Quote
Same hub and everything. Only thing you change is the drum. I'm not sure on the importance of the 3 screws that hold the drum on. I had a junk 3b so I swapped hubs and drums to make life easy.


http://walcks4wd.com/brake-drum-9-front-or-rear.html


Thats good to know.  My M38 was set up this way as well.  It just so happens that I have a 3b frame sitting in the backyard with good diffs.  Ill make this swap as well on my 48 2A.
Posted by: garage gnome
« on: March 15, 2013, 09:02:26 AM »

Same hub and everything. Only thing you change is the drum. I'm not sure on the importance of the 3 screws that hold the drum on. I had a junk 3b so I swapped hubs and drums to make life easy.


http://walcks4wd.com/brake-drum-9-front-or-rear.html
Posted by: SteveB
« on: March 15, 2013, 08:04:23 AM »

Same inner diameter?  Do they use the same hub?   What year CJ3/5 are compatible with this swap?  You got me thinking....
Posted by: garage gnome
« on: March 15, 2013, 07:55:09 AM »

You can always send them back and wait for the other ones too.  ;)
Posted by: SteveB
« on: March 15, 2013, 06:51:16 AM »

Have to keep that in mind..........for next time.  Got all my parts all ready. ;)
Posted by: garage gnome
« on: March 14, 2013, 08:51:08 PM »

You might want to put all RH wheel studs on too. Makes life easier. ;)
Posted by: garage gnome
« on: March 14, 2013, 08:45:11 PM »

While you have the drums off, you may want to think about upgrading them to the later CJ3B/5 drums so you don't have to remove the whole hub assembly to work on the brakes. It makes them more like modern brakes where you can just remove the drum. You don't have to swap backing plates or anything either, only the drums.

Posted by: SteveB
« on: March 14, 2013, 08:17:31 PM »

Got a little work done today...

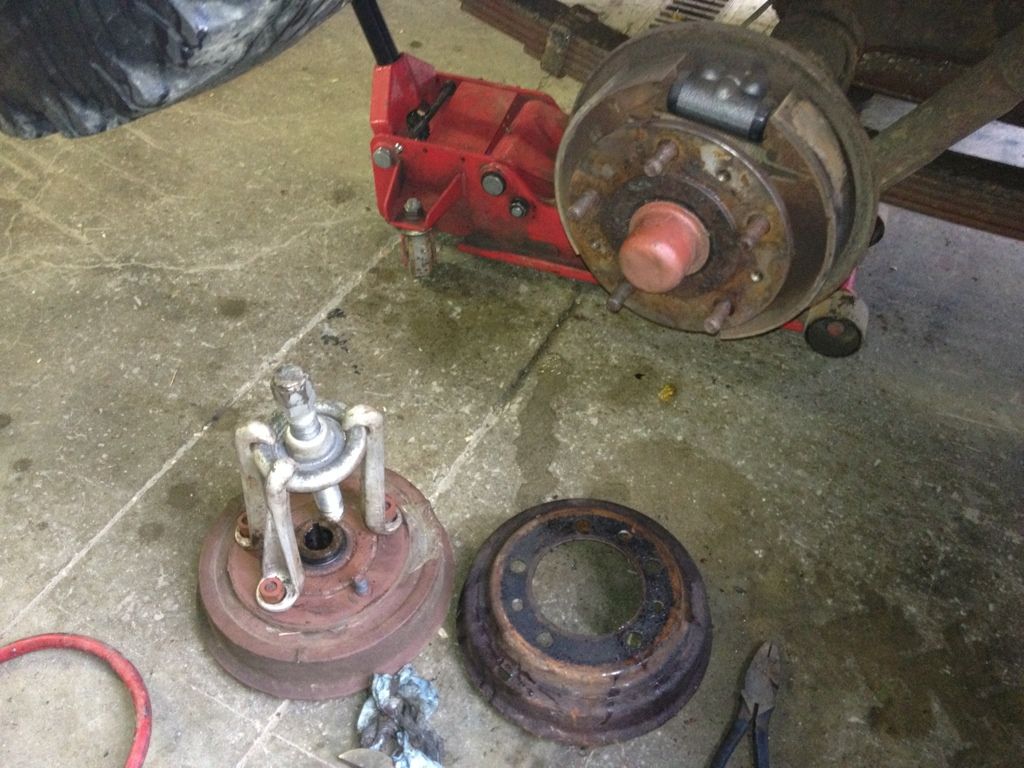
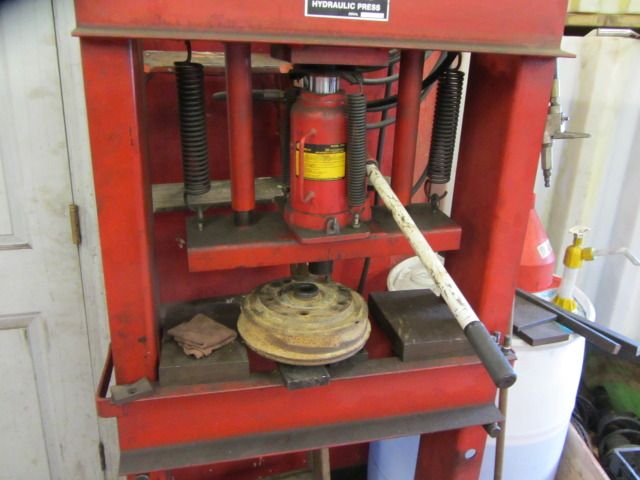
Pressed out wheel studs to separate drum from hub. (new drums going on)

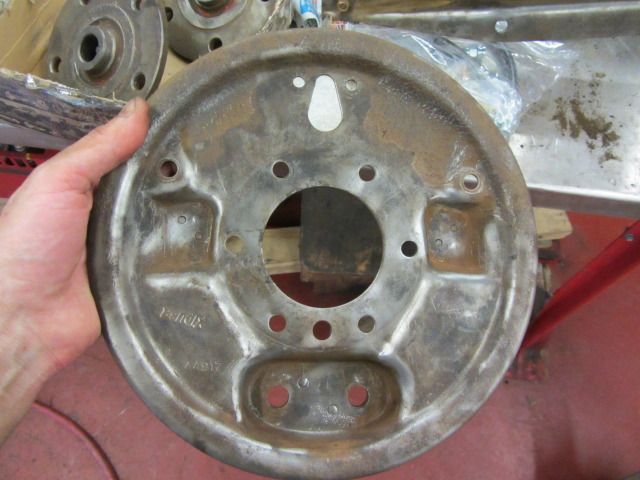
Cleaned up original backing plate for paint...

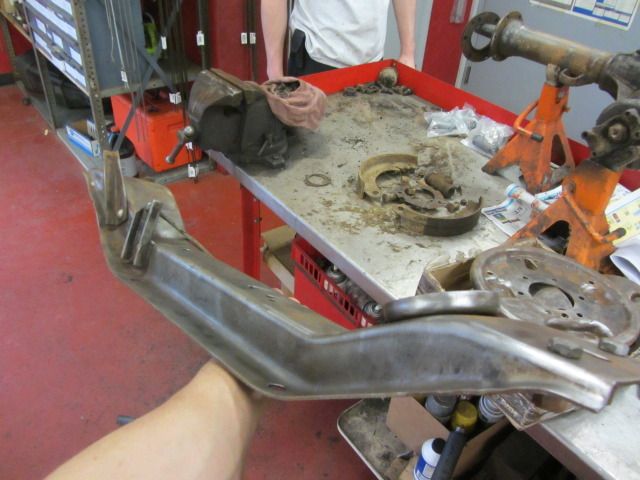
Cleaned up transmission mount, also prepping for paint.

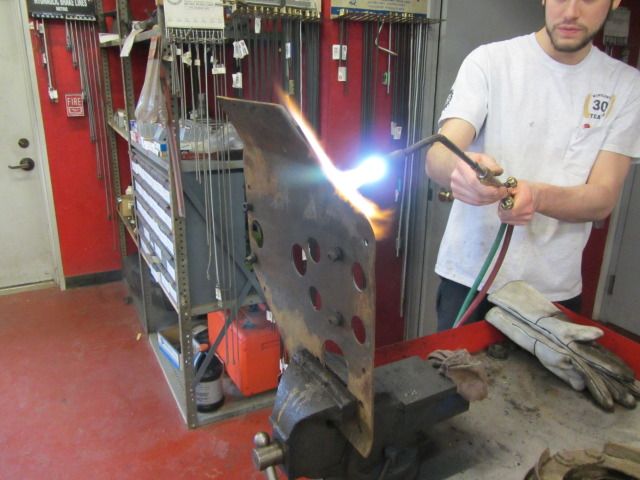
Got a little help bending my transmission skid plate back (was rubbing on front drive shaft)
Posted by: Comanche_County
« on: March 07, 2013, 09:30:01 PM »

Quote
and my wheels are back too...

Yeah you're making it look easy.   Good to see another 3A and MJ fanI  You even have MIA sticker like mine but I've got it on the MJ's back window.


Posted by: garage gnome
« on: March 05, 2013, 08:48:23 PM »

Looks great!
Posted by: Ryan_M
« on: March 05, 2013, 08:44:58 PM »

Quote
I foolishly cut off one bump stop with a torch before realizing the nut was captured in the boxed section of frame up front, live and learn. �

Your frame looks great. If it makes you feel any better I took an angle grinder to the grimy metal ring on the frame cross member that holds the rubber transfer case mount. Didn't realize it was WELDED on there, not just held in place with the bolt and some rust. Sort of hammered is back into shape but not really. Good thing that section is now out of sight....
Posted by: SteveB
« on: March 05, 2013, 08:00:54 PM »

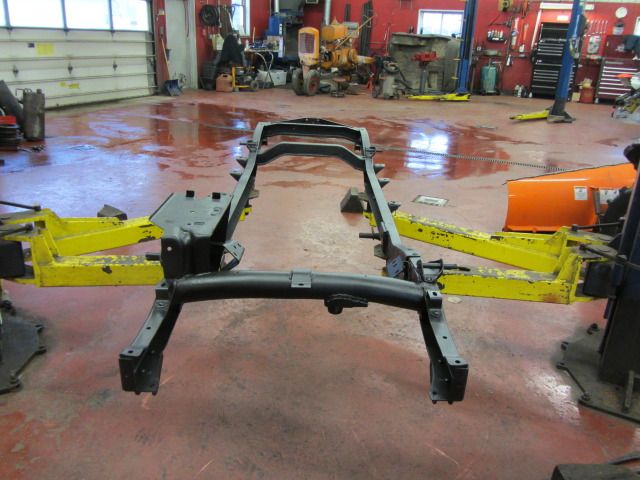
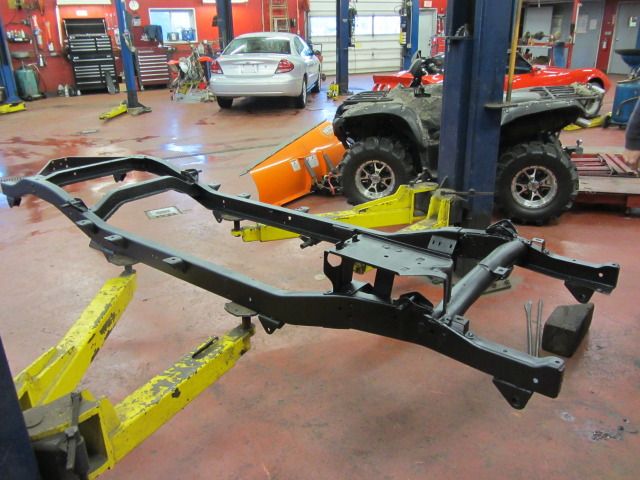
Got my frame back! �Nice and pretty. �A few areas I should have fixed before, but its only primer so no real harm in touching up.

I foolishly cut off one bump stop with a torch before realizing the nut was captured in the boxed section of frame up front, live and learn. �I'll weld my replacement one back on.
I've got one body mount to repair and two bolts to extract (cut by my aforementioned boss).


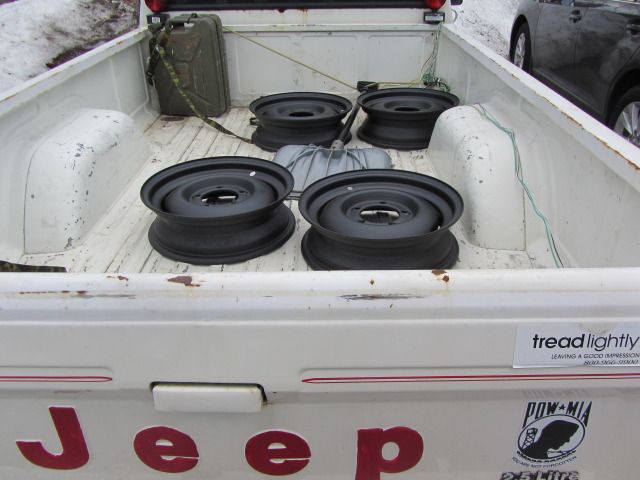
and my wheels are back too...
Posted by: SteveB
« on: February 28, 2013, 09:06:32 PM »

Yes Gnome, I was going to do the duel master cylinder (mc) upgrade, was...changed my mind and for now replacing it with reproduction. �

Oh, I'll be sure to keep future pictures rich in background details.


Also, leaning towards a new tub (settlement check came in from when my Comanche got t-boned in December). �With all the adjustments needed to make the "new " tubs fit right, I am thinking of moving my dash and cowl panel from old tub to new. �I like the idea of keeping as much old steel as is reasonably possible.