The CJ3A Page CJ3B.info

Post reply

Warning: this topic has not been posted in for at least 120 days.
Unless you're sure you want to reply, please consider starting a new topic.

Note: this post will not display until it's been approved by a moderator.

Name:
Email:
Subject:
Message icon:

Verification:
Type the letters shown in the picture
Listen to the letters / Request another image

Type the letters shown in the picture:
Write the word between words Jeep from this JeepWILLYSJeep?:
How many slot has a GPW grill?  7 - 9 - 11:

shortcuts: hit alt+s to submit/post or alt+p to preview


Topic Summary

Posted by: PercyUK
« on: October 02, 2021, 02:30:44 AM »

Thanks guys, I am planning to replicate the patinated look as the body is covered in dents and marks from its long history..... I quite like it..... it also means I can make changes without ruining a decent paint job like yours.
I don't have any hood frames at the moment so I can hold off with the holes but will give you all a shout if I decide to install one. I think I would need a nice tatty hood to suit the Jeep and they are not easy to come by in th UK.
Cheers
Posted by: SteveKfl
« on: October 01, 2021, 07:27:05 PM »

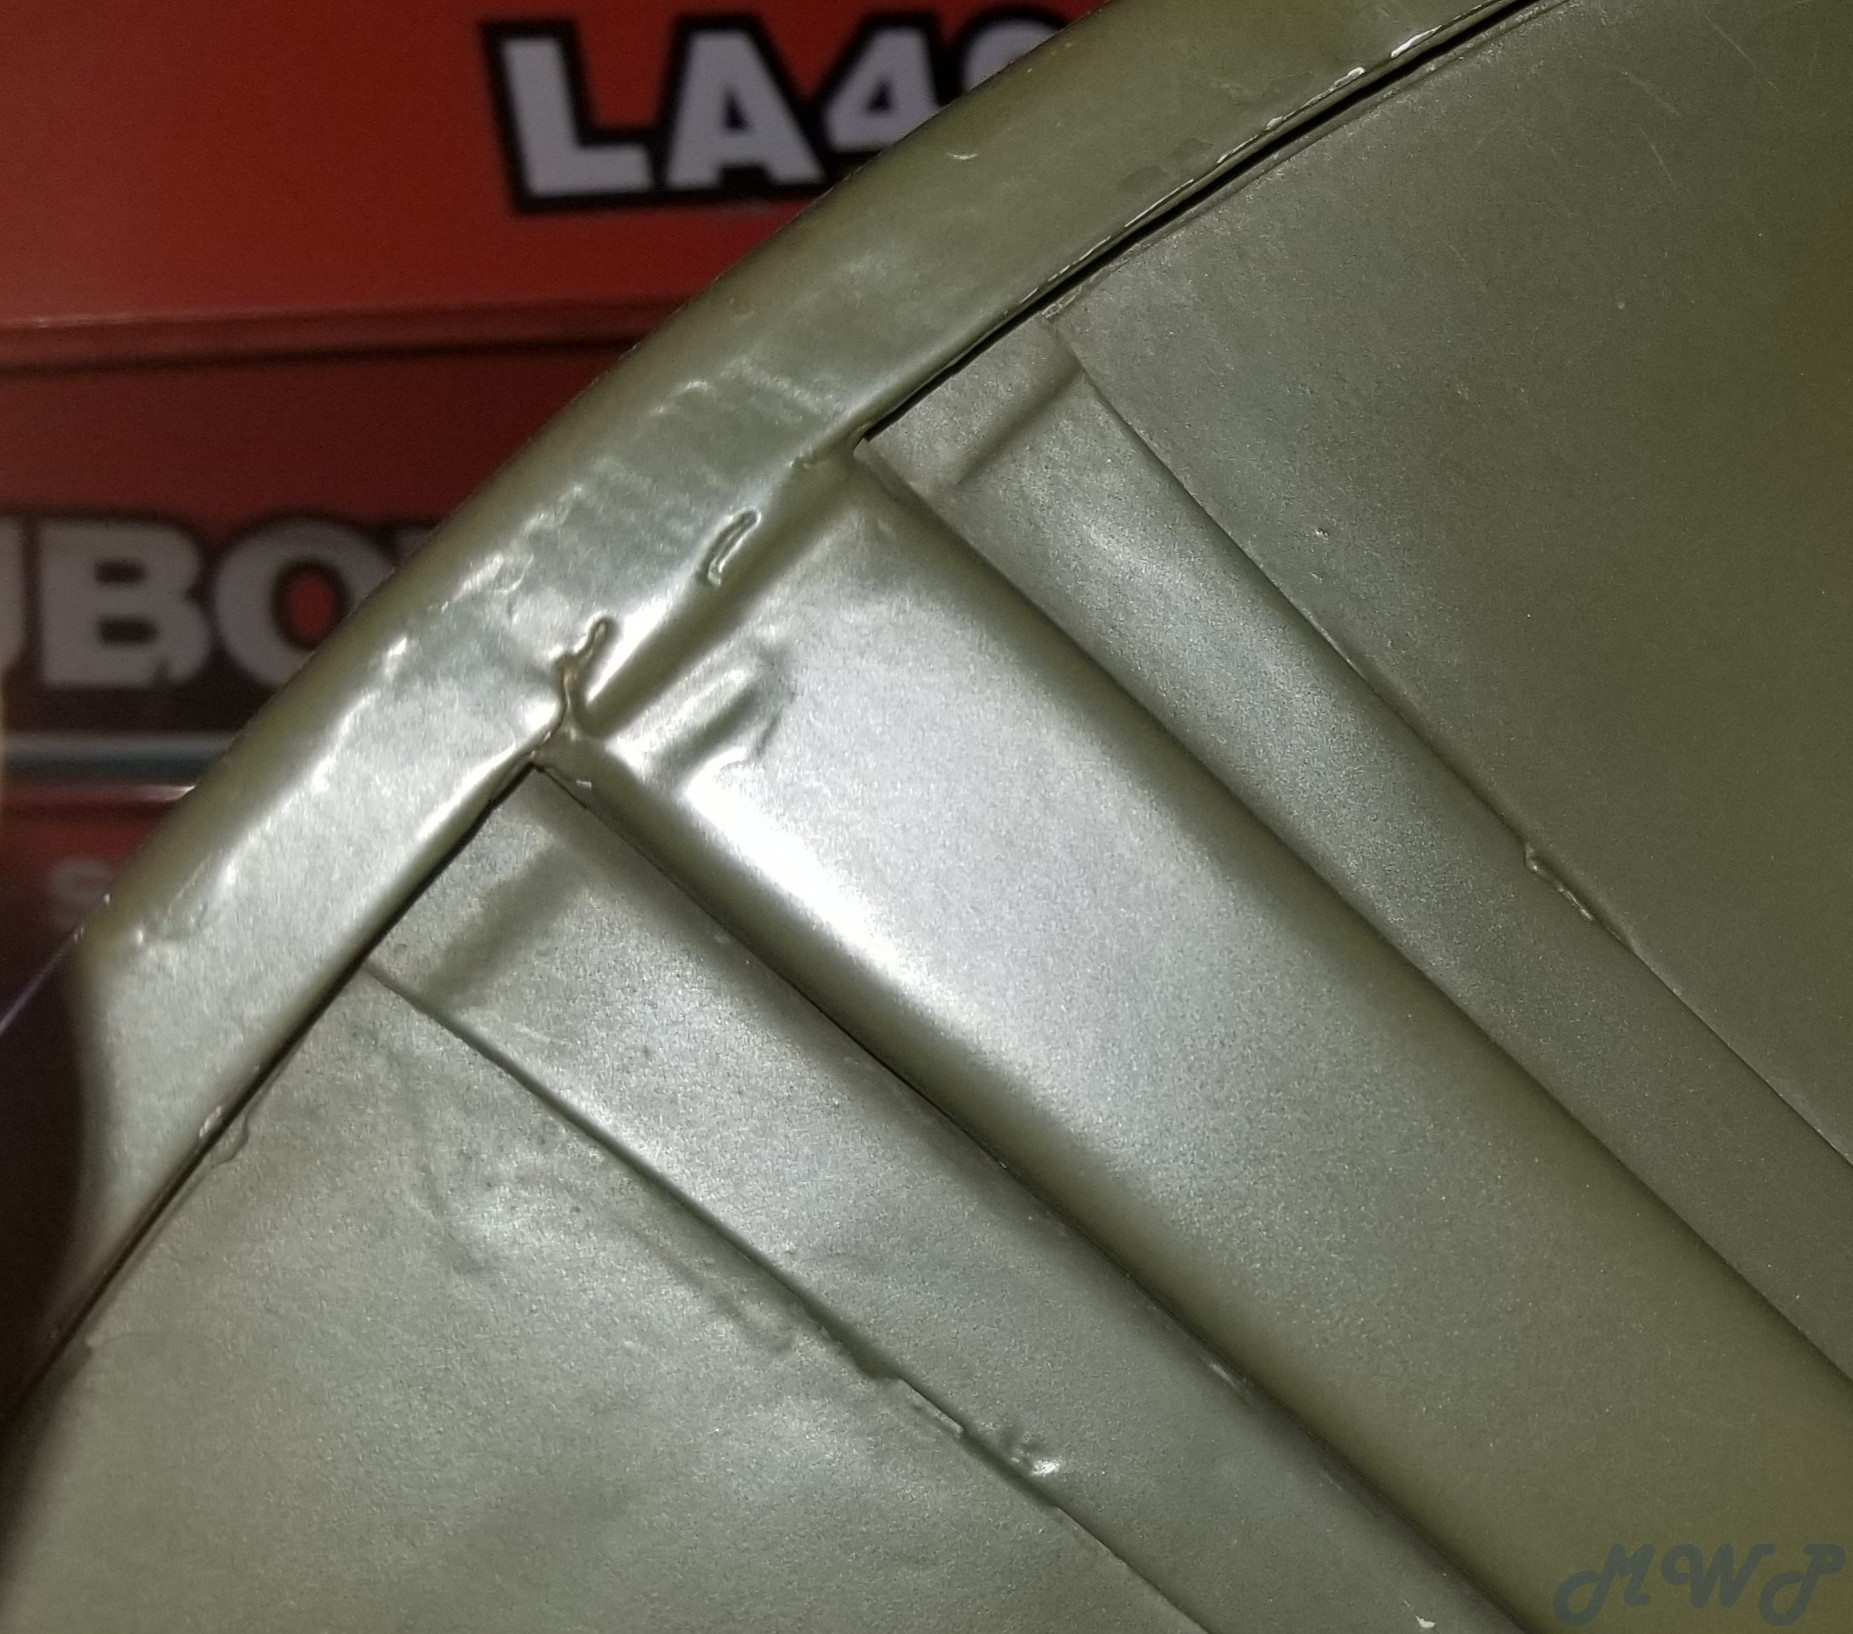
That's a good point, (and you have a nice looking ride too), and those holes on mine are "threaded".
Posted by: 1955CJ-5
« on: October 01, 2021, 06:21:02 PM »

That really looks good....

Do you plan to paint it soon?

If you ever intend to get an original style full canvas enclosure there are a couple of holes that belong in the top edge for the door rod, probably want to drill them before painting.

I attached a picture but it's not very good. I can get measurements if you need them.
Posted by: PercyUK
« on: October 01, 2021, 03:08:44 AM »

 Hi, it's yet to be painted but here is the final result, the last shot is how it originally was having had a hardtop sometime in the past.
Posted by: Marla.the.V35
« on: September 21, 2021, 04:50:03 PM »

Fantastic work! Thanks for sharing the process!
Posted by: PercyUK
« on: September 21, 2021, 02:39:15 AM »

Hi, and thanks. The first thing I did was to take a card template from my friends wartime Jeep.
I knew that making a former and hammering it was probably beyond me, especially if I wanted a nice flat panel, so I simply cut out three sections of sheet and welded it together.
The large panel face first followed by a thin strip for the top and a matching curved strip for the inside.
You have to take your time so that the heat doesn't distort the panel and then I used an abrasive disc on my angle grinder to clean and final shaping.
 It was actually quite easy and once in I don't think anyone would know without a bit of specialist knowledge.
The real trick is trying to fit my new flat panel to my old bent panel on the Jeep and make it look original and patinated.
I have added some photos, the first is trial fit and the second when done. I had to use a skim of filler to help with the transition from new flat panel to old (lived in) bent one.
I think it will be OK with some paint.
Posted by: Marla.the.V35
« on: September 21, 2021, 12:15:23 AM »

Your aperture looks gorgeous! Can you speak to how you fabricated it some?
Posted by: PercyUK
« on: September 19, 2021, 02:45:02 AM »

That's great thanks, I just wanted to make sure it looked right and that helps a lot.
Cheers
Posted by: athawk11
« on: September 18, 2021, 11:28:11 AM »

Hi Percy,
There is really not much to it...


Posted by: PercyUK
« on: September 18, 2021, 02:41:23 AM »

Hi, I am trying to repair the doors on my cj3a as at some point in the past someone had cut them to accommodate a hardtop.
I have fabricated and inserted a repair panel but need a favour.
The brace that sits inside the door needs rebuilding. Can someone post a picture of the brace, specifically where it meets the edge of the door aperture so I can see how it should look.
Hopefully I have attached a photo showing where mine is cut.
Thanks