The CJ3A Page CJ3B.info

Post reply

Warning: this topic has not been posted in for at least 120 days.
Unless you're sure you want to reply, please consider starting a new topic.

Note: this post will not display until it's been approved by a moderator.

Name:
Email:
Subject:
Message icon:

Verification:
Type the letters shown in the picture
Listen to the letters / Request another image

Type the letters shown in the picture:
Write the word between words Jeep from this JeepWILLYSJeep?:
How many slot has a GPW grill?  7 - 9 - 11:

shortcuts: hit alt+s to submit/post or alt+p to preview


Topic Summary

Posted by: Austin
« on: April 23, 2015, 09:10:36 AM »

Sounds like a easy fix. As soon as I have some time, im going to play around with it.
Posted by: Bob W
« on: April 21, 2015, 09:30:22 PM »

Posted by: athawk11
« on: April 21, 2015, 07:11:34 PM »

Quote
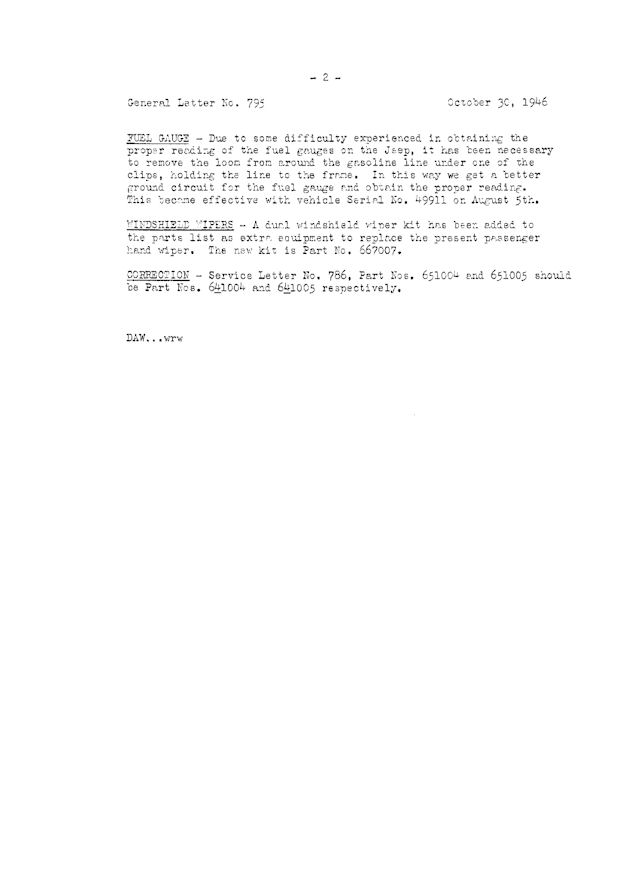
On a CJ-3A the fuel tank ground is actually through the fuel line at the clip where it attaches to the tub under the drivers footwell area. At this location there is no loom between the line and the clip, unlike all the other places where clips retain lines.


Now that makes sense.  I have this clip, but I just figured it supported the fuel line.

I'm not sure where I read that you can achieve a ground at the rear hold down for the tank, but it made sense at the time.  Maybe it was another "suggested" ground point.  It was hard scraping my paint finish off...no matter how well this was hidden. :-/

Tim
Posted by: Bob W
« on: April 21, 2015, 03:03:25 PM »

I like Tim's suggestion above. Original dash gauges also need to be grounded. They get their ground through the mounting bracket on the backside. So there needs to be a good connection between the dash and the bracket, and then between the spring on the bracket and the gauge housing.
Posted by: BMIC
« on: April 21, 2015, 02:58:01 PM »

I have been following this because my fuel gauge is not working as well.
What is the best way to ground the fuel tank?
Posted by: Bob W
« on: April 21, 2015, 02:35:29 PM »

On a CJ-3A the fuel tank ground is actually through the fuel line at the clip where it attaches to the tub under the drivers footwell area. At this location there is no loom between the line and the clip, unlike all the other places where clips retain lines.

Tim's secondary ground wire is a good idea.
Posted by: athawk11
« on: April 21, 2015, 01:53:24 PM »

BMIC,
I've been watching it as well, but I don't know anything about the Lighted gauges.

Grounding the sending unit in the tank, to the gauge is a challenge.� The screws that are used to hold the sending unit to the tank must make a ground.� Then the hold down clip at the back of the tank must be clean for the ground to the tub.� Then, the gauge must make a ground to the tub to complete the circuit.�

So, a whole lot of places where we can lose the ground.� Especially if we have freshly painted stuff and are apprehensive about scraping paint back off.

Ultimately, for added insurance, I added a extra ground wire from one of the sending unit mounting screws, over to the side of my tub.� I just followed the route of the "positive" wire connection between the top post of the sending unit and the gauge.� Almost looks like it's suppose to be there. ;)

Tim� �

Posted by: BMIC
« on: April 21, 2015, 01:21:28 PM »

I have been following this because my fuel gauge is not working as well.
What is the best way to ground the fuel tank?
Posted by: p3ferris
« on: April 21, 2015, 10:26:34 AM »

A lot of times  that means you have a bad ground on the fuel tank
Posted by: Austin
« on: April 20, 2015, 04:27:51 PM »

This is how my old fuel gauge looked. And the following is how I connected the wires from  the old gauge to the new gauge. Now when I turn the ignition on the needle jumps all the way to full even if there is only just a little gas in the tank. Im thinking it might be incorrect wireing or the sender in the fuel tank may be bad.

Old gauge       New gauge
S (Sender)   > T
G (Ground)  >  bottom center
I (Ignition)   >  B
Posted by: Austin
« on: April 20, 2015, 02:14:06 PM »

This is how my old fuel gauge looked. And the following is how I connected the wires from  the old gauge to the new gauge. Now when I turn the ignition on the needle jumps all the way to full even if there is only just a little gas in the tank. Im thinking it might be incorrect wireing or the sender in the fuel tank may be bad.

Old gauge       New gauge
S (Sender)   > T
G (Ground)  >  bottom center
I (Ignition)   >  B
Posted by: Austin
« on: April 19, 2015, 06:23:15 PM »

I get my title this friday. Only a couple moe things to do before I can take to the road. Im working on this fuel gauge. Im not completly sure about the wireing.  I know the top screw ia obviously the light. B=Battery? T=Sender? Do I do anything with the two screws at the bottom labeled 12v and ground And the stud with the nut on it? I hate working up behind the dash! >:(