The CJ3A Page CJ3B.info

Post reply

Warning: this topic has not been posted in for at least 120 days.
Unless you're sure you want to reply, please consider starting a new topic.

Note: this post will not display until it's been approved by a moderator.

Name:
Email:
Subject:
Message icon:

Verification:
Type the letters shown in the picture
Listen to the letters / Request another image

Type the letters shown in the picture:
Write the word between words Jeep from this JeepWILLYSJeep?:
How many slot has a GPW grill?  7 - 9 - 11:

shortcuts: hit alt+s to submit/post or alt+p to preview


Topic Summary

Posted by: corpsman
« on: February 08, 2015, 11:37:35 AM »

thanks for posting all the pics, guys.  fun to see how other people accomplish different things.  also, encouraging to see that other people are overcoming pretty big obstacles.
Posted by: PaulS
« on: September 12, 2013, 10:27:41 PM »

Man, those pictures make me think that my tub is totally salvageable!  If it was original, I'd definitely do what you guys are doing.  But it's a repro from the 80s, and I'd rather pay for a new repro than spend the time on it.  (Especially since I have zero sheet metal skills.  I figure whatever adjustments are needed to make a new tub fit will be enough learning for my first project!)

But this makes me think that my repro tub may have some value, as certain parts are in pretty good shape, including the dash/firewall (except it has a rectangular cutout where the gauge cluster goes), and the M38-style transmission hump.  I decided long ago to hang onto everything I've got until I finish this project, but once it's done, I may try to sell the tub (or parts of it) instead of scrapping it--even if I only get shipping cost for it.

-Paul
Posted by: SteveW
« on: September 12, 2013, 09:07:44 PM »

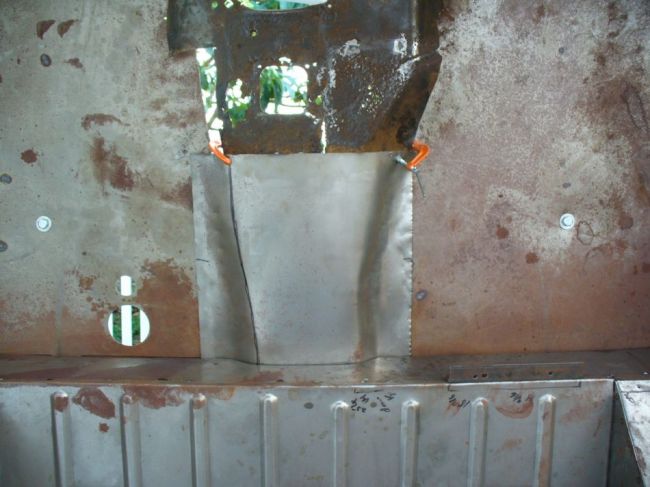
Don't give up on this. It is doable just start with a plan and be willing to adapt. Here was my lowest point


Nothing but thin air


I was going to go from front to back and then realized I had to place to start with known dimensions so I went back to front


This was very early on making my own pieces


This was biggest challenge but after all the other stuff I was ready to give it a go


Made my own tunnel


This piece came from Larry Long, Classic now makes them

Posted by: athawk11
« on: September 12, 2013, 07:27:33 PM »

Spike,
Don't be discouraged.� Start small... with something very basic.� Cut out the bad metal and try welding in a new patch panel.� If this goes well, continue on to the next patch...and so on.� If it doesn't go well, consider a different option.�

If you look at the entire tub as a whole, it's way too easy to say it's a goner.� But if you take the approach above, you will eventually run out of rusty pieces to replace.� And you will have a indescribeable feeling of reward.

Check in with 1955CJ-5 and his restoration thread under the Projects section here on the 3A.� He was faced with the same feelings you are.� You may gain some great insite by speaking with him.�

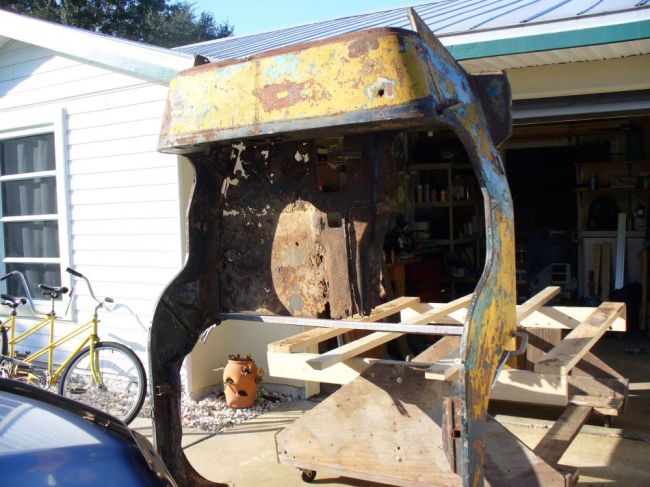
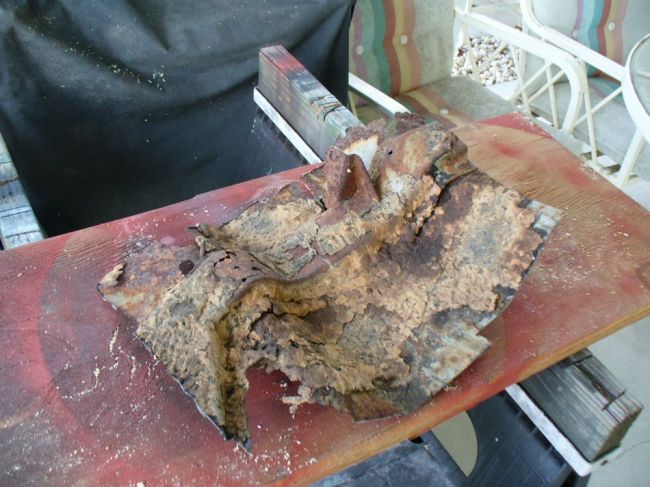
I am also working on a project. This is what my current project started as...


This is after a couple solid months of free time...


All pieces scavenged from the best of a 3A and a 2A tub.� [size=12]If I can do this, anyone can do this![/size]

Of course Bill is right about the Wheel houses.� They are different on a 2A.� I had the added complication of one good 2A wheel house and one good 3A wheel house.� But even this can be fixed/adjusted...


Post some photos.� You'll get some great additional feedback.

One small step at a time.� You can do this.

Again, I highly encourage you to peak in on 1955CJ-5.� His restoration is very well documented...and very nicely done.
Tim
Posted by: SpikeT
« on: September 12, 2013, 06:29:42 PM »

It appears that the bumper mounts right to the frame.  The more I look at the jeep, the more discouraged I get about the rust. Is it possible to just stop the rust and replace only structurally compromised parts and por 15 the rest.  I love in memphis so not subject to road salt.  Not looking for pretty, just structurally sound and presentable for cruising around town.
Posted by: F Bill
« on: September 12, 2013, 01:14:18 PM »

You should already have the removable floor panels if it is a stock M38 tub. Do your best to save them as they are harder to find than most M38 stuff.

Which frame do you have?  Built in bumper mounting where the bumpers mount right to the frame or the 2A style with gussets? (Or M38 with added lifting stuff?)
Posted by: SpikeT
« on: September 12, 2013, 12:54:47 PM »

Just realized my 51 is a true mixture.
2a motor
3a vin plate
M38 tub with glove box and shovel indents.

Posted by: SpikeT
« on: September 12, 2013, 07:31:52 AM »


Starting to think I may take the classic enterprises route.� I think I can get away with just replacing floor pans and passenger side panel now. I can deal with removing tub for more extensive repairs after hunting season.

Posted by: SteveW
« on: September 11, 2013, 10:24:23 PM »

You can do what ever you want but if you are going to make pieces it will require a lot of measuring and adapting as you go. Personally I would get the pieces you need from Classic Enterprises and put it together as it would have been built. 8 year olds have pretty short attention span so getting it assembled and welded in would show more progress quicker than cutting and fitting tubing and angles.
Posted by: F Bill
« on: September 11, 2013, 09:23:58 PM »

Quote
Spike,
Another approach would be to see if you can find a donor tub that has the parts you need to complete a single decent tub.� 2A, 3A and 3B tubs all have similar characteristics toward the rear.�

Tim

Wheelhouse length is shorter on the 3A and 3B, for more seat room. But....You can customize them to whatever length you need. .
Posted by: athawk11
« on: September 11, 2013, 08:59:33 PM »

Spike,
Another approach would be to see if you can find a donor tub that has the parts you need to complete a single decent tub.  2A, 3A and 3B tubs all have similar characteristics toward the rear.  Otherwise, your plan seems doable.  Consider 1x2 tubing for your hat channels though.  It will help in fender and hood alignment.  I like the idea of making your tranny hump removable.  Best idea they had on the M38s!!

Post some photos of your project.  We all enjoy following along with Willys re-births!

Tim
Posted by: F Bill
« on: September 11, 2013, 04:24:28 PM »

It may be possible but it is going to be a little more work. They attach to the floor so you won't be able to do anything but bolt them to the frame holes and weld them to each other and the steps if your steps are ready to weld new hats to.

Some have welded the floors in after establishing the correct height in the tub for them, then placed the tub upside down, laying the hats in place, and then the upside down bare frame to line everything up before final welding. As long as you allow for the proper lineup of everything , hats to the mounts , and floor and tub rear to the mounts you should be fine. Check your frame is not bent first, of course..there are dimensions in the factory manuals.
Posted by: SpikeT
« on: September 11, 2013, 04:18:36 PM »

Can the front hat channels be replaced from above while front floors are out?
Posted by: johnrb3b
« on: September 11, 2013, 09:59:30 AM »

Great to hear of another father-son project.
You'll build your skills and your son's and have fun doing it.
We'll want to see lots of pictures.
Posted by: F Bill
« on: September 11, 2013, 09:03:16 AM »

There is no reason your plan will not work. Have you checked out the TOO RUSTY TO SAVE?? thread?

Remember the factory had ribs to strengthen the panels, you'll need to go heavier on your steel , or add bracing,to achieve the same.

If you eliminate the tailgate, you will have a stronger tub and it will be simpler to build. Eliminating the toolbox will give you one less place to collect rust, but you'll have to modify the seat bracketry to do it, if you use stock seats.

You may want to consider a M38 style removable floor tunnel. There are plenty on online articles on building a tranny tunnel  for hot rods, take a peek before you just build a box.

Tubing tends to rot from the inside out so once it is built rustproof the interior of the tubes so it lasts. Lots of guys have done the tubing instead of hat channel approach. I'm not sure whether I would do that or try to use hat channels. Nowadays you can get the tunnel hat channel
quite reasonably from a few different sources and the rest you can fabricate with simple tools like pieces of lumber and angle iron to form the steel around. 
Good luck with it and don't forget to post in progress pics for he next guy!