The CJ3A Page CJ3B.info

Post reply

Warning: this topic has not been posted in for at least 120 days.
Unless you're sure you want to reply, please consider starting a new topic.

Note: this post will not display until it's been approved by a moderator.

Name:
Email:
Subject:
Message icon:

Verification:
Type the letters shown in the picture
Listen to the letters / Request another image

Type the letters shown in the picture:
Write the word between words Jeep from this JeepWILLYSJeep?:
How many slot has a GPW grill?  7 - 9 - 11:

shortcuts: hit alt+s to submit/post or alt+p to preview


Topic Summary

Posted by: DaveW
« on: February 02, 2019, 04:56:36 PM »

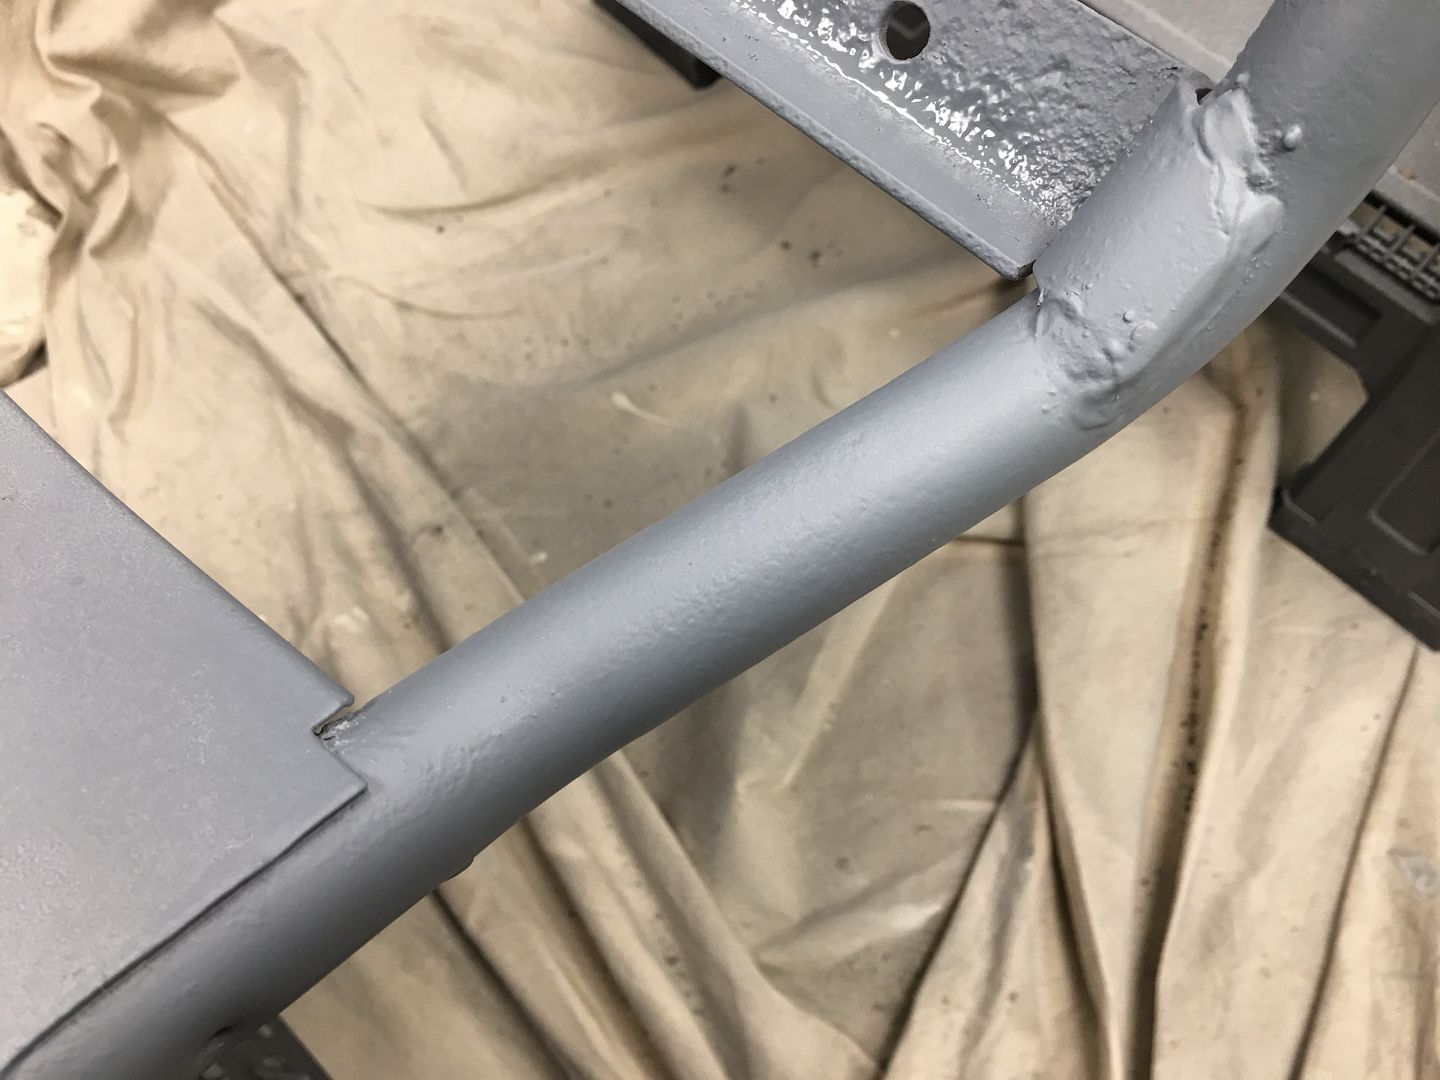
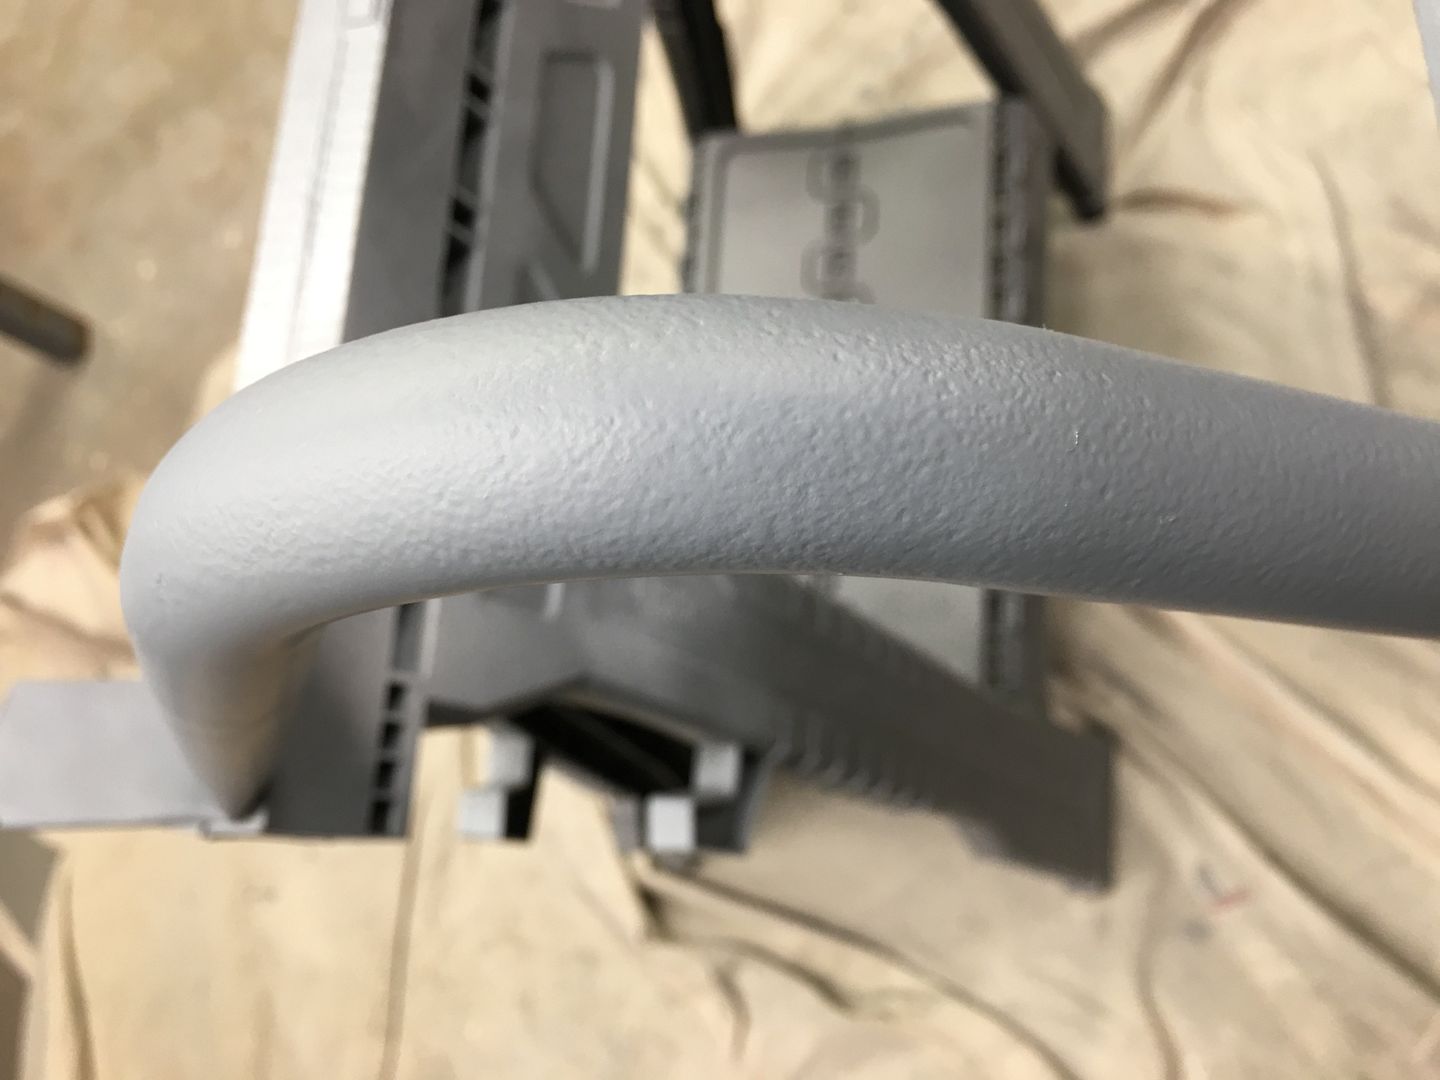
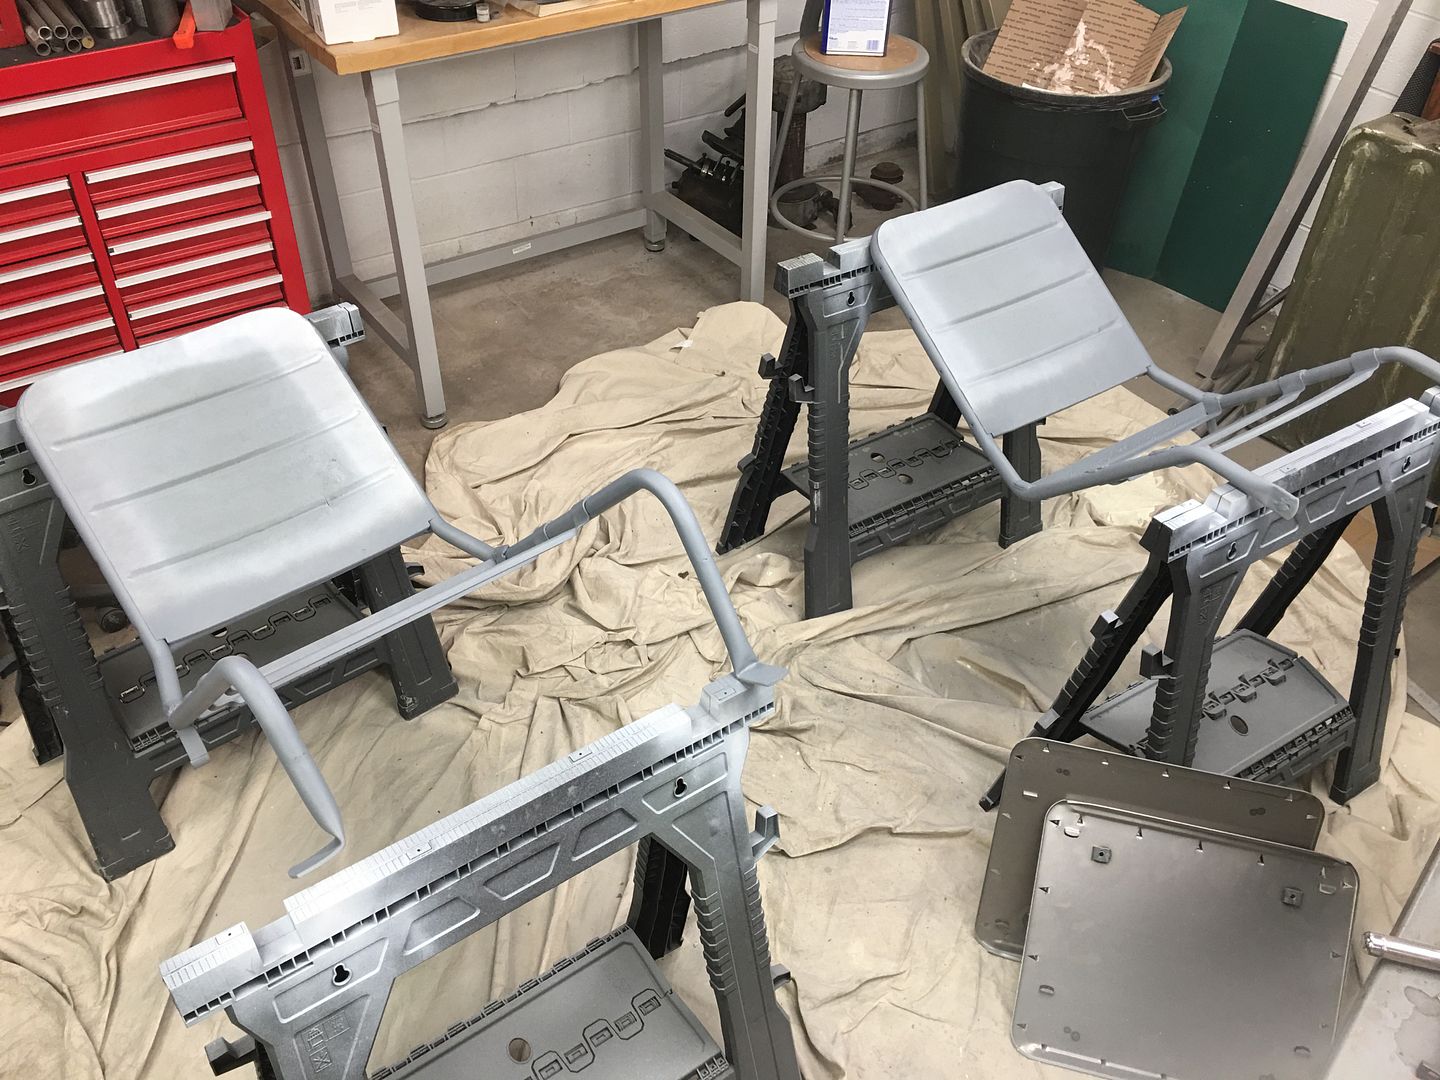
Little more work this morning on the seat frames. After I got a solid base of the self-etching primer, I sprayed some high build primer on them in hopes of filling in some of the pits. After this coat, I'll send them and  spray another to even it all out.


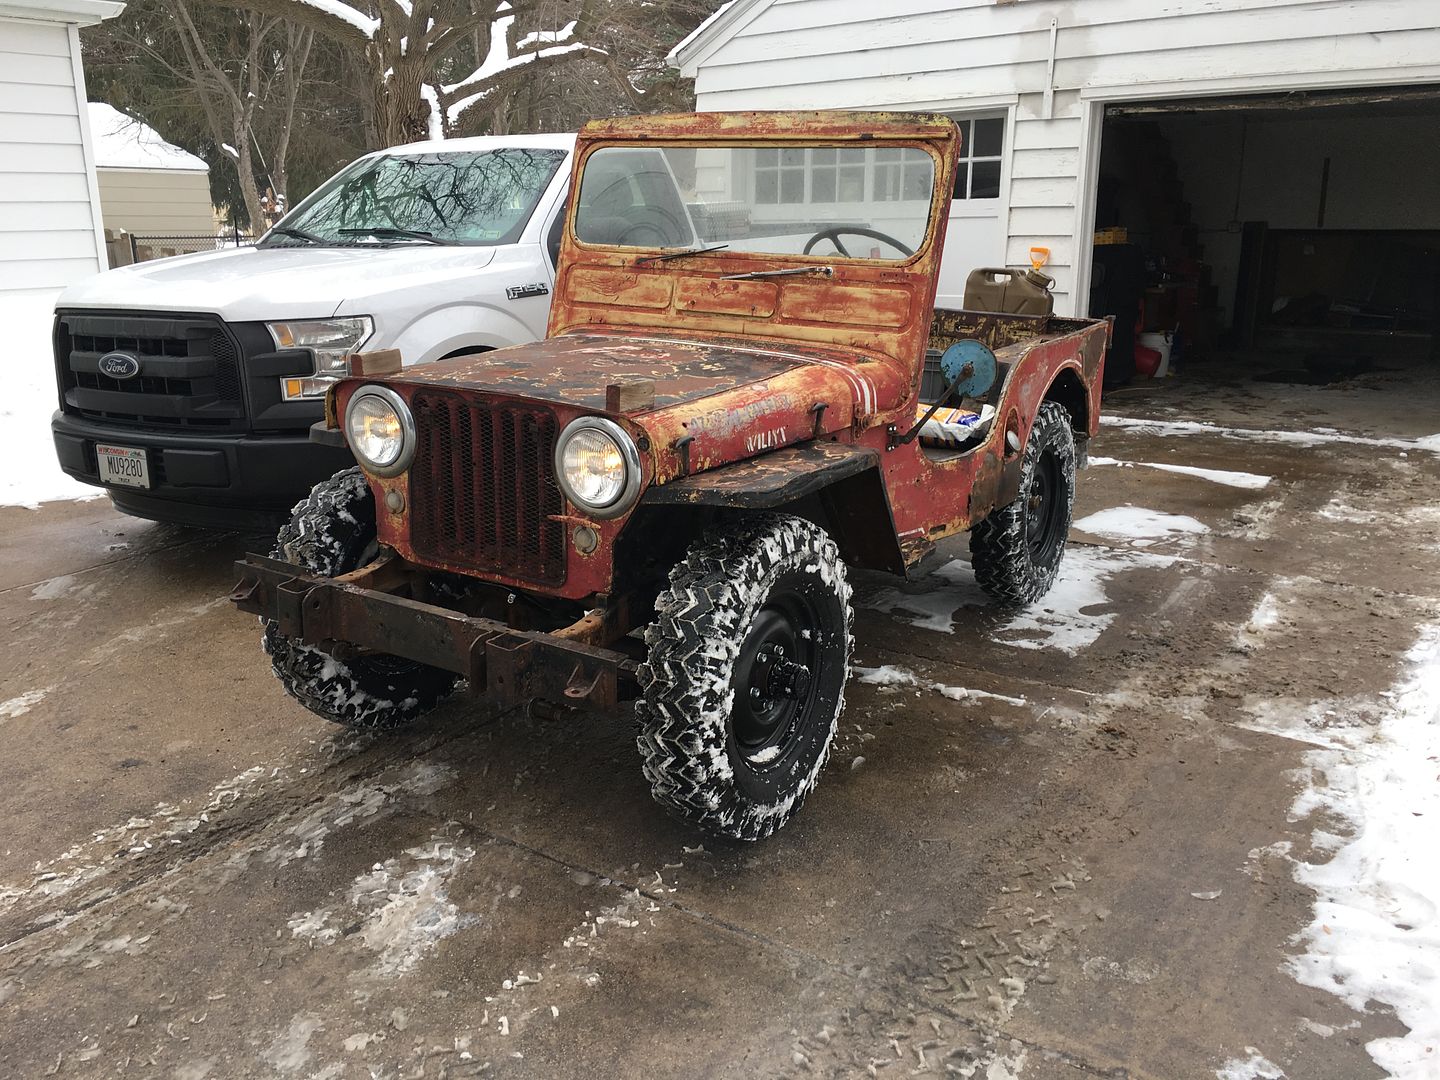
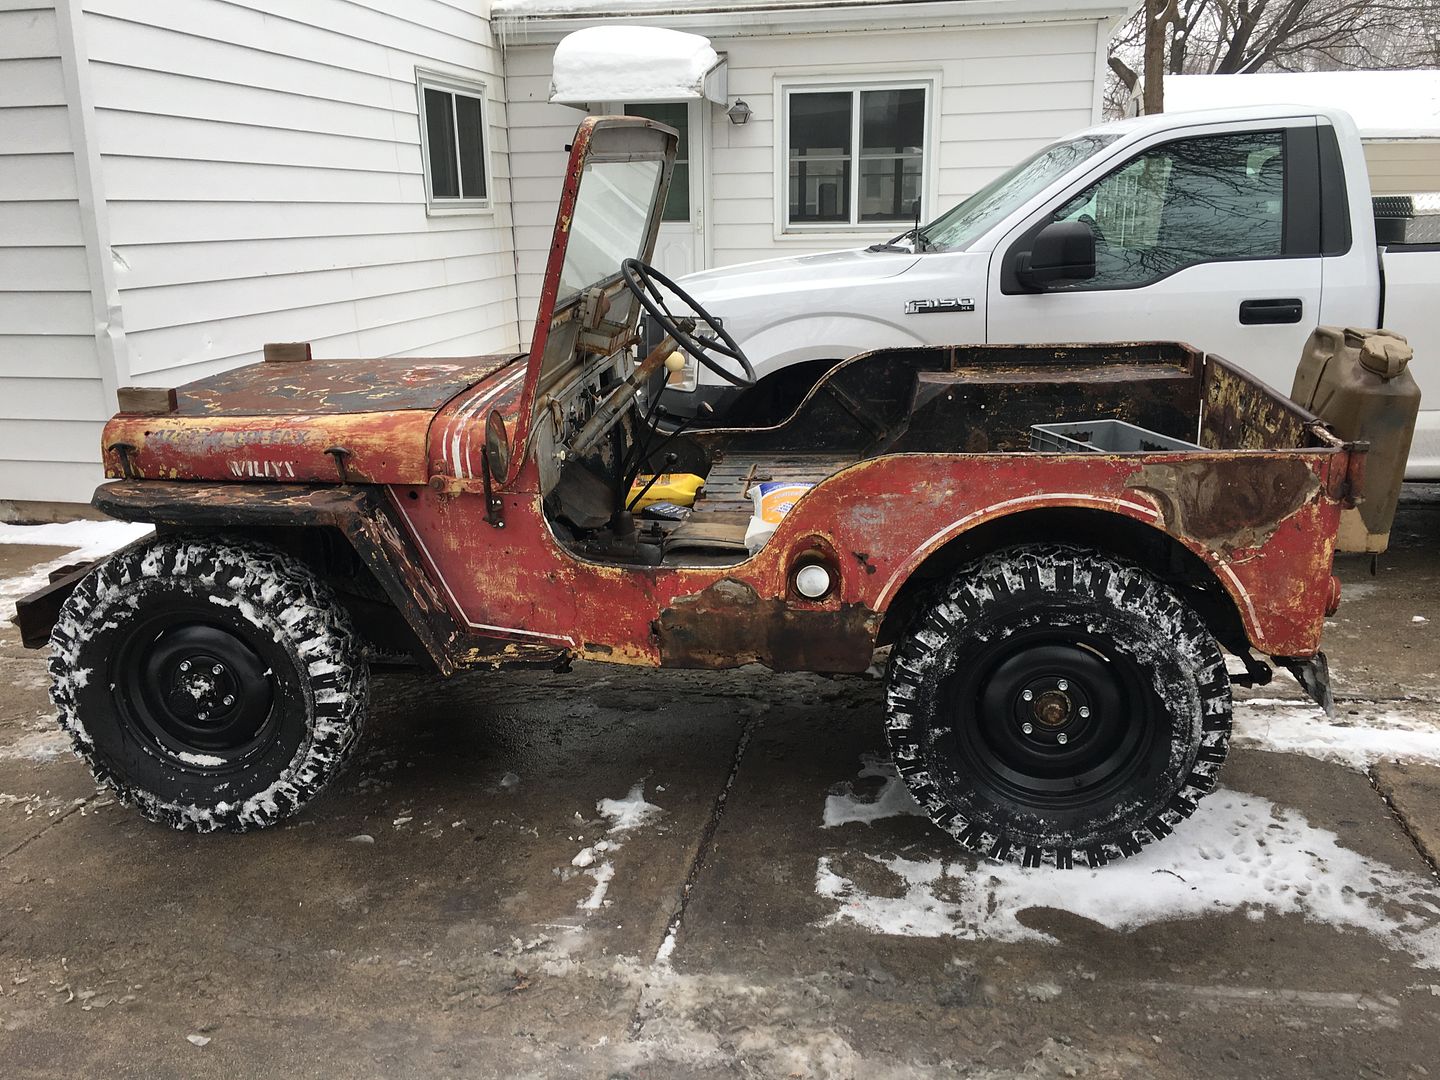
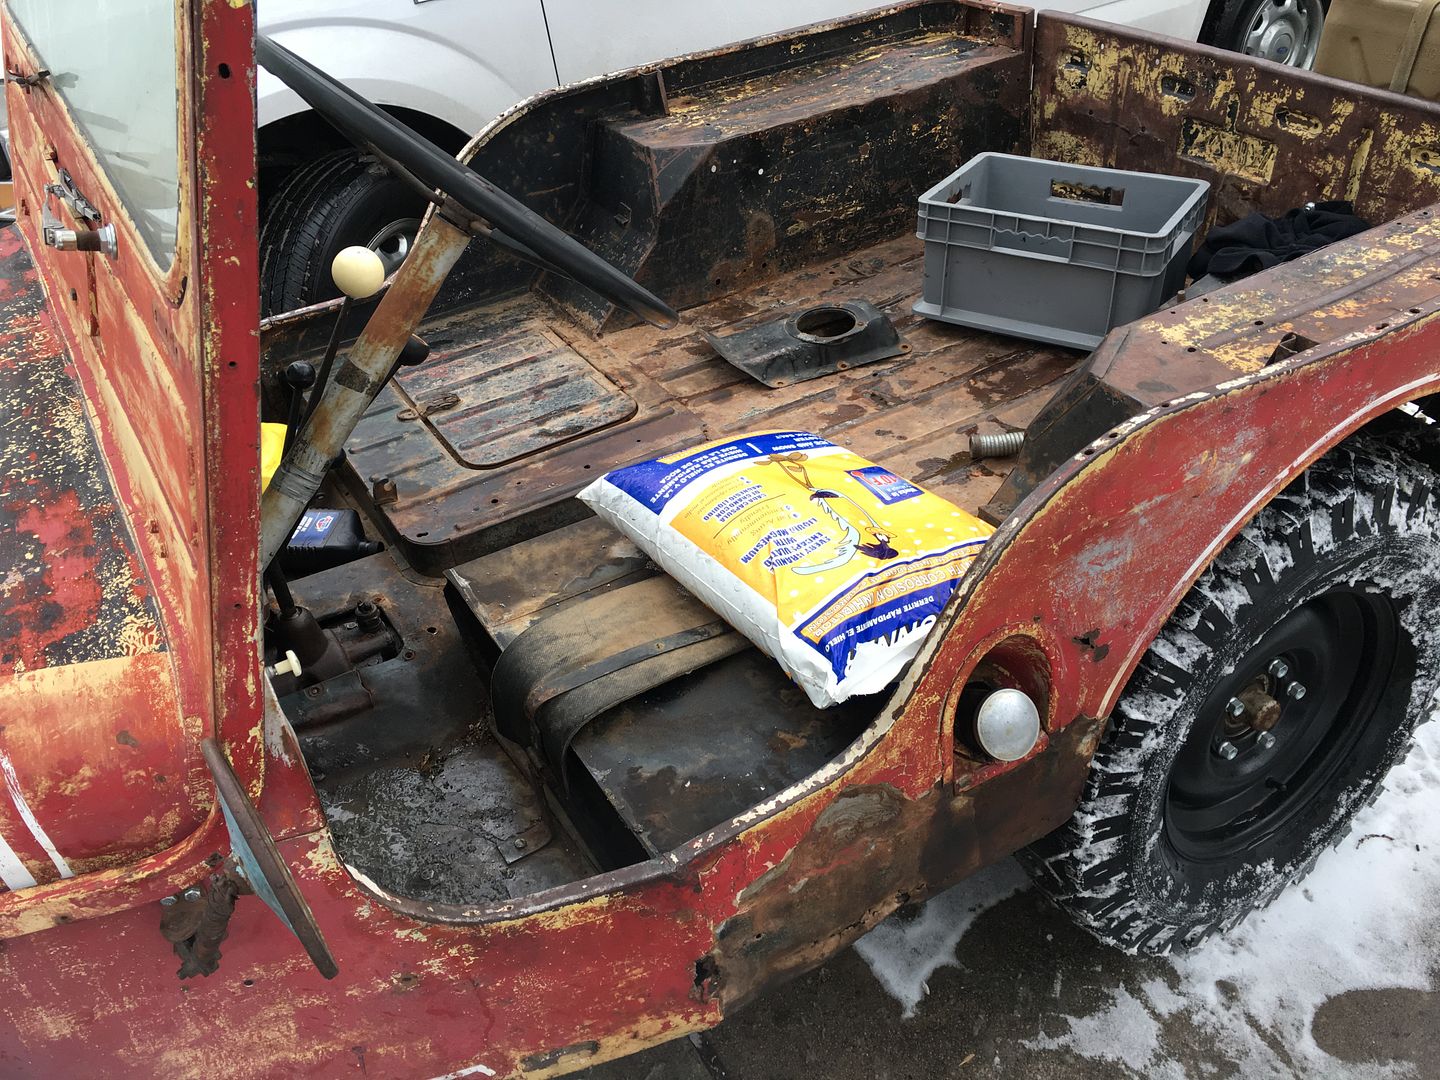
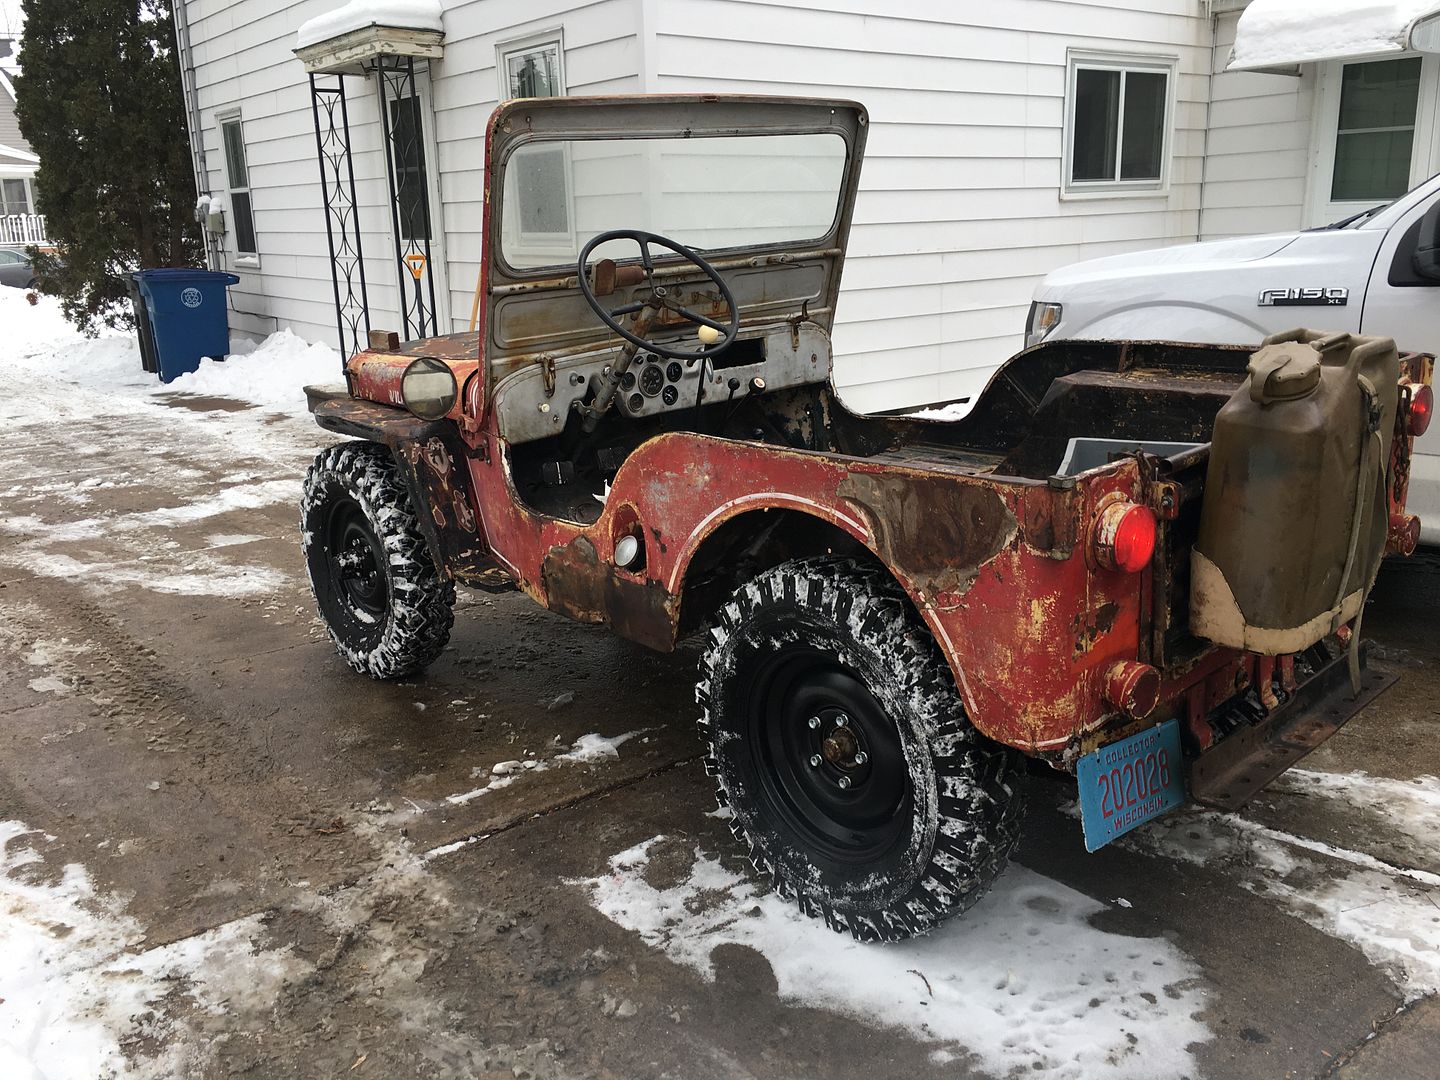
Since it has been a few months since I've taken the jeep out for a spin, I couldn't resist today since it's up to 35 degrees (it was -25 Wednesday and Thursday). I tossed a bag of rock salt on top of the gas tank to sit on and took it for a spin around the block.

Before going, I did manage to get my new horn wired up. It was pretty simple since the wire was still in the column. I just had to run a hot from the ammeter to the horn, then another short wire to the column wire to ground it.


Posted by: DaveW
« on: February 02, 2019, 04:39:59 PM »

Quote
Nice stuff. I've got overdrive/PTO envy!

Thanks!

I'll have to do a little work to shorten the driveshaft, but it'll be fun once it's all together.
Posted by: squidtone
« on: February 02, 2019, 01:43:47 PM »

Nice stuff. I've got overdrive/PTO envy!
Posted by: DaveW
« on: February 01, 2019, 11:25:12 PM »

One week to go until Sturgeon spearing, so I've got to get moving on these seats. I ordered covers and springs from Walcks. Then picked up the rest of the supplies (foam, batting, and muslin) from the local craft store. I'll post some more pictures of the upholstery process when I get to it.

Tonight I was spraying some self-etching primer on the frames after about two hours of wire brushing and using a scotchbrite pad to prep the surface.


Posted by: DaveW
« on: February 01, 2019, 11:21:33 PM »

The next project was to upgrade the sealed beam headlights. They aren't overly bright as most of you are aware.

I found a post a while back about these Euro style lenses from Hella that use an H4 bulb that plug right into the factory harness.


The lights are noticeably brighter. I haven't taken a measurement, but I'm going to see what kind of voltage is actually getting to the headlights. I think I can get even more output if I wire in a relay setup.
Posted by: DaveW
« on: February 01, 2019, 11:17:17 PM »

I sold my set of seats that came in the jeep so I needed to get my correct 3a ones installed.

I live close to Lake Winnebago in Wisconsin, so it's a pretty big deal to go out on the lake in the winters for ice fishing. On February 9th is the opening day of Sturgeon spearing (spearing a huge 6' long fish with a trident) on the lake, so I wanted to have the new seats done by then so I can go romp around the lake in the jeep.

The set of seat frames that I got a while back needed a bit of repair work to the driver's side legs. Seems they have nearly rusted away over the years.


There are the remnants of the legs that were left that I cut off.


I made some new legs using 1" 16ga tubing. It was pretty simple to flatten the tubing in a smooth jawed vice, then bend them over.


I first tacked them together, then test fit them in the jeep to make sure that the legs were clocked correctly. I did end up adjusting the right leg a little for a better fit, but I was pretty close.


Ground the welds smooth and they look at good as new.


Posted by: DaveW
« on: February 01, 2019, 11:08:15 PM »

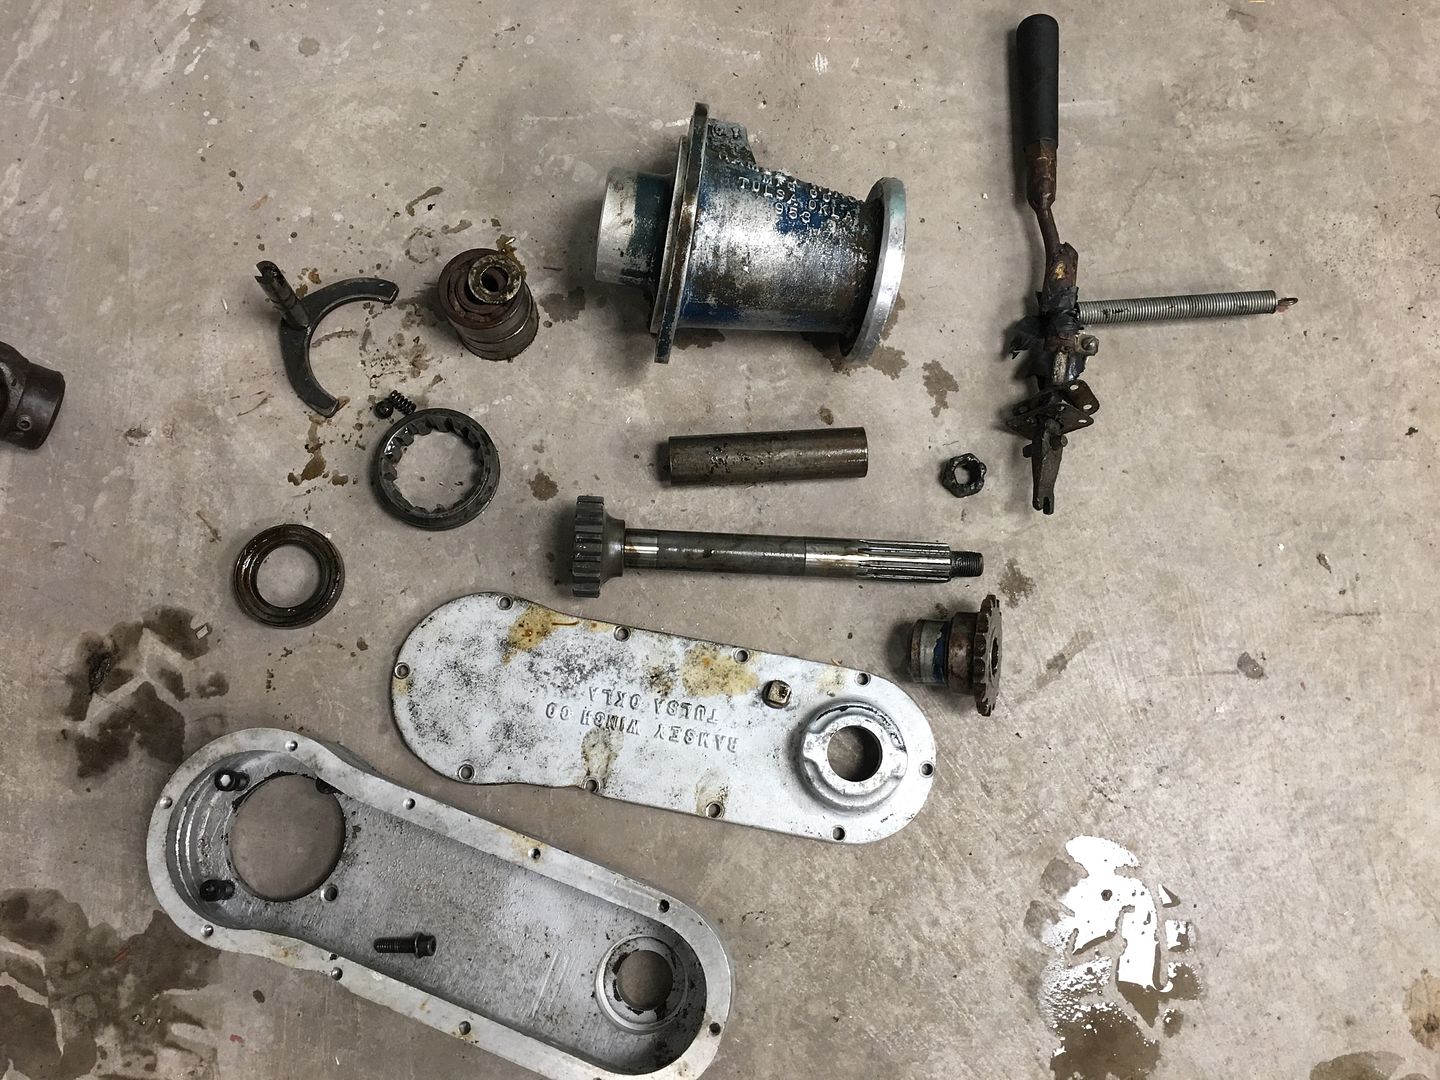
I had some free time to work on the Rear pto gear box a little.


The outside looked okay. It seemed that someone sprayed a coat of red primer over the whole thing.


Turns out the guts looked a little rougher than I had hoped.


The bearings an races were definitely shot


Thankfully all the cast pieces cleaned up pretty nicely with the soda blaster


Here's all the bearings, races, seals, and gaskets I intend to replace.


All the new stuff.


Soaking the guts and hardware in Evaporust


Everything actually cleaned up and came out pretty nicely.
Posted by: DaveW
« on: February 01, 2019, 11:00:29 PM »

The weather is pretty chilly in the winters here in Wisconsin, so over the holidays, I was looking for some more parts and managed to snag two rear pto setups.

One was kind of greasy and came with a shortened shaft, which was fine because I intended to shorten it more to use with my overdrive setup.


The other was a bit rougher looking and came with a full-length shaft.
Posted by: DaveW
« on: February 01, 2019, 10:57:36 PM »

I had off work the week of thanksgiving, so I wrestled around in my driveway to get the Overdrive installed and took it for a birthday jeep cruise. It was a tad chilly, but definitely worth it.


It was kind of fun with the overdrive and splitting gears. It was a nice happy medium between the normal 2nd and 3rd gear.


During my cruise, I noticed I was a little low on oil pressure, so I swung by the store to get some 20W-50 to top it off. Much to my surprising, the oil looked a little milky at the fill.


After driving around a little more, it seemed that the milky fill tube was just from condensation and went away after driving around a bit more.
Posted by: DaveW
« on: October 23, 2018, 05:23:50 PM »

Quote
I'd keep the twin stick just for the coolness factor and I'd add the OD too. That's be six shifters, defiantly anti-theft.

Great minds think alike!!

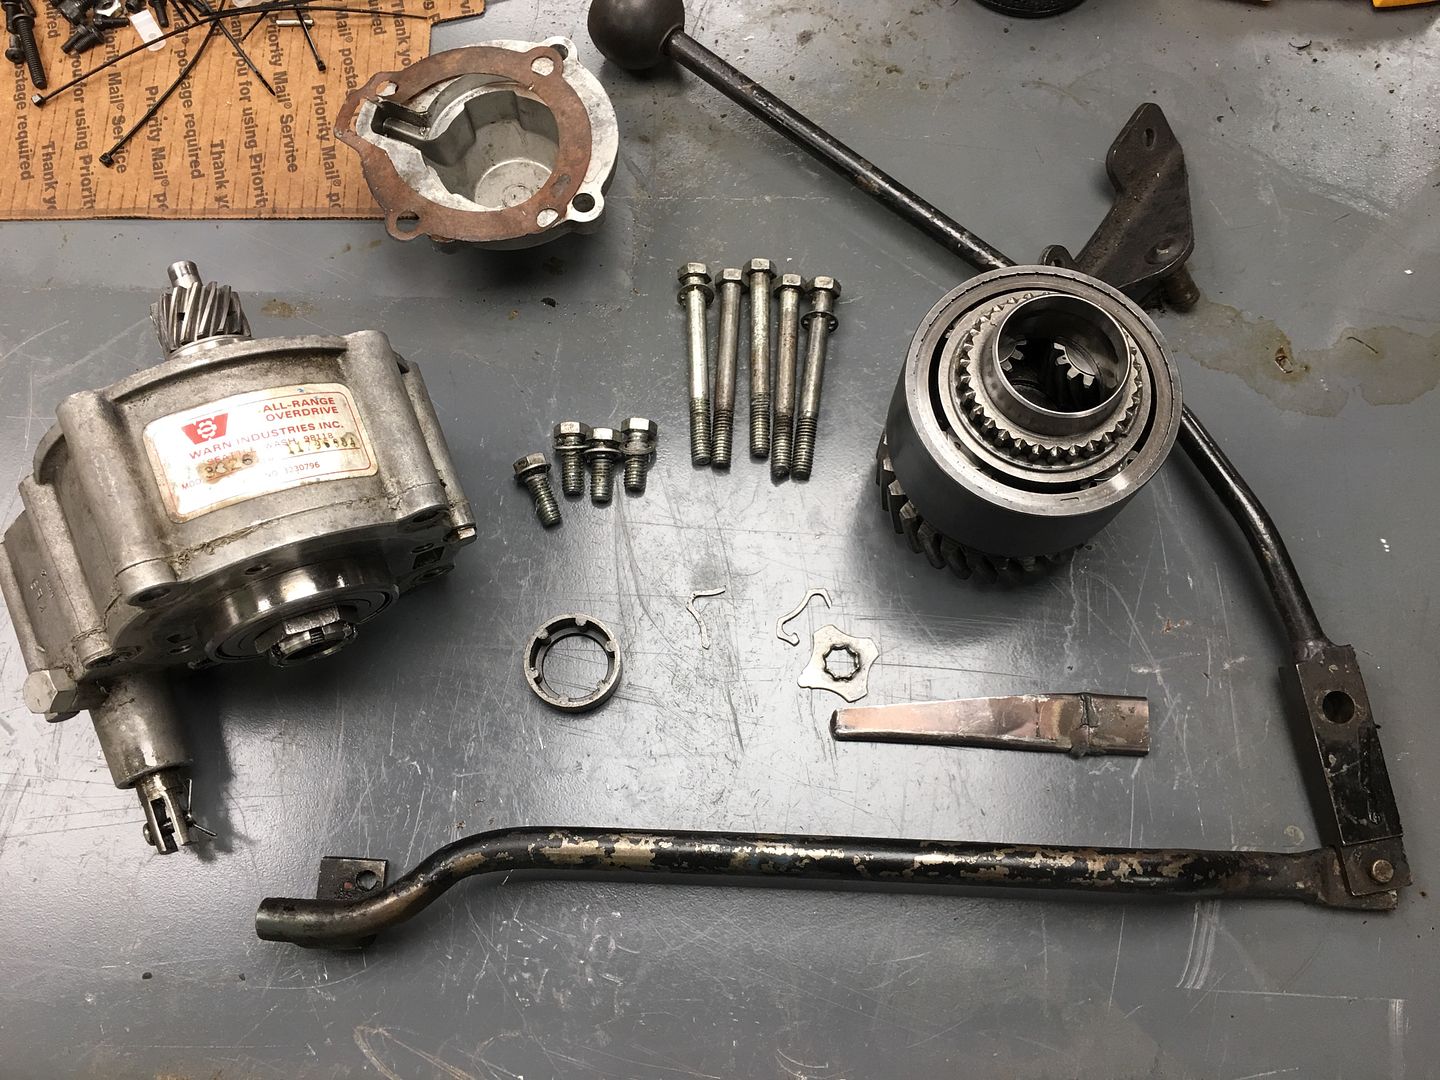
Over on the CJ2a forum, I posted a WTB ad for an overdrive. After a little back and forth with the seller. I was able to snag this 6 spline, 26 tooth unit for $500!! After disassembly, it looks to be in fantastic shape. I did order some new gaskets and misc snap rings and small parts to get it back into service. The only thing left is to order a shifter ring and rubber flap from Herm.


Tear down was pretty straight forward. All the bearings and gears look to be in great shape. Just need to scrape out all the RTV and give everything a good cleaning.


A decent amount of RTV came off the seal surfaces.
Posted by: DaveW
« on: October 14, 2018, 08:50:22 PM »

Carved out a little free time to give another go at rebuilding a water pump.

This one came apart much easier.


You'll notice that there was a bit of build up on the inside of this one.


It did chip out pretty easily.


After a good soda blasting, it went back together without issue. I'm not overly sure I got the impeller pressed on correctly. The pump does spin freely, but there is a little resistance, so it's possible I got it on a little too tight.


Posted by: DaveW
« on: October 12, 2018, 07:52:30 PM »

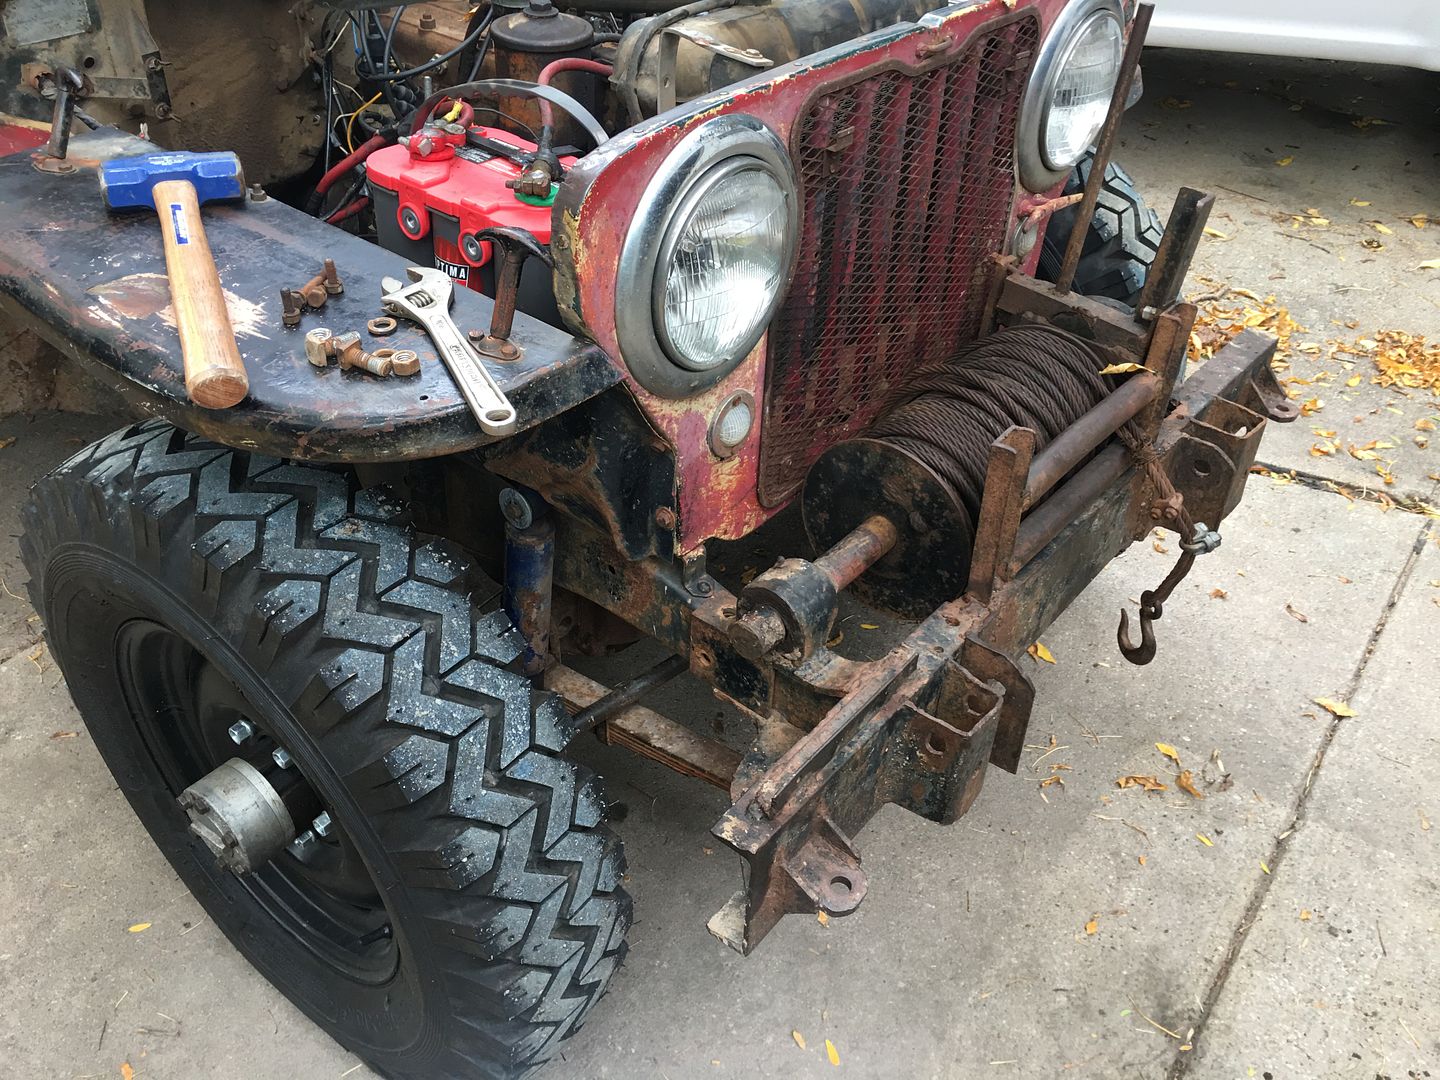
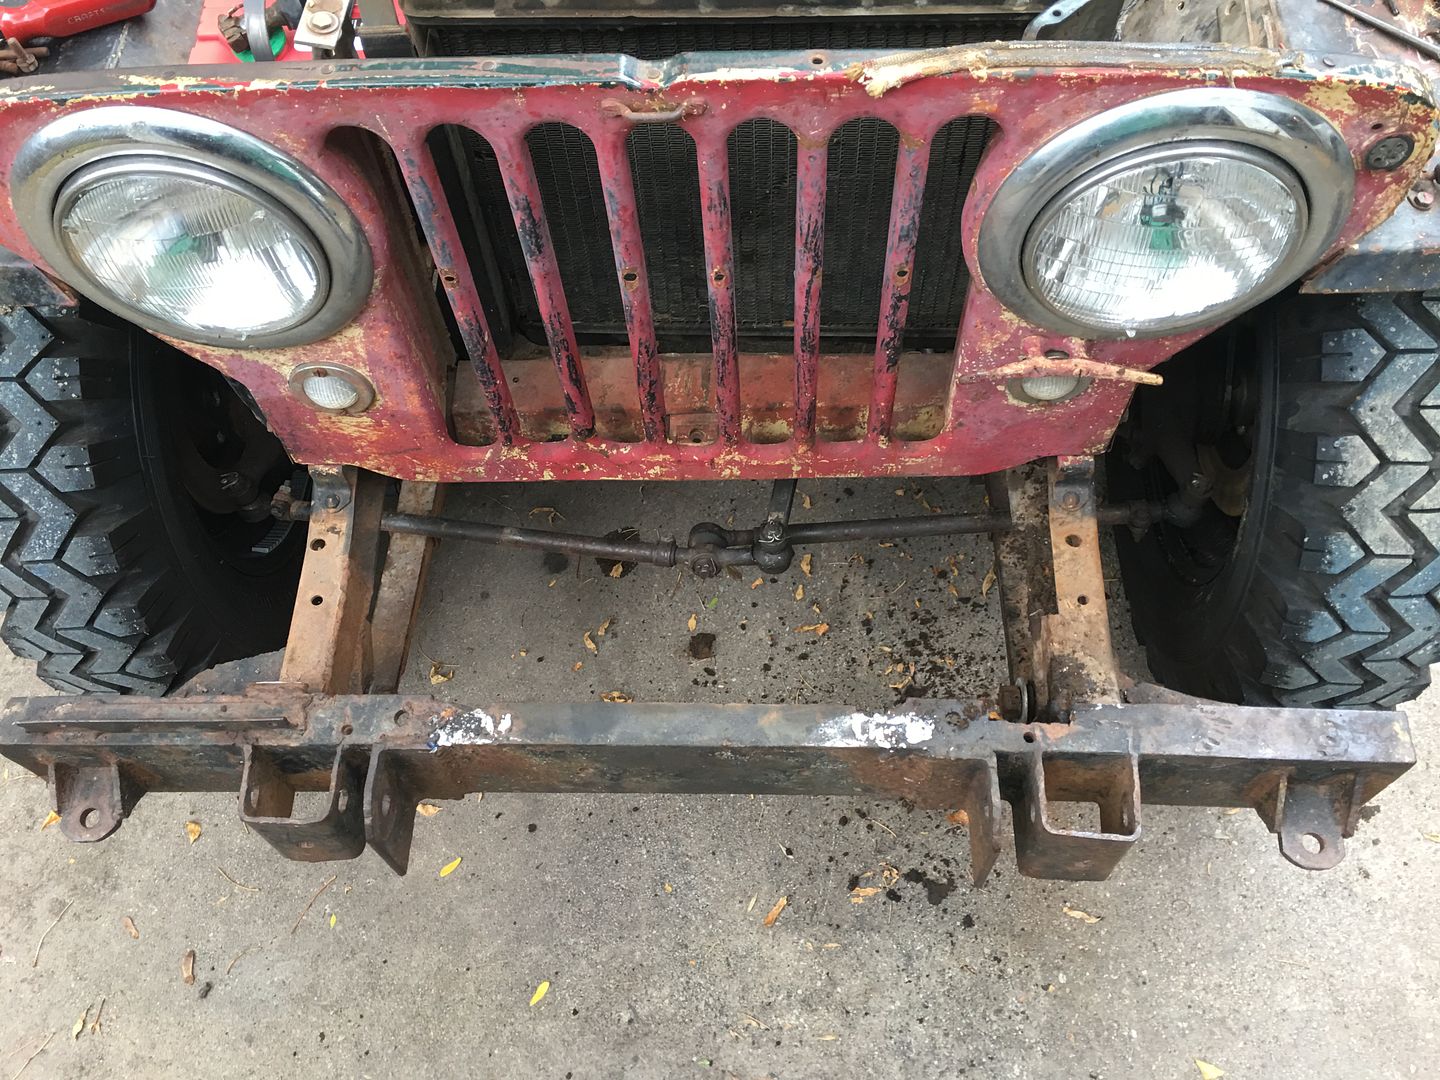
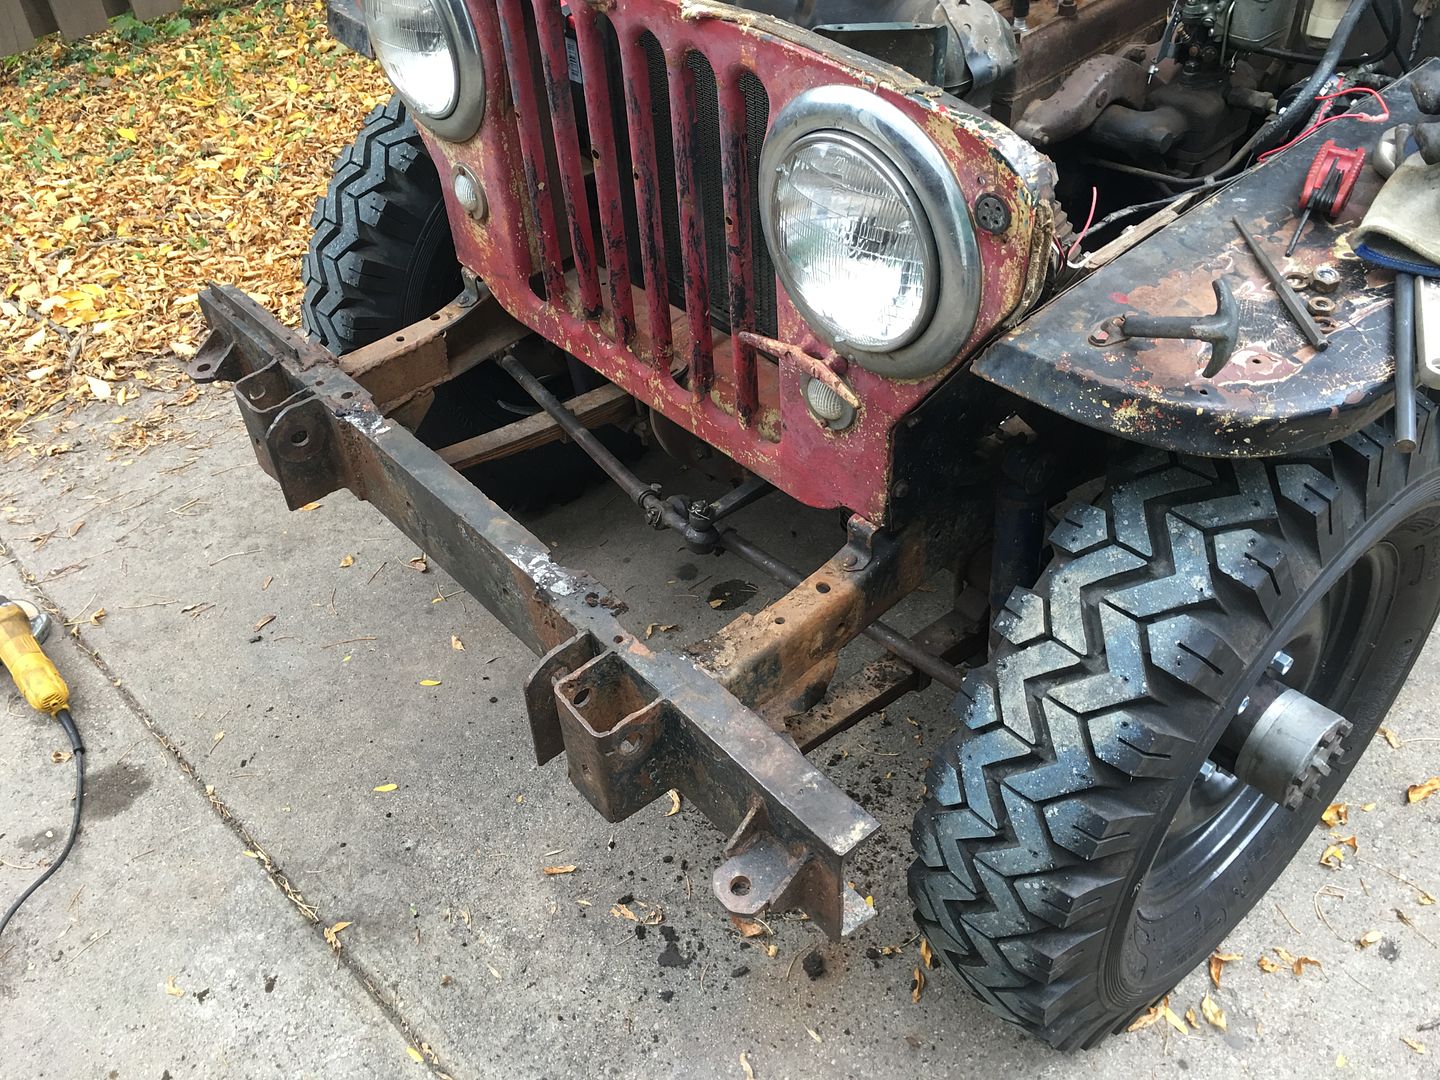
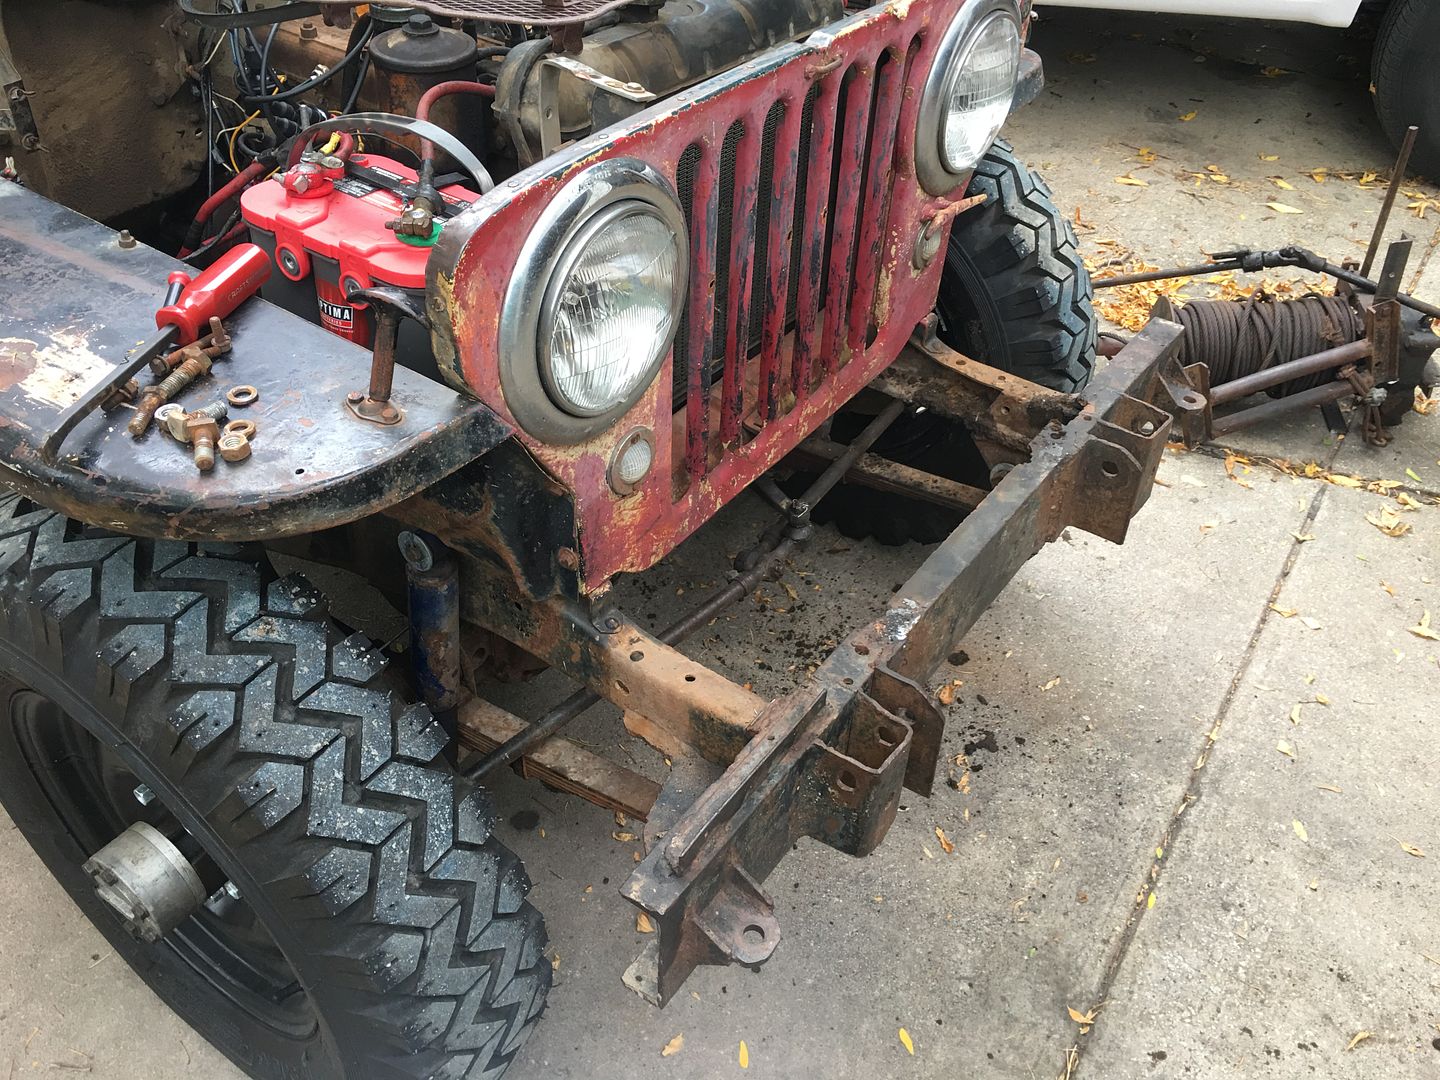
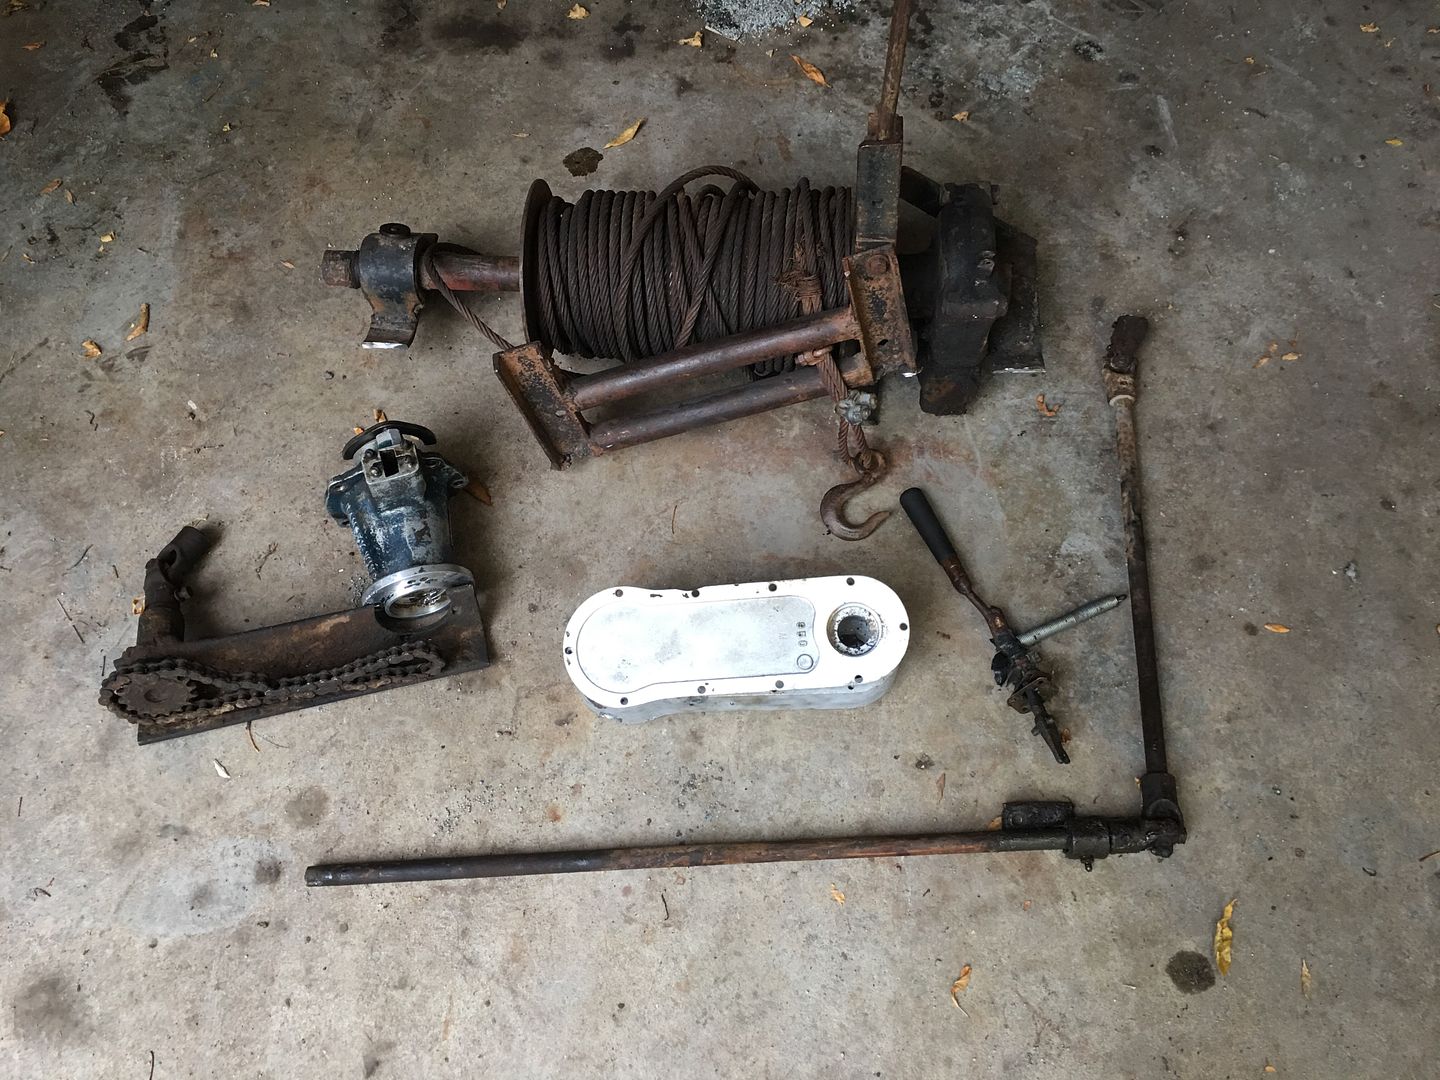
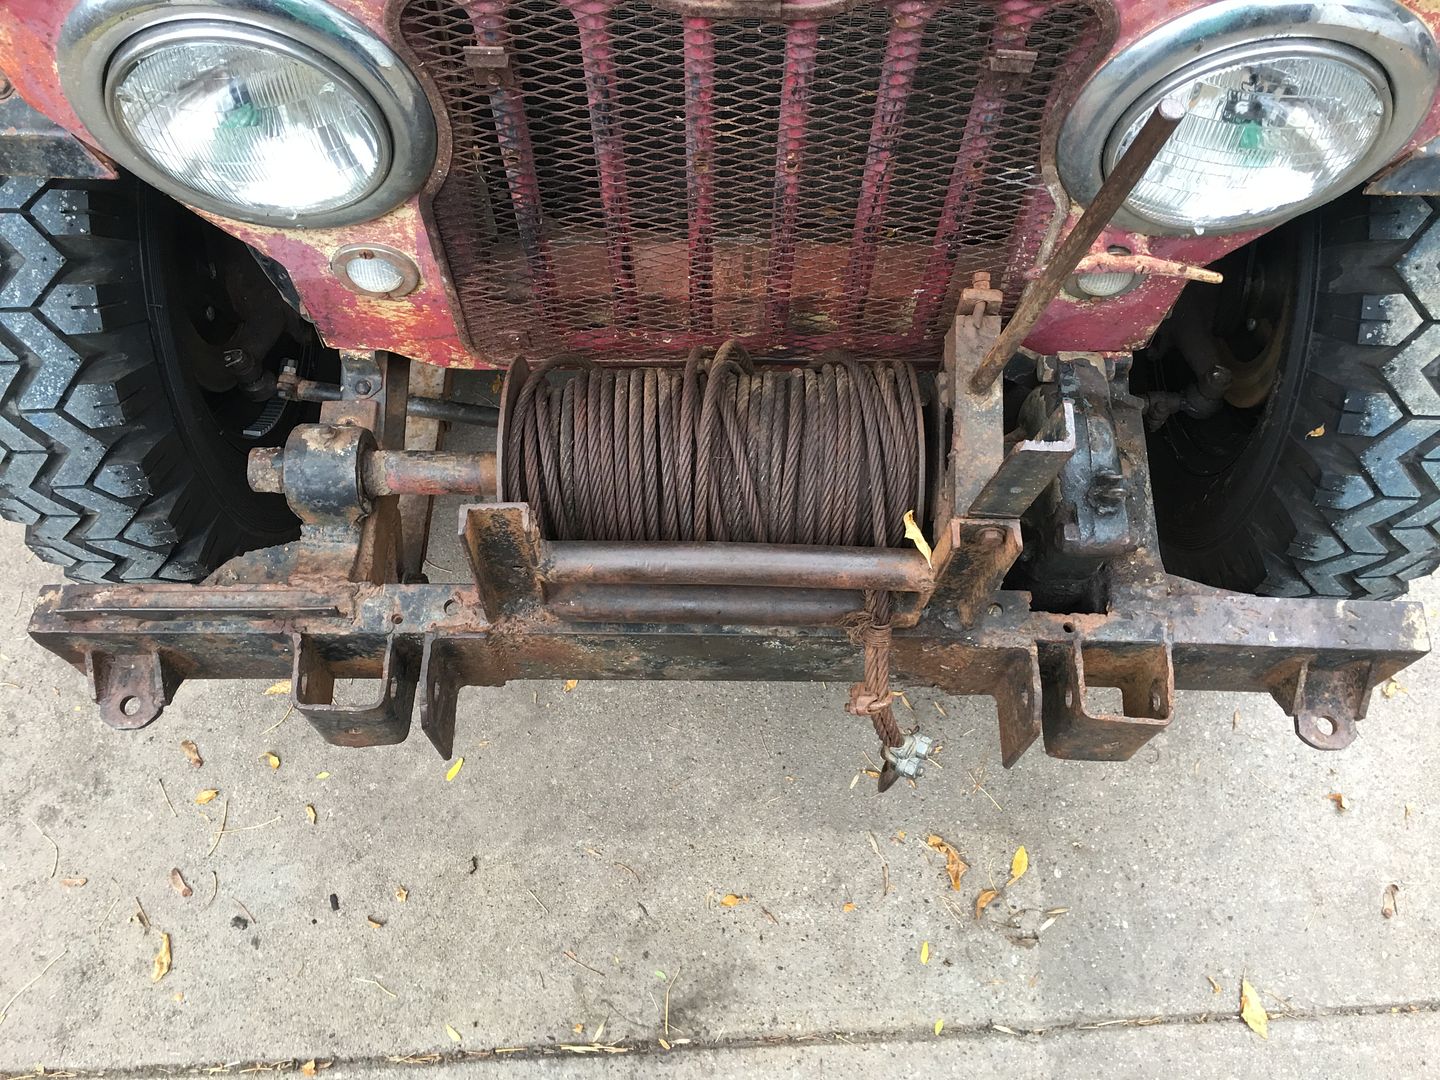
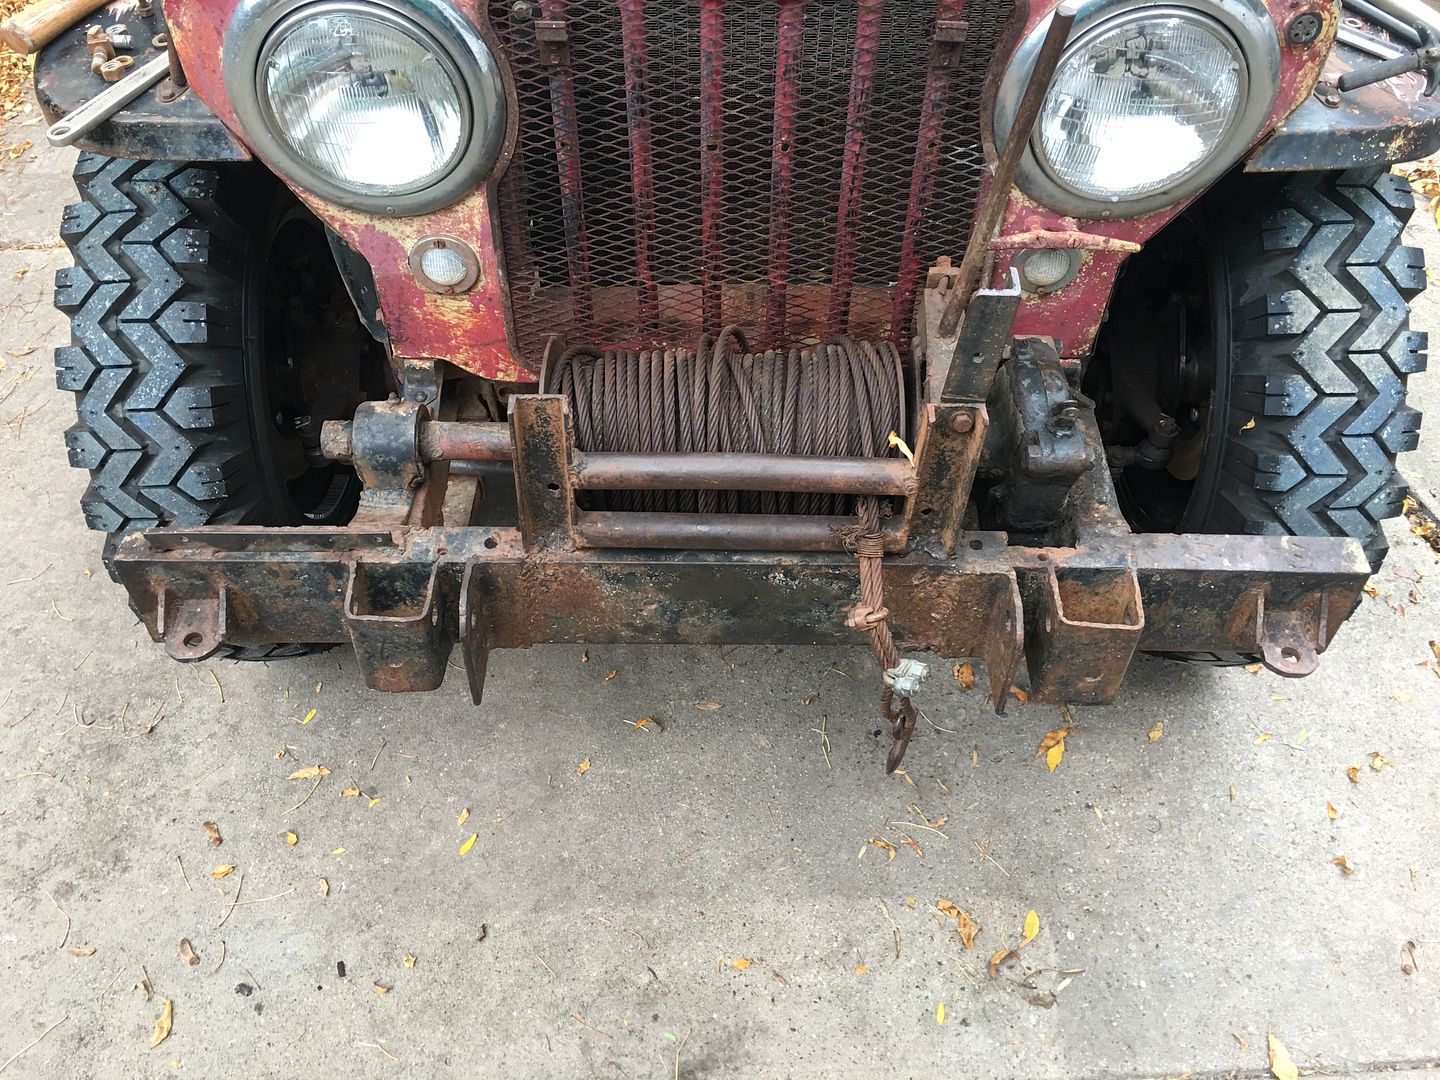
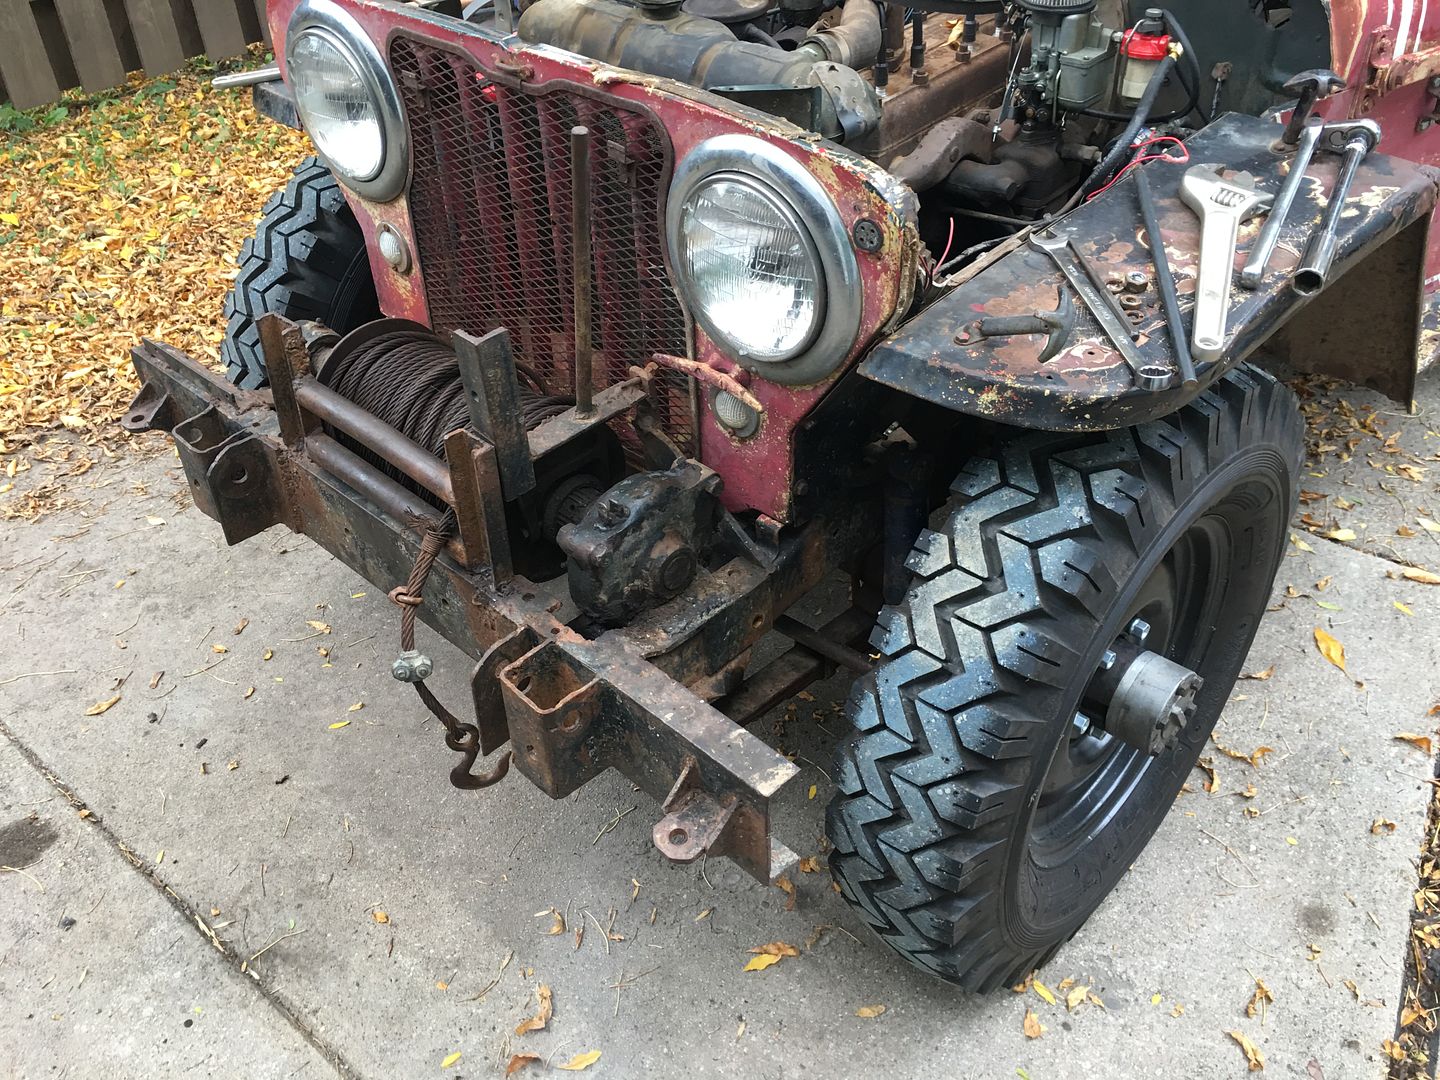
Work progressed some more today on getting the old winch setup yanked out to make room for my Ramsey 245R winch and DP-1 PTO. With some minor cutting with a cutoff wheel the winch came out. Surprisingly all the set screws on the driveshaft joints came out without issue.


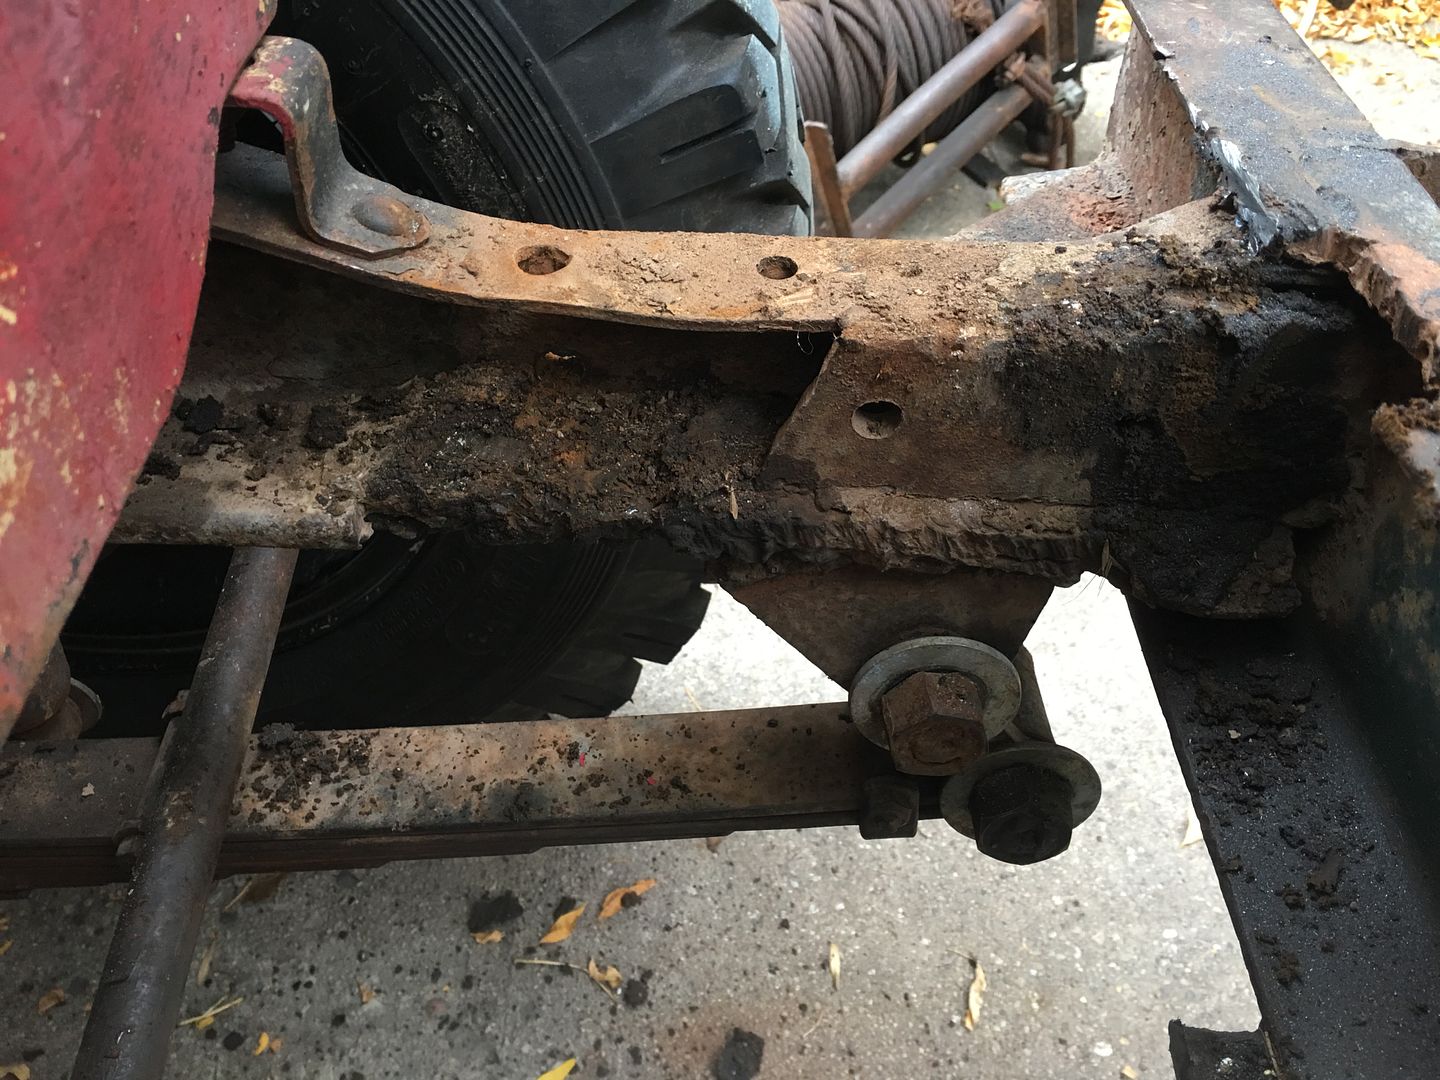
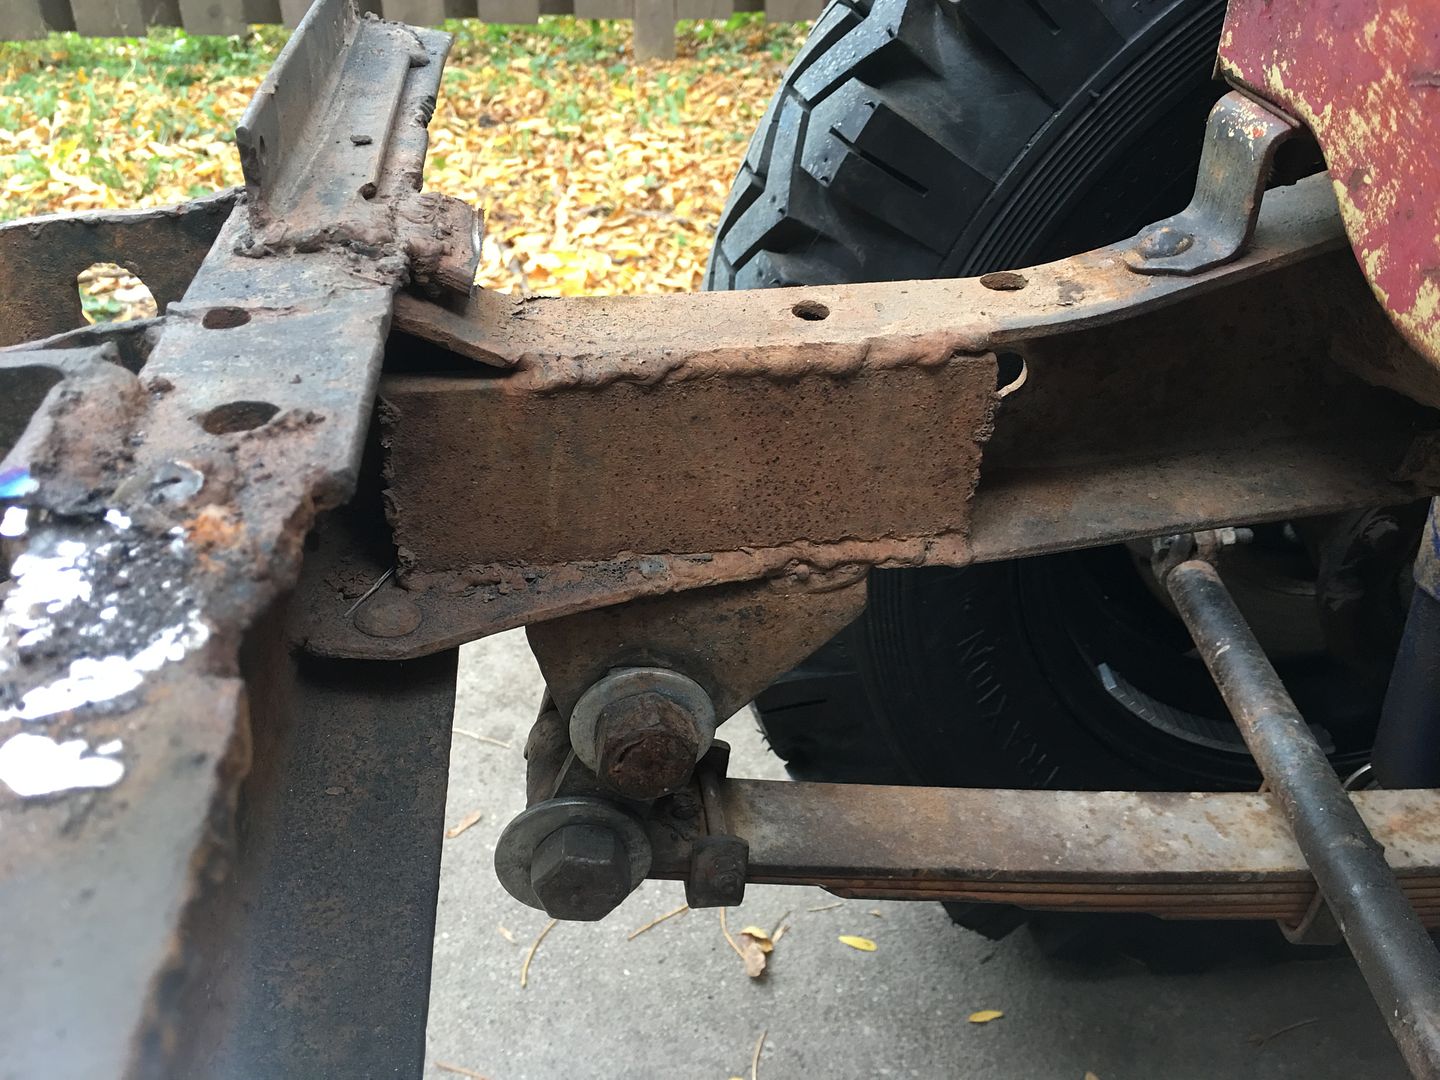
It does look like I'll have some minor repair work to do to get the front of the frame cleaned up once I cut the C channel bumper off when I go back to the original style.


Here's the whole setup once removed (ignore the clean aluminum PTO case, that wasn't part of the setup).


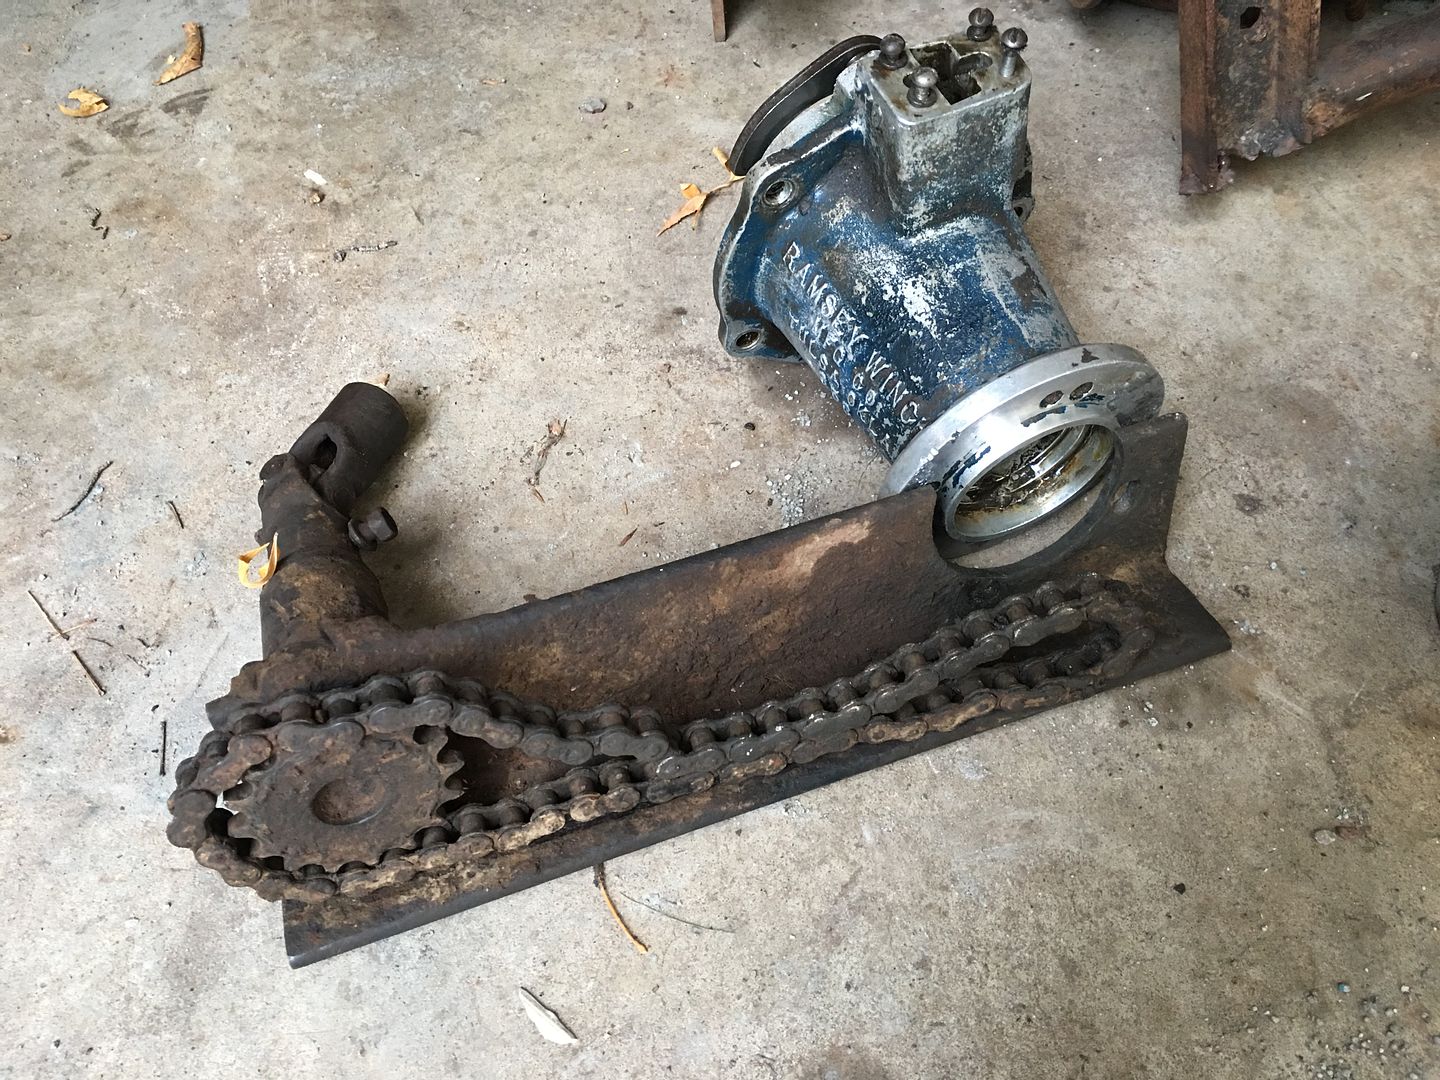
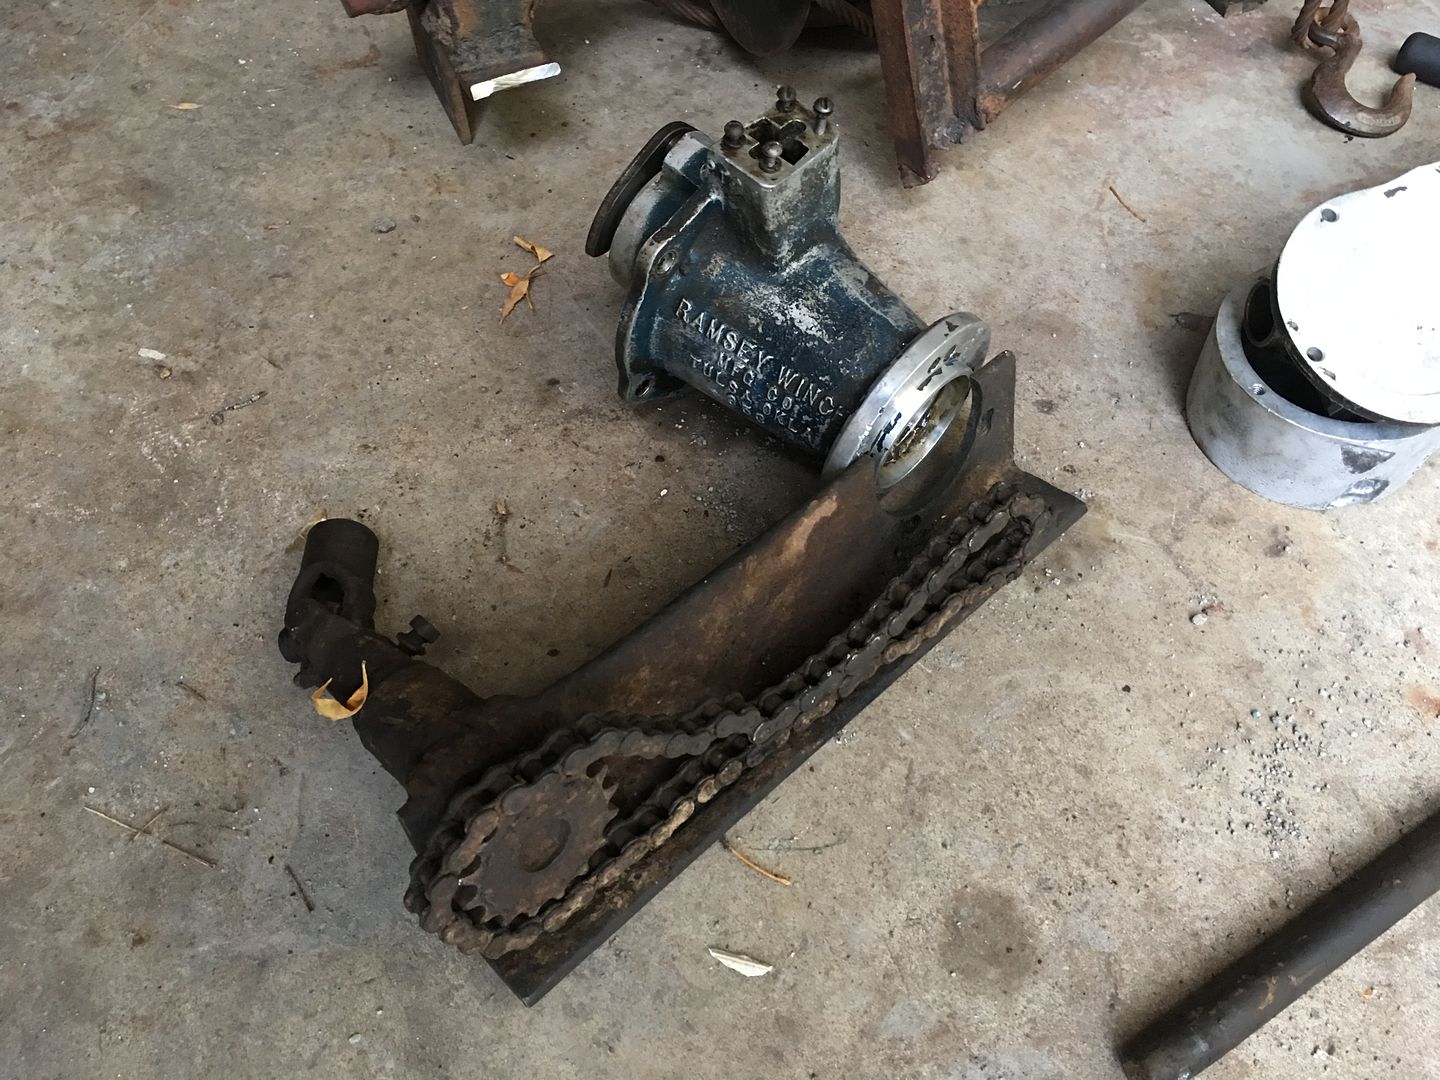
It's kind of interesting that a previous owner cobbled together this PTO setup. Seems like they must have broke the case on the PTO at some point and replaced it with this. It did work and function as intended.


Posted by: DaveW
« on: October 09, 2018, 09:34:08 PM »

While I wait on a replacement water pump to arrive. I decided to get my existing PTO tore out this evening.

After tearing it apart, it looks like I'm actually not missing too many pieces. My plan is to get a seal, bearing, and shifter kit from Herm, get the lower sprocket from the local tractor supply place, and machine a new lower shaft. I don't think it'll be too hard and it'll give me something to do this winter.


Someone on the 2a page just happened to post a picture of theirs tore apart the other day, so I sent them a message to hopefully get a few measurements off the lower output shaft and figure out how to get or make the rest of the parts circled.
Posted by: mtnman37879
« on: October 08, 2018, 12:32:15 PM »

I'd keep the twin stick just for the coolness factor and I'd add the OD too. That's be six shifters, defiantly anti-theft.
Posted by: DaveW
« on: October 08, 2018, 11:23:46 AM »

Well I�m at a bit of a dilemma. I was doing some thinking over the weekend and am not sure whether I want to use my single stick or twin stick pto.

I don�t have plans to really ever mount anything to the rear of the Jeep, so it�s almost pointless to use the twin stick. So I think I might have to rebuild my single stick and possible trade off the twin stick for an overdrive.

My Jeep only gets driven around town, so I�m thinking the overdrive would be way more beneficial than the twin stick. Haven�t made up my mind yet, just thinking out loud for now.